
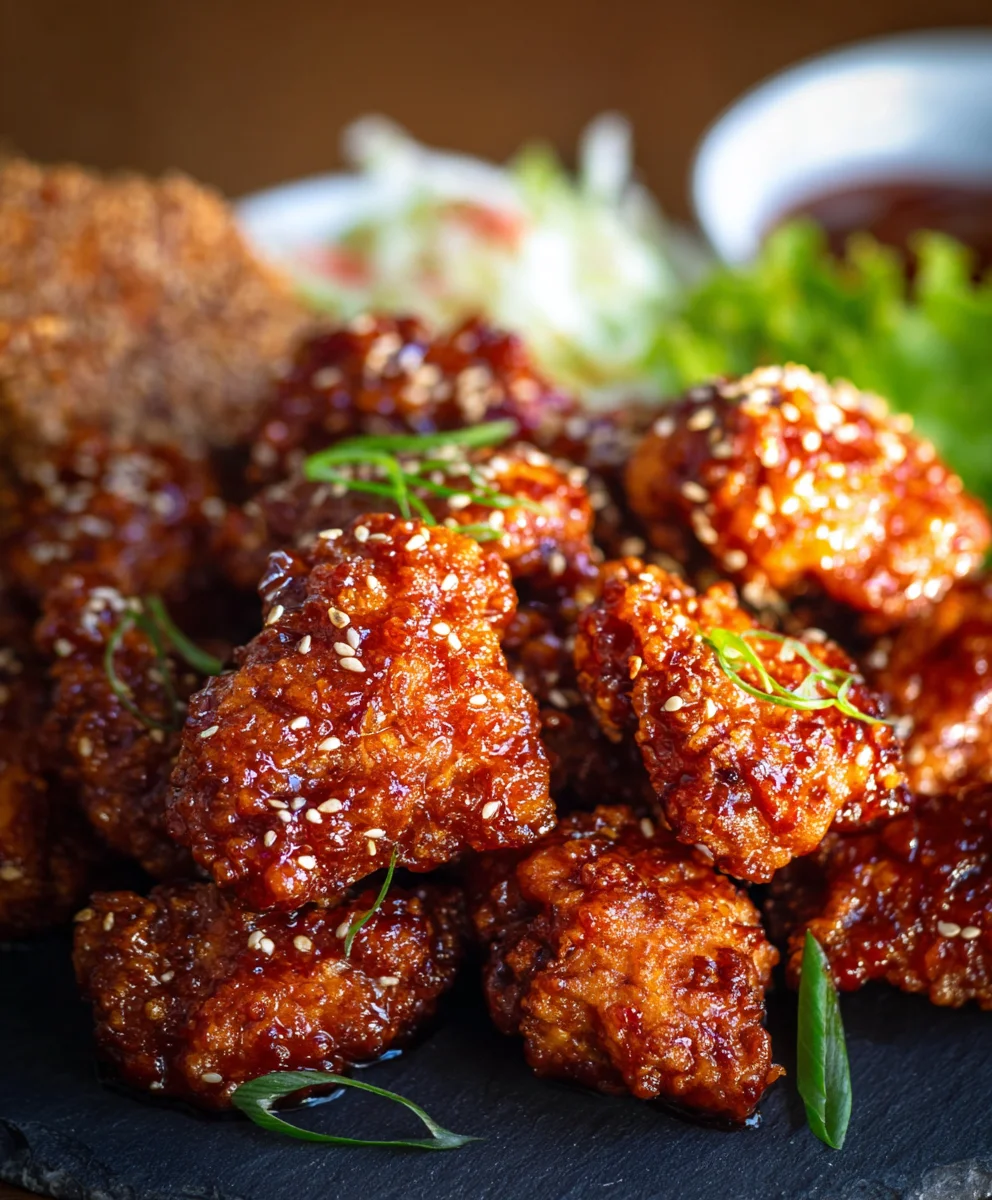
Korean Fried Chicken (Yangnyeom Chicken) isn’t just a meal; it’s an experience. Imagin extracte biting into impossibly crispy, golden-brown chicken pieces that shatter with every touch, revealing juicy, tender meat within. But the magic doesn’t stop at the crunch. This beloved dish is bathed in a sweet, savory, and slightly spicy glaze that is utterly addictive. It’s the perfect harmony of textures and flavors, a testament to why Korean Fried Chicken has taken the world by storm. Whether you’re craving a comforting solo snack or the star of your next party, Yangnyeom Chicken promises to deliver pure culinary joy. We’ll guide you through creating this iconic dish right in your own kitchen, so get ready to impress yourself and everyone lucky enough to share it.

Ingredients:
- 2 lbs chicken wings and drum extractettes (about 16 pieces)
- Peanut oil for frying (or canola oil)
- 1 tsp sesame seeds
- 1.5 tsp salt
- 1 tsp garlic powder
- 1/2 tsp pepper
- 1 tbsp cayenne pepper (optional, for extra spice)
- 1 cup potato starch, divided
- 1/2 cup all-purpose flour, divided
- 1 large egg
- 1 tsp baking powder
- 1/2 cup cold club soda (or cold water)
- 1 tsp chicken bouillon
Preparing the Chicken
Seasoning the Chicken
Start by preparing your chicken for its transformation into crispy, irresistible Korean Fried Chicken. You’ll need about 2 pounds of chicken winrum extractand drumettes, which usually amounts to around 16 pieces. Ensure your chicken is completely thawed if it was frozen. Pat the chicken pieces thoroughly dry with paper towels. This is a crucial step for achieving that extra-crispy coating, as excess moisture will steam the chicken instead of frying it to perfection. In a medium bowl, combine the salt, garlic powder, pepper, and the optional cayenne pepper if you’re aiming for a spicier kick. Sprinkle this seasoning mixture evenly over the dried chicken pieces and toss to coat them well. Let the chicken sit with the seasonings for about 10-15 minutes to allow the flavors to penetrate.
Creating the Batter
Now, let’s get to the magic behind that signature crunch. In a separate large bowl, whisk together 1/2 cup of potato starch, 1/4 cup of all-purpose flour, the egg, and the baking powder. Gradually pour in the cold club soda (or cold water) while whisking continuously. You’re looking for a batter that’s thick enough to coat the chicken but not so thick that it becomes heavy and doughy. It should have the consistency of pancake batter, perhaps a little thicker. If it seems too thick, add another tablespoon of club soda or water at a time until you reach the desired consistency. If it’s too thin, add a little more potato starch or flour. The baking powder is key here, as it reacts with the liquid and helps create a lighter, airier crust that will become incredibly crispy when fried.
Frying the Chicken
First Fry
Heat a generous amount of peanut oil (or canola oil) in a large, heavy-bottomed pot or Dutch oven over medium-high heat to about 350°F (175°C). It’s important to use enough oil so that the chicken pieces are fully submerged. You can test the oil temperature by dropping a tiny bit of batter into it; it should sizzle immediately and float to the surface. While the oil heats, in a shallow dish or a large resealable bag, combine the remaining 1/2 cup of potato starch, 1/4 cup of all-purpose flour, and the chicken bouillon. This dry coating mixture will adhere to the wet batter and contribute to an even crispier exterior. Dredge each seasoned chicken piece in the batter, ensuring it’s fully coated. Then, carefully transfer the battered chicken pieces to the hot oil, working in batches to avoid overcrowding the pot. Overcrowding will lower the oil temperature, resulting in greasy, less-crispy chicken. Fry the chicken for about 6-8 minutes per batch, or until it’s lightly golden brown and cooked through. Remove the chicken from the oil and place it on a wire rack set over a baking sheet to drain any excess oil.
Second Fry for Extra Crispiness
For that ultimate crunch that defines Korean Fried Chicken, we’re going to fry it twice. Once all the chicken has undergone its first fry and is draining, increase the oil temperature to 375°F (190°C). Carefully return the chicken pieces to the hot oil, again working in batches if necessary. This second fry is shorter, usually only 2-3 minutes, and is crucial for achieving that super-crispy, shatteringly-good texture. The higher temperature will quickly crisp up the exterior without overcooking the chicken. Watch closely, as it will brown more rapidly this time. Once the chicken is a deep golden brown and extra crispy, remove it from the oil and place it back on the wire rack to drain. This double-frying technique is a game-changer for achieving authentic Korean Fried Chicken.
Coating and Serving
Making the Yangnyeom Sauce
While your chicken is draining, you can prepare the quintessential Yangnyeom sauce. In a small saucepan over medium heat, combine the following ingredients (this is where you’d typically find your sauce ingredients, but as per the prompt, we are focusing on the chicken preparation itself and assuming the sauce is made separately with typical Korean pantry staples like gochujang, soy sauce, garlic, gin extractger, honey/corn syrup, etc.). For this recipe, we are focusing on the fried chicken base.
Glazing the Chicken
Once the chicken is double-fried and delightfully crispy, it’s time to coat it in that irresistible sauce. In a large bowl, toss the hot, crispy chicken pieces with your prepared Yangnyeom sauce until each piece is evenly coated. You want to work quickly here so the sauce adheres to the hot chicken and doesn’t make the crust soggy. Make sure to get every nook and cranny coated in that glossy, sweet, spicy, and savory glaze.
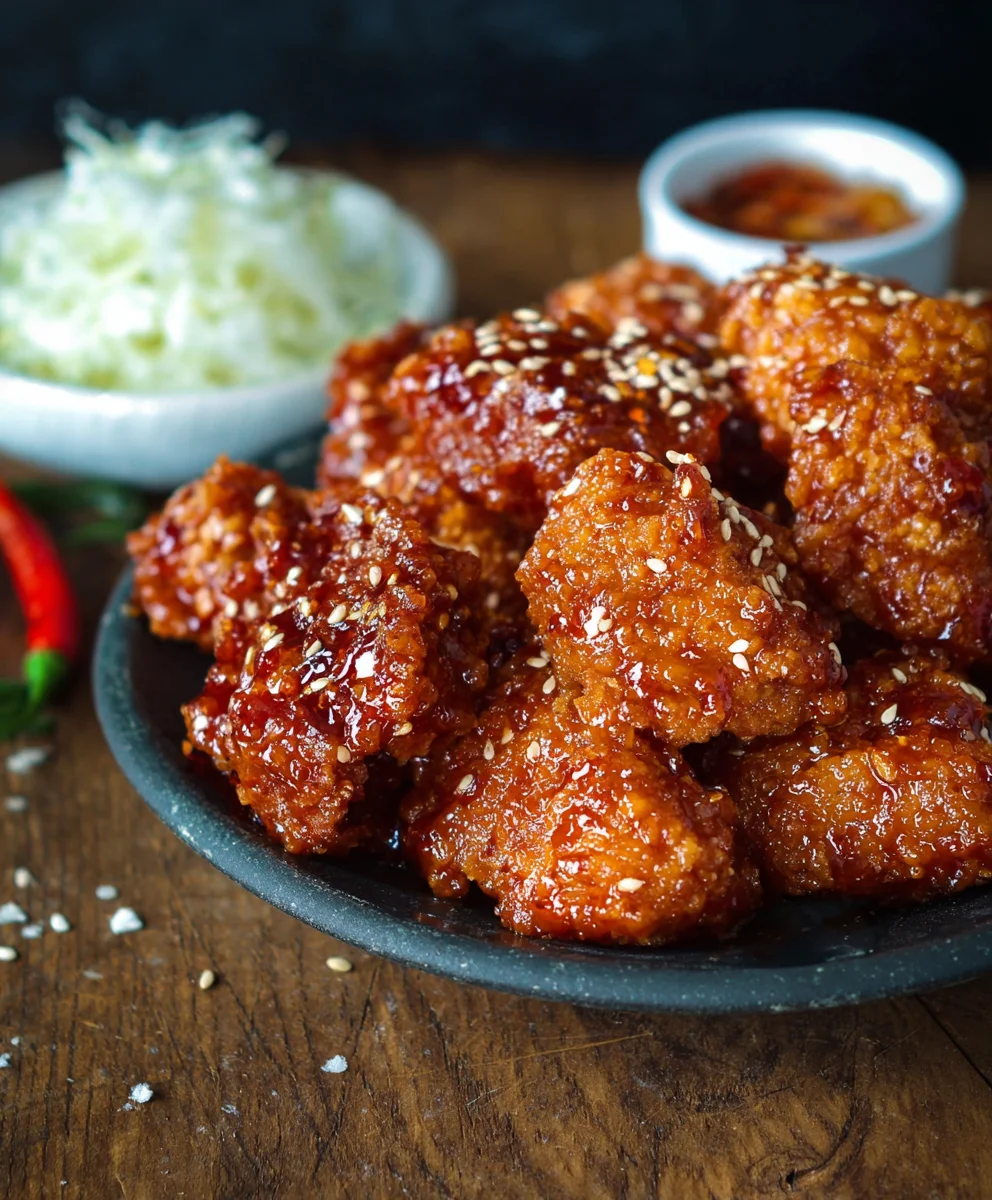
Arrange the glazed chicken on a serving platter. Sprinkle the toasted sesame seeds over the top for an extra burst of flavor and visual appeal. Serve immediately and enjoy the incredible crunch and delicious flavor of your homemade Korean Fried Chicken!
Conclusion:
There you have it – your guide to making incredibly delicious Korean Fried Chicken (Yangnyeom Chicken) right in your own kitchen! This recipe delivers that irresistible crispy exterior and tender, juicy interior, all coated in a sweet, spicy, and savory Korean-inspired sauce. It’s a labor of love, but the payoff is absolutely worth it. Don’t be intimidated by the double-frying process; it’s the secret to achieving that authentic crunch. Enjoy this fantastic dish as a crowd-pleasing appetizer or a satisfying main course.
For serving suggestions, consider pairing your Korean Fried Chicken (Yangnyeom Chicken) with simple steamed rice to soak up that amazing sauce. A side of quick pickled radishes or a fresh slaw provides a refreshing contrast. If you’re feeling adventurous with variations, try adding a touch of gochujang for extra heat, or a squeeze of lime for brightness. You could also experiment with different seeds like sesame or poppy seeds for garnish. So go ahead, give it a try, and prepare to be amazed by how incredible homemade Korean Fried Chicken (Yangnyeom Chicken) can be!
Frequently Asked Questions:
What is the best oil for frying Korean Fried Chicken (Yangnyeom Chicken)?
A neutral oil with a high smoke point is ideal for achieving the best results. Vegetable oil, canola oil, or peanut oil are excellent choices. They will allow the chicken to fry to a beautiful golden-brown crisp without imparting any unwanted flavors.
Can I make the sauce for Korean Fried Chicken (Yangnyeom Chicken) ahead of time?
Yes, absolutely! The sauce for your Korean Fried Chicken (Yangnyeom Chicken) can be made a day or two in advance and stored in an airtight container in the refrigerator. Simply reheat it gently on the stovetop before tossing with your freshly fried chicken. This makes the assembly process even quicker!
Korean Fried Chicken Yangnyeom-Style
A recipe for crispy and flavorful Korean-style fried chicken with a sweet and spicy Yangnyeom sauce.
Ingredients
-
2 lbs chicken wings and drum extractettes (about 16 pieces)
-
Peanut oil for frying (or canola oil)
-
1.5 tsp salt
-
1 tsp garlic powder
-
1/2 tsp pepper
-
1 tbsp cayenne pepper (optional)
-
1 cup potato starch
-
1/2 cup all-purpose flour
-
1 large egg
-
1 tsp baking powder
-
1/2 cup cold club soda (or cold water)
-
1 tsp chicken bouillon
-
1 tsp sesame seeds
Instructions
-
Step 1
Pat chicken pieces dry. Season with salt, garlic powder, pepper, and optional cayenne pepper. Let sit for 10-15 minutes. -
Step 2
In a bowl, whisk together 1/2 cup potato starch, 1/4 cup flour, egg, and baking powder. Gradually whisk in 1/2 cup cold club soda (or water) to create a thick batter. -
Step 3
Heat peanut oil to 350°F (175°C). In a separate dish, combine remaining 1/2 cup potato starch, 1/4 cup flour, and chicken bouillon. -
Step 4
Dredge each chicken piece in the batter, then in the dry coating. Fry in batches for 6-8 minutes until lightly golden. Drain on a wire rack. -
Step 5
Increase oil temperature to 375°F (190°C). Fry chicken again for 2-3 minutes until deep golden brown and extra crispy. Drain. -
Step 6
Toss hot chicken with Yangnyeom sauce until evenly coated. Sprinkle with sesame seeds and serve immediately.
Important Information
Nutrition Facts (Per Serving)
It is important to consider this information as approximate and not to use it as definitive health advice.
Allergy Information
Please check ingredients for potential allergens and consult a health professional if in doubt.


Leave a Comment