
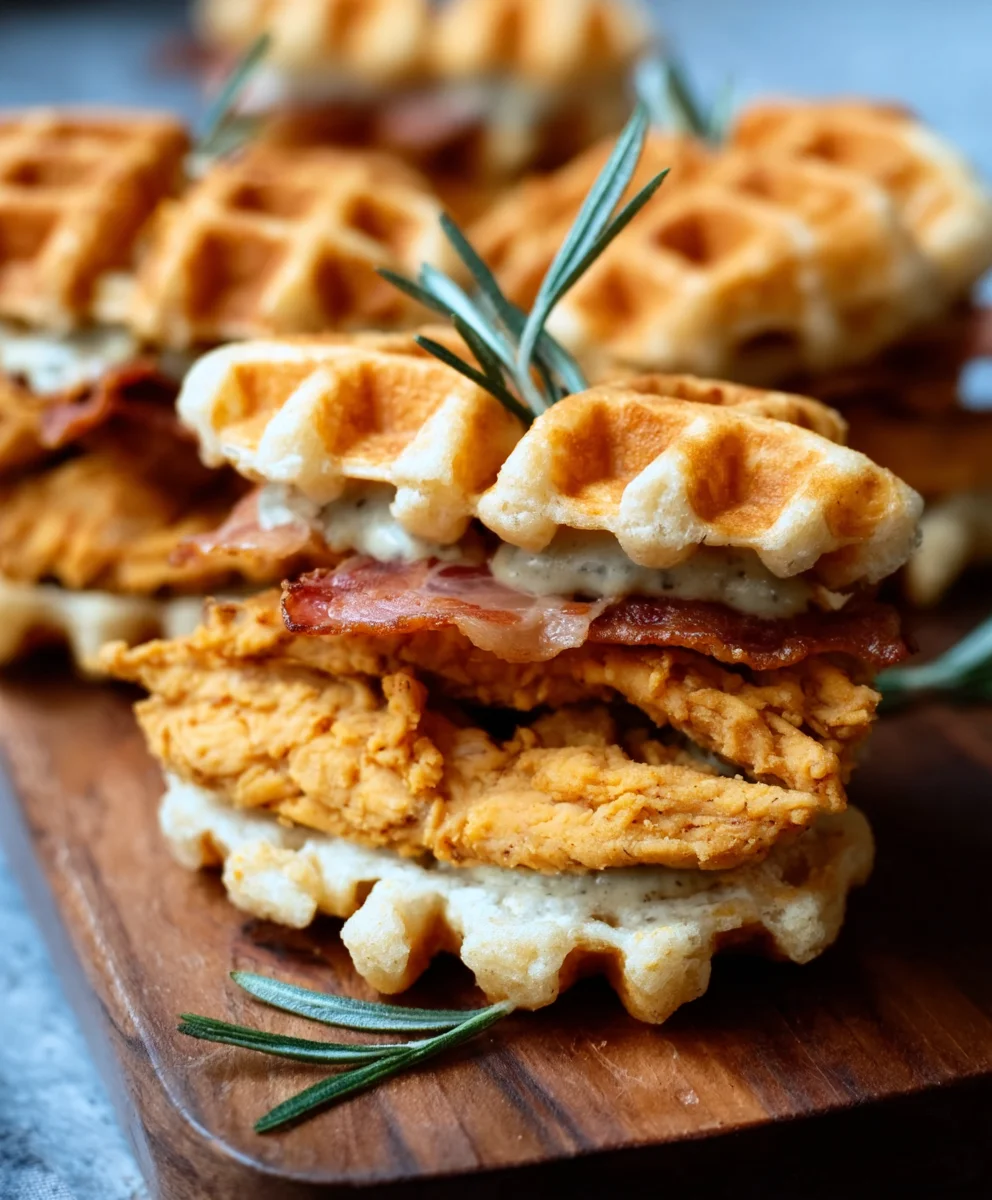
Game Day Eats Chicken Waffle Sliders are the ultimate touchdown for your tastebuds, a culinary marvel that perfectly marries savory and sweet with an undeniable crowd-pleasing appeal. When it comes to fueling your fandom, nothing quite hits the mark like these bite-sized wonders. They’re not just a snack; they’re a full-blown experience, designed to bring smiles and satisfied sighs around the television. What makes these Game Day Eats Chicken Waffle Sliders so universally loved? It’s the ingenious combination of fluffy, golden waffles acting as the perfect vessel for crispy, juicy fried chicken, all drizzled with a touch of maple syrup. This delightful contrast in textures and flavors is simply irresistible, making them the star of any tailgate, party, or casual get-together. We’ll show you how to craft these edible cbeef hampions that are guaranteed to score big with everyone who tries them.

Ingredients:
- 1 pound boneless, skinless chicken thighs
- 1 cup all-purpose flour
- 1 teaspoon smoked paprika
- 1/2 teaspoon garlic powder
- 1/4 teaspoon cayenne pepper (optional, for a little heat)
- Salt, to taste
- Black pepper, to taste
- 1 cup buttermilk
- 1 large egg
- 2 tablespoons hot sauce (your favorite brand)
- 1 tablespoon vegetable oil, plus more for frying
- 16 frozen mini waffles
- 4 tablespoons butter, melted
- 1/4 cup maple syrup
- 1/4 cup Dijon mustard
Preparing the Chicken: A Foundation for Flavor
The first step in creating these amazing Game Day Eats Chicken Waffle Sliders is all about getting our chicken ready for its crispy, juicy transformation. We’re going to start by trimming any excess fat from the boneless, skinless chicken thighs. This ensures a cleaner bite and a more uniform cook. Once trimmed, cut each thigh into bite-sized pieces, roughly 1-inch cubes. This size is perfect for our sliders, making them easy to handle and ensuring they cook through quickly and evenly.
Now, let’s get our dredgin extractg station set up for that irresistible crunch. In a shallow bowl or dish, whisk together the all-purpose flour, smoked paprika, garlic powder, cayenne pepper (if you’re feeling brave and want a touch of spice!), a generous pinch of salt, and a good grind of black pepper. This seasoned flour is going to form the flavorful crust on our chicken.
In a separate, slightly larger bowl, we’re going to create our wet batter. Whisk together the buttermilk, the large egg, the hot sauce, and the tablespoon of vegetable oil. The buttermilk helps to tenderize the chicken while also giving the flour something to adhere to, creating a fantastic coating. The hot sauce adds a subtle kick and depth of flavor that will permeate the chicken.
Now, it’s time to get those chicken pieces coated. We’ll do this in batches to avoid overcrowding the bowls and ensure each piece gets fully immersed. First, dip the chicken pieces into the buttermilk mixture, ensuring they are completely coated. Let any excess drip off for a moment before transferring them directly into the seasoned flour. Toss the chicken in the flour until each piece is thoroughly coated. You can press the flour onto the chicken gently to help it stick. Once coated, place the floured chicken onto a clean plate or wire rack. Repeat this process with the remaining chicken pieces. It’s a good idea to let the coated chicken sit for about 10-15 minutes before frying. This allows the coating to adhere better, resulting in a crispier crust.
Frying the Chicken: Achieving Golden Perfection
This is where the magic happens! We want to achieve a beautifully golden-brown and crispy exterior while keeping the chicken incredibly moist and tender on the inside. In a large, heavy-bottomed skillet or a Dutch oven, heat about 1/2 inch to 1 inch of vegetable oil over medium-high heat. You want the oil to be hot enough that a small piece of flour dropped in sizzles immediately, but not so hot that it burns the coating before the chicken is cooked through. Aim for a temperature of around 350-360°F (175-180°C).
Carefully add the floured chicken pieces to the hot oil in batches. Do not overcrowd the pan! Overcrowding will lower the oil temperature and result in soggy chicken. Fry the chicken for about 4-6 minutes per side, or until it’s golden brown and cooked through. The internal temperature of the chicken should reach 165°F (74°C). You can test this by inserting a meat thermometer into the thickest part of a piece. Using a slotted spoon or tongs, remove the cooked chicken from the oil and place it on a wire rack set over a baking sheet to drain any excess oil. This step is crucial for maintaining crispiness. Allow the oil to return to temperature between batches.
Assembling the Sliders: The Sweet and Savory Symphony
While our chicken is draining and cooling slightly, let’s get the waffles ready. We’re using frozen mini waffles for ultimate convenience and that perfect sweet contrast. Toast the mini waffles according to package directions until they are golden brown and slightly crisp. This will give them a nice structure to hold up to the chicken and sauce.
Once toasted, carefully split each mini waffle in half horizontally. You’ll want to make sure the cut is relatively even so that your sliders are balanced. Brush the cut sides of the waffles with the melted butter. This adds another layer of richness and helps them crisp up even more. You can place them cut-side down on a baking sheet and pop them under the broiler for just a minute or two, watching them very carefully to prevent burning, for an extra crispy waffle base.
Now for the sauce that ties everything together! In a small bowl, whisk together the maple syrup and the Dijon mustard. This sweet and tangy sauce is the perfect complement to the savory, crispy chicken. It’s simple but incredibly effectivegin extract bringing all the flavors of the sliders together.
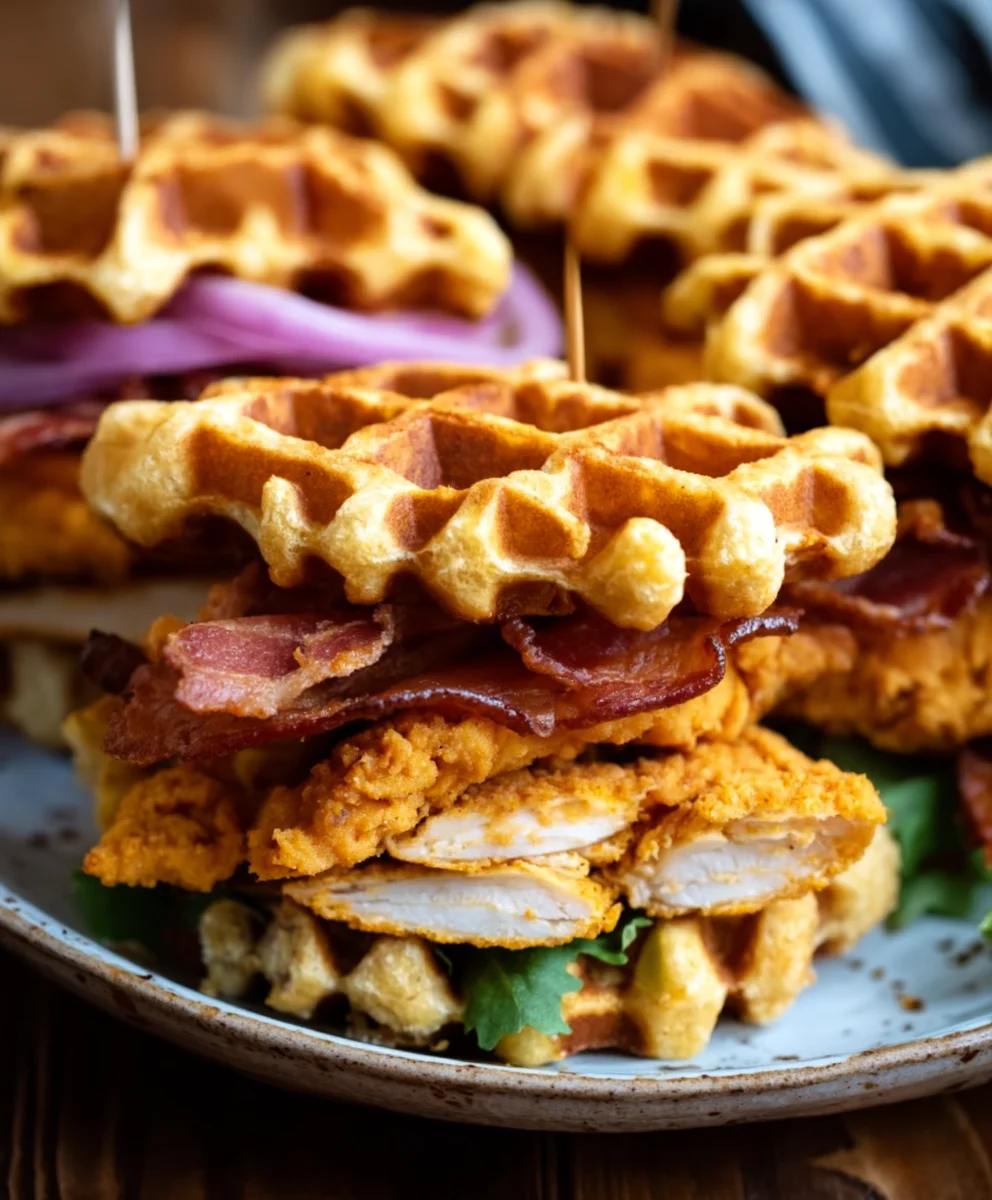
Finally, it’s time to assemble our Game Day Eats Chicken Waffle Sliders. Place a piece of the crispy fried chicken on the bottom half of each buttered waffle. Drizzle a generous spoonful of the maple-dijon sauce over the chicken. Then, place the top half of the waffle on top. Gently press down to secure everything. Arrange your sliders on a platter and get ready for the applause! They are best served immediately while the chicken is hot and crispy and the waffles are warm.
Conclusion:
There you have it – your ultimate guide to crafting the most delicious Game Day Eats Chicken Waffle Sliders! We’ve covered everything from perfectly crispy fried chicken to fluffy waffles, and the sweet and savory sauce that ties it all together. These sliders are guaranteed to be a touchdown at any gathering, whether it’s for a big game or just a fun get-together. The beauty of these Game Day Eats Chicken Waffle Sliders lies in their adaptability. Feel free to get creative with your toppings and sauces to make them uniquely yours. Don’t be afraid to experiment with different cheeses, a sprinkle of chives, or even a drizzle of sriracha for a spicy kick!
I encourage you to give this recipe a try. It’s surprisingly straightforward and the rewards are immense. Imagin extracte the delighted faces of your friends and family as they bite into these flavor-packed delights. Serve them up hot and fresh, and watch them disappear in minutes. These Game Day Eats Chicken Waffle Sliders are perfect as a standalone appetizer or as part of a larger spread. They pair wonderfully with a side of coleslaw or sweet potato fries.
Frequently Asked Questions:
Can I make the chicken waffles ahead of time?
While the chicken is best enjoyed fresh and crispy, you can prepare the waffle batter a few hours in advance and store it in the refrigerator. The fried chicken can also be kept warm in a low oven (around 200°F or 95°C) for a short period, but it will lose some of its crispness. For optimal results, assemble the sliders just before serving.
What are some other sauce ideas for these Game Day Eats Chicken Waffle Sliders?
Absolutely! Beyond the honey-butter sauce, consider a tangy barbecue sauce, a spicy remoulade, a creamy ranch dressing, or even a maple-dijon glaze. The possibilities are endless, and each will offer a unique twist on these delightful sliders.
Game Day Chicken Waffle Sliders-Easy Bites
Easy and delicious chicken waffle sliders perfect for game day or any casual gathering. Crispy fried chicken meets sweet and savory waffles for a flavor explosion.
Ingredients
-
1 pound boneless, skinless chicken thighs
-
1 cup all-purpose flour
-
1 cup buttermilk
-
1 large egg
-
16 frozen mini waffles
-
4 tablespoons butter, melted
-
1/4 cup maple syrup
-
1/4 cup Dijon mustard
Instructions
-
Step 1
Trim excess fat from chicken thighs and cut into 1-inch cubes. In a shallow bowl, whisk together flour, smoked paprika, garlic powder, cayenne pepper (optional), salt, and black pepper. -
Step 2
In a separate bowl, whisk together buttermilk, egg, hot sauce, and 1 tablespoon vegetable oil. -
Step 3
Dip chicken pieces in the buttermilk mixture, then toss in the seasoned flour until thoroughly coated. Let sit for 10-15 minutes. -
Step 4
Heat vegetable oil in a skillet over medium-high heat (350-360°F). Fry chicken in batches for 4-6 minutes per side until golden brown and cooked through (internal temp 165°F). Drain on a wire rack. -
Step 5
Toast mini waffles until golden brown and crisp. Split each waffle in half horizontally and brush cut sides with melted butter. Optionally, broil for 1-2 minutes until extra crispy. -
Step 6
Whisk together maple syrup and Dijon mustard for the sauce. -
Step 7
Assemble sliders: place chicken on the bottom waffle half, drizzle with sauce, and top with the other waffle half.
Important Information
Nutrition Facts (Per Serving)
It is important to consider this information as approximate and not to use it as definitive health advice.
Allergy Information
Please check ingredients for potential allergens and consult a health professional if in doubt.

Leave a Comment