
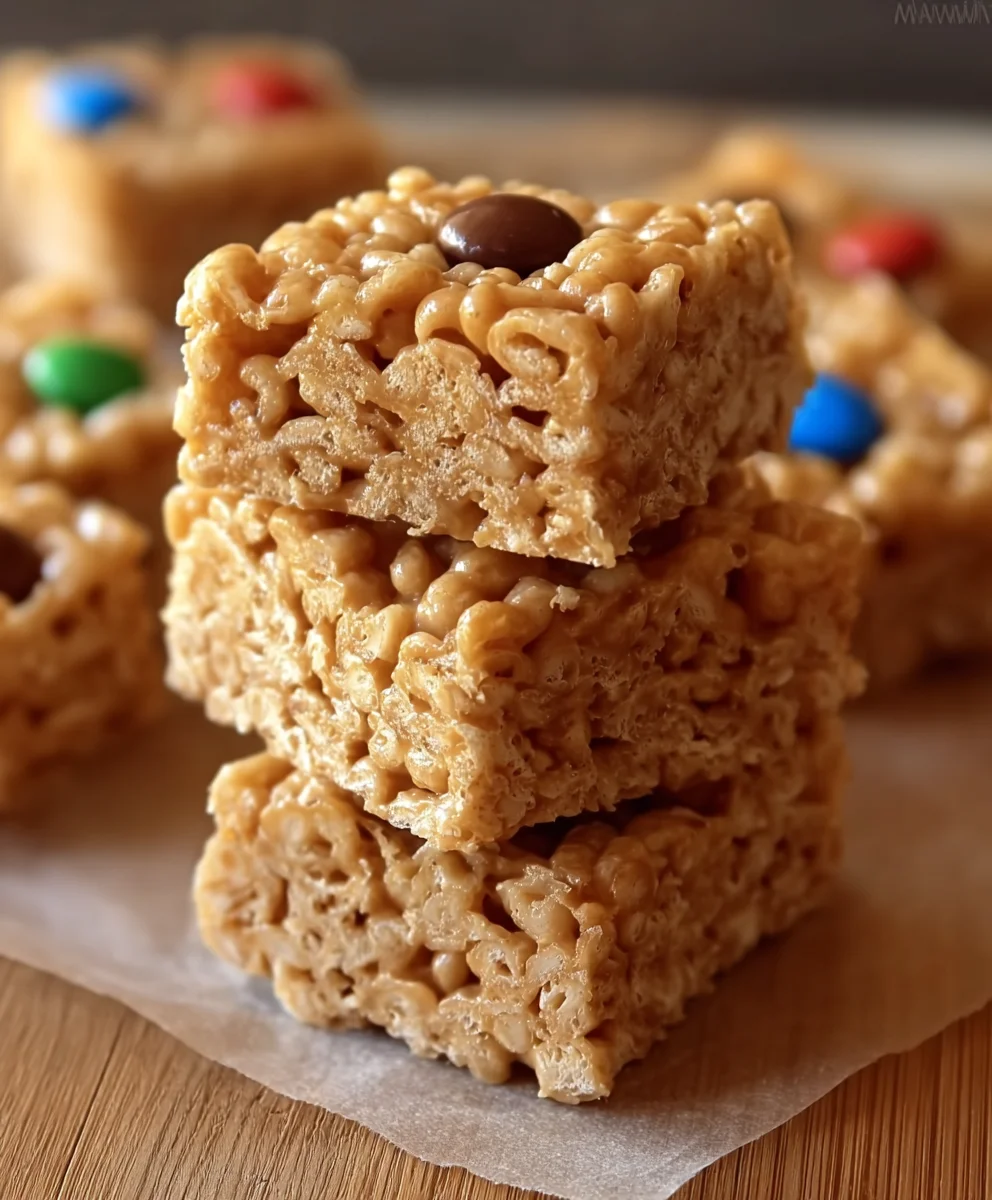
Peanut Butter Rice Krispie Treats are more than just a childhood nostalgia trip; they’re a gateway to pure, unadulterated joy in every chewy, slightly salty, wonderfully sweet bite. There’s a reason these simple squares hold such a special place in so many hearts. Perhaps it’s the incredibly satisfying crunch of the crisp cereal, perfectly bound together by that gooey, melted marshmallow embrace. Or maybe it’s the ingenious addition of creamy peanut butter, which elevates the classic to an entirely new level of irresistible flavor. This isn’t just a dessert; it’s a comfort food, a crowd-pleaser, and an absolute lifesaver when you need a quick treat that always delivers. What truly makes these Peanut Butter Rice Krispie Treats so special is the perfect balance they strike – the familiar sweetness is expertly cut by the nutty depth of the peanut butter, creating a symphony of textures and tastes that is simply addictive. Get ready to rediscover your inner child and create a batch of these magical morsels that will disappear in no time.

Ingredients:
- 1 cup creamy or crunchy peanut butter (your preference!)
- 1 cup light corn syrup or honey (honey will impart a slightly different, richer flavor)
- 1 cup granulated sugar
- 5 to 6 cups Rice Krispies cereal (start with 5 and add more if needed for desired consistency)
- 1/2 cup mini chocolate chips (milk, semi-sweet, or dark – whatever you love!)
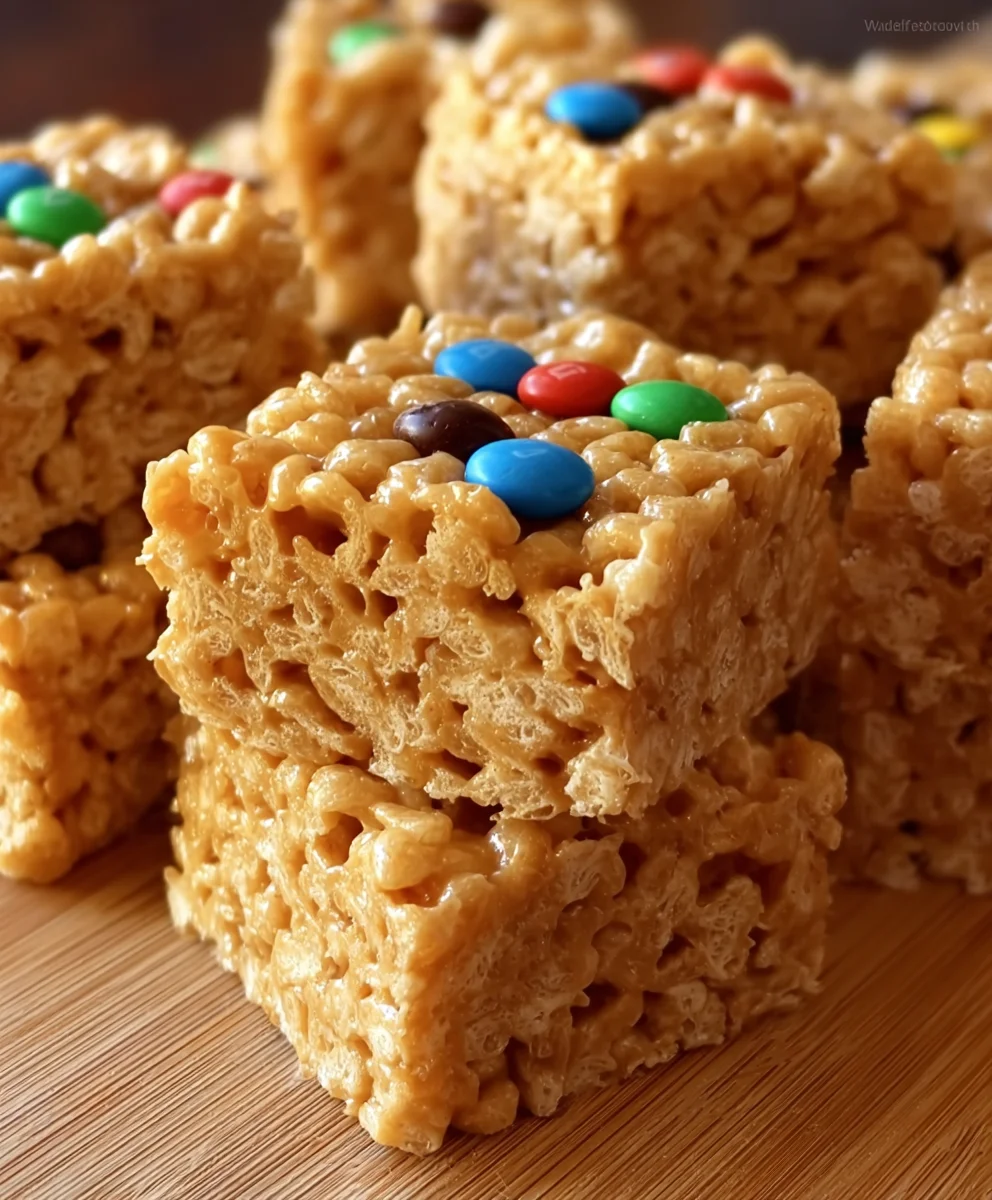
- 1/2 cup M&M’s candies (plain or peanut, plus extra for decorating if you like)
Cooking Phases:
Preparing Your Workspace and Pan
Before we even get to the stovetop, it’s crucial to prepare your 9×13 inch baking pan. Generously grease it with butter or cooking spray, or line it with parchment paper, leaving some overhang on the sides. This overhang will act as handles, making it easier to lift the finished treats out of the pan. Trust me, wrestling sticky treats out of a pan is no fun, so take this step seriously! Also, make sure you have all your ingredients measured out and ready to go, as this recipe moves fairly quickly once you start cooking. Having your cereal measured and your chocolate chips and M&M’s at the ready will prevent any last-minute scrambling.
Melting the Base
In a large, heavy-bottomed saucepan, combine the peanut butter, light corn syrup (or honey), and granulated sugar. Place this saucepan over medium heat. Now, stir constantly with a heatproof spatula or wooden spoon. It’s important to keep stirring to prevent the sugar from scorching and the peanut butter from burning on the bottom of the pan. You’re looking for the mixture to come to a gentle boil. Once it starts bubbling, let it boil for exactly one minute, continuing to stir vigorously. This boiling step is essential for achieving that chewy texture in your Peanut Butter Rice Krispie Treats. It helps to dissolve the sugar completely and creates a stable base that will hold its shape.
Incorporating the Cereal and Mix-ins
After the one-minute boil, immediately remove the saucepan from the heat. Now, add the Rice Krispies cereal to the hot mixture. Start with 5 cups of cereal. Gently fold the cereal into the peanut butter mixture using your spatula. Continue to stir until the cereal is evenly coated. If you find the mixture seems too wet or gooey, you can gradually add the remaining cup of cereal, a little at a time, until you reach your desired consistency. The goal is for the cereal to be well-coated but not completely saturated. Next, it’s time for the fun part – adding the chocolate chips and M&M’s! Stir them in until they are just incorporated. Be careful not to overmix at this stage, as you want the chips and candies to retain some of their distinct shapes and not melt completely into the mixture.
Pressing the Treats into the Pan
Working quickly is key here, as the mixture will start to set. Spoon the Rice Krispies mixture into your prepared baking pan. Now, you have a couple of options for pressing them down. You can lightly grease your hands with butter or cooking spray and gently press the mixture into an even layer. Alternatively, you can use the back of a greased spatula or a piece of wax paper to press the mixture down. Be sure to press firmly but not so hard that you crush the cereal, which can result in dense, hard treats. Aim for an even distribution throughout the pan so that every square is perfect. If you’re feeling extra fancy, you can sprinkle a few extra M&M’s or chocolate chips on top of the mixture while it’s still warm and gently press them in for a decorative finish.
Cooling and Cutting Your Masterpieces
Once the treats are evenly pressed into the pan, let them cool completely at room temperature. This can take anywhere from 1 to 2 hours, depending on the ambient temperature. Resist the urge to put them in the refrigerator to speed up the process, as this can sometimes make them too hard. Once they are completely cooled and firm to the touch, use the parchment paper overhang (if you used it) to lift the entire slab out of the pan. Place it on a cutting board. Using a sharp knife, cut the Peanut Butter Rice Krispie Treats into squares of your desired size. For cleaner cuts, you can lightly grease your knife between cuts. Store your delicious creations in an airtight container at room temperature for up to 3 days. Enjoy every chewy, chocolatey bite!
Conclusion:
There you have it – the ultimate guide to creating perfect Peanut Butter Rice Krispie Treats! We’ve walked through each simple step, ensuring a delicious and gooey outcome every time. These treats are wonderfully versatile, making them a fantastic addition to any occasion. Whether you’re whipping them up for a bake snon-alcoholic ale, a birthday party, or simply a cozy movie night in, they are guaranteed to be a crowd-pleaser. Don’t be afraid to get creative with them! Feel free to mix in chocolate chips, sprinkles, or even a drizzle of extra melted chocolate on top for an added touch of indulgence. The beauty of Peanut Butter Rice Krispie Treats lies in their simplicity and adaptability. So gather your ingredients, follow these instructions, and enjoy the sweet, nostalgic flavor of these classic treats!
Frequently Asked Questions:
Q1: How can I make my Peanut Butter Rice Krispie Treats even gooier?
To achieve extra gooey Peanut Butter Rice Krispie Treats, ensure you don’t overcook the marshmallow and butter mixture. Heat it just until the butter is melted and the marshmallows are smooth and fully dissolved. Don’t let it boil for too long. Additionally, working quickly once the cereal is added and pressing the mixture gently into the pan, rather than packing it down firmly, will contribute to a softer, gooier texture.
Q2: Can I substitute the peanut butter?
Absolutely! While traditional peanut butter is fantastic, you can certainly experiment with other nut butters for a different flavor profile. Almond butter, cashew butter, or even a sunflower seed butter (for a nut-free option) can be delicious substitutes in these Peanut Butter Rice Krispie Treats. Adjust the quantity slightly based on the consistency and flavor intensity of your chosen alternative.
Easy Peanut Butter Rice Krispie Treats Recipe
A quick and easy recipe for chewy peanut butter Rice Krispie treats loaded with chocolate chips and M&M’s.
Ingredients
-
1 cup creamy or crunchy peanut butter
-
1 cup light corn syrup or honey
-
1 cup granulated sugar
-
5 to 6 cups Rice Krispies cereal
-
1/2 cup mini chocolate chips
-
1/2 cup M&M’s candies
Instructions
-
Step 1
Generously grease a 9×13 inch baking pan with butter or cooking spray, or line it with parchment paper, leaving some overhang on the sides. Measure out all ingredients. -
Step 2
In a large saucepan over medium heat, combine peanut butter, corn syrup (or honey), and sugar. Stir constantly until it comes to a gentle boil. Boil for exactly one minute, stirring vigorously. -
Step 3
Remove from heat and add 5 cups of Rice Krispies cereal. Gently fold until evenly coated. Add more cereal if needed for desired consistency. Stir in chocolate chips and M&M’s until just incorporated. -
Step 4
Spoon the mixture into the prepared pan. Lightly grease your hands or a spatula and gently press the mixture into an even layer. Press firmly but avoid crushing the cereal. -
Step 5
Let the treats cool completely at room temperature for 1-2 hours. Once cooled and firm, lift the slab out of the pan using the parchment paper overhang. Cut into desired squares with a sharp knife.
Important Information
Nutrition Facts (Per Serving)
It is important to consider this information as approximate and not to use it as definitive health advice.
Allergy Information
Please check ingredients for potential allergens and consult a health professional if in doubt.


Leave a Comment