
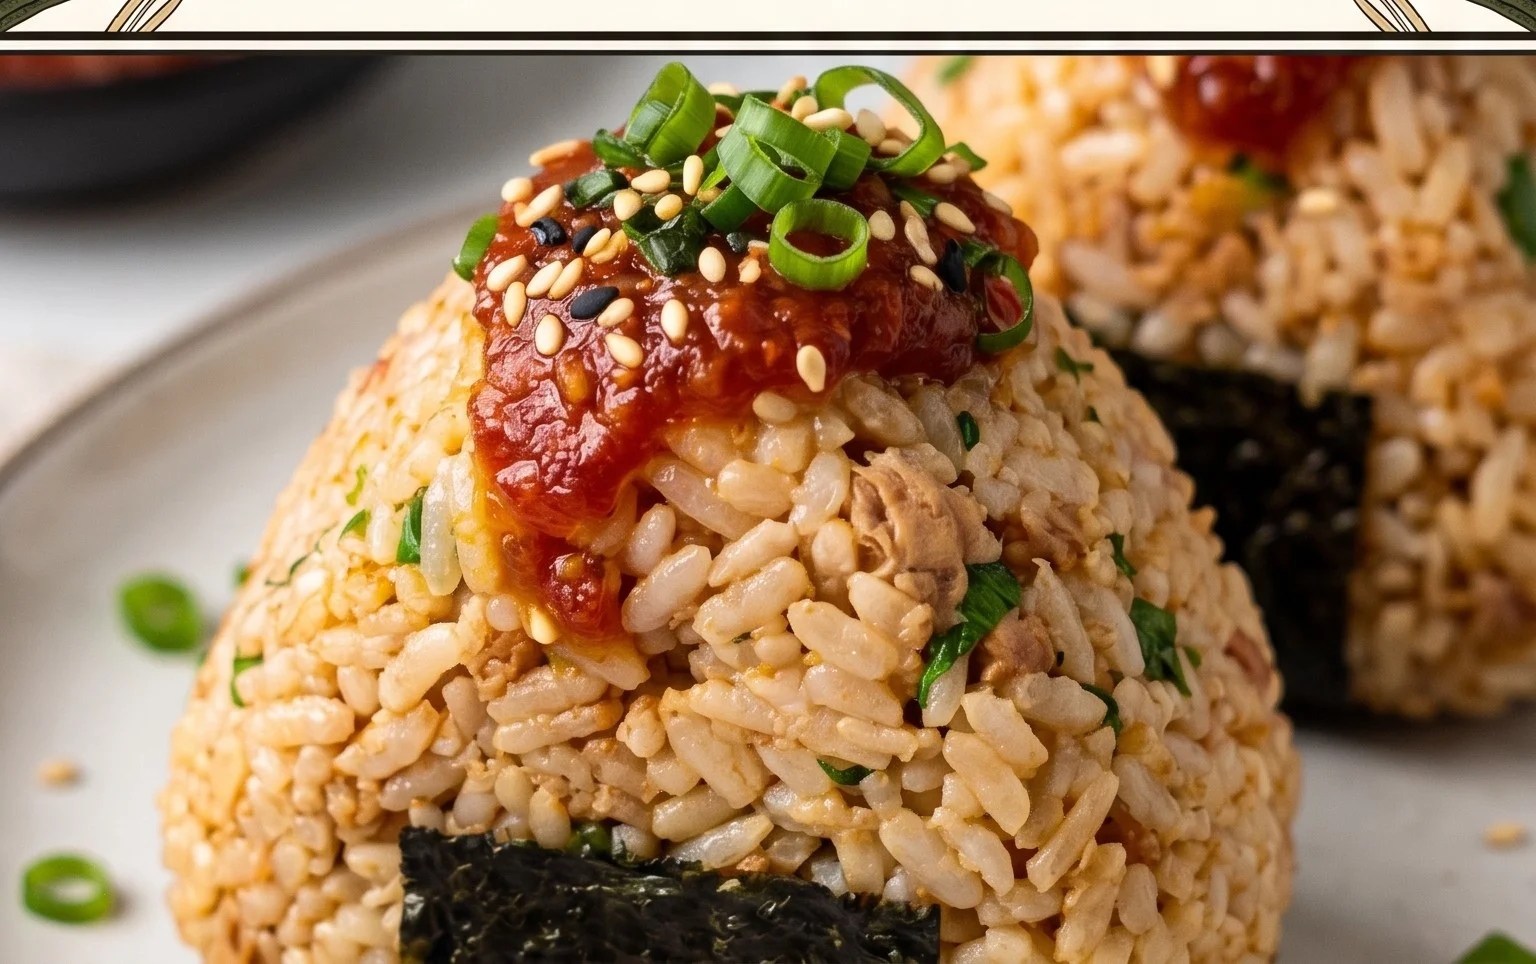
15-min Easy Japanese Tuna Onigiri are about to become your new go-to snack or light meal. Imagin extracte this: perfectly seasoned, fluffy rice cradling a savory, umami-rich tuna filling, all wrapped up in a crisp sheet of nori. It’s no wonder these delightful rice balls are a beloved staple across Japan and a fast favorite for anyone craving a quick, satisfying, and utterly delicious bite. What makes Japanese Tuna Onigiri so special? It’s their incredible versatility and the simple yet profound comfort they provide. Whether you’re packing a bento box, need a fast lunch during a busy workday, or are simply craving something wholesome and tasty, this 15-min Easy Japanese Tuna Onigiri recipe delivers every single time. They’re remarkably easy to customize too, meaning you can tailor the flavor to your exact liking. Get ready to fall in love with this effortless Japanese classic.

15-Minute Easy Japanese Tuna Onigiri
Are you craving a quick, delicious, and satisfying snack or light meal? Look no further than this incredibly easy 15-minute Japanese Tuna Onigiri recipe! Onigiri, often called rice balls, are a staple in Japanese bento boxes and convenience stores for a reason: they are portable, customizable, and utterly delightful. This particular version features a creamy, savory tuna filling that’s incredibly popular and takes mere minutes to assemble, especially if you have some cooked rice ready. Perfect for busy weeknights, impromptu lunches, or even a healthy on-the-go breakfast, these tuna onigiri will become your new go-to. Let’s get started!
Ingredients:
Assembling Your Delicious Onigiri
The beauty of onigiri lies in its simplicity. The core components are cooked rice and a flavorful filling, all wrapped up in a sheet of nori. For this recipe, we’re opting for a classic and crowd-pleasing tuna mayonnaise filling. Japanese mayonnaise, like Kewpie, has a richer, tangier flavor profile due to the use of egg yolks and rice vinegar, which really elevates the tuna filling. However, if you don’t have Japanese mayo on hand, regular mayonnaise will work perfectly fine as a substitute.
The rice is the foundation of our onigiri. Ideally, you want short-grain Japanese rice. It has a slightly sticky texture that holds its shape beautifully when formed into balls. If you’re cooking rice fresh for this recipe, make sure to let it cool slightly before handling so it’s not too hot to touch, but still warm enough to be pliable. The salt is crucial for seasoning the rice. Don’t skip this step, as plain rice can be quite bland. You can adjust the salt to your personal preference, but 1/2 teaspoon is a good starting point for 2 cups of rice.
The star of our filling is the canned tuna. While tuna packed in oil tends to be more moist and flavorful, tuna packed in water is a perfectly acceptable and often healthier alternative. The key is to drain it well before mixing it with the mayonnaise. This prevents the filling from becoming too watery, which could make your onigiri difficult to handle and potentially soggy.
Step-by-Step Tuna Onigiri Creation
1. Prepare the Tuna Filling: Begin extract by draining your canned tuna thoroughly. Place the drained tuna in a small bowl. Add the Japanese mayonnaise (or your chosen substitute) to the bowl with the tuna. Using a fork, gently flake the tuna and mix it with the mayonnaise until well combined. You want a creamy, cohesive mixture that will hold together. Taste the filling at this stage and add a pinch more salt or mayonnaise if you feel it needs it. Some people like to add a tiny pinch of black pepper or a dash of soy sauce to their tuna filling for an extra layer of flavor, but for this simple 15-minute version, the mayonnaise is usually enough. Set this mixture aside while you prepare the rice.
2. Season and Prepare the Rice: If your cooked rice is still warm, that’s ideal. Gently stir in the 1/2 teaspoon of salt into the 2 cups of cooked short-grain rice. Ensure the salt is evenly distributed throughout the rice. If your rice has cooled down completely and seems a bit dry, you can lightly dampen your hands with water. This will help the rice stick together and make it easier to shape without it crum extractbling. The goal is to have the rice slightly warm and pliable, not hot enough to burn your hands, but not cold and stiff.
3. Forming the Rice Ball: Now comes the fun part! Wet your hands slightly with cool water. This is a crucial step to prevent the rice from sticking to your hands. Take about half a cup of the salted rice into your palm. Gently begin extract to shape it into a rough ball or triangle. Don’t press too hard at this stage; you’re just getting the basic form. If you’re aiming for a traditional triangle shape, you can gently cup your hands and use your fingers to create the corners.
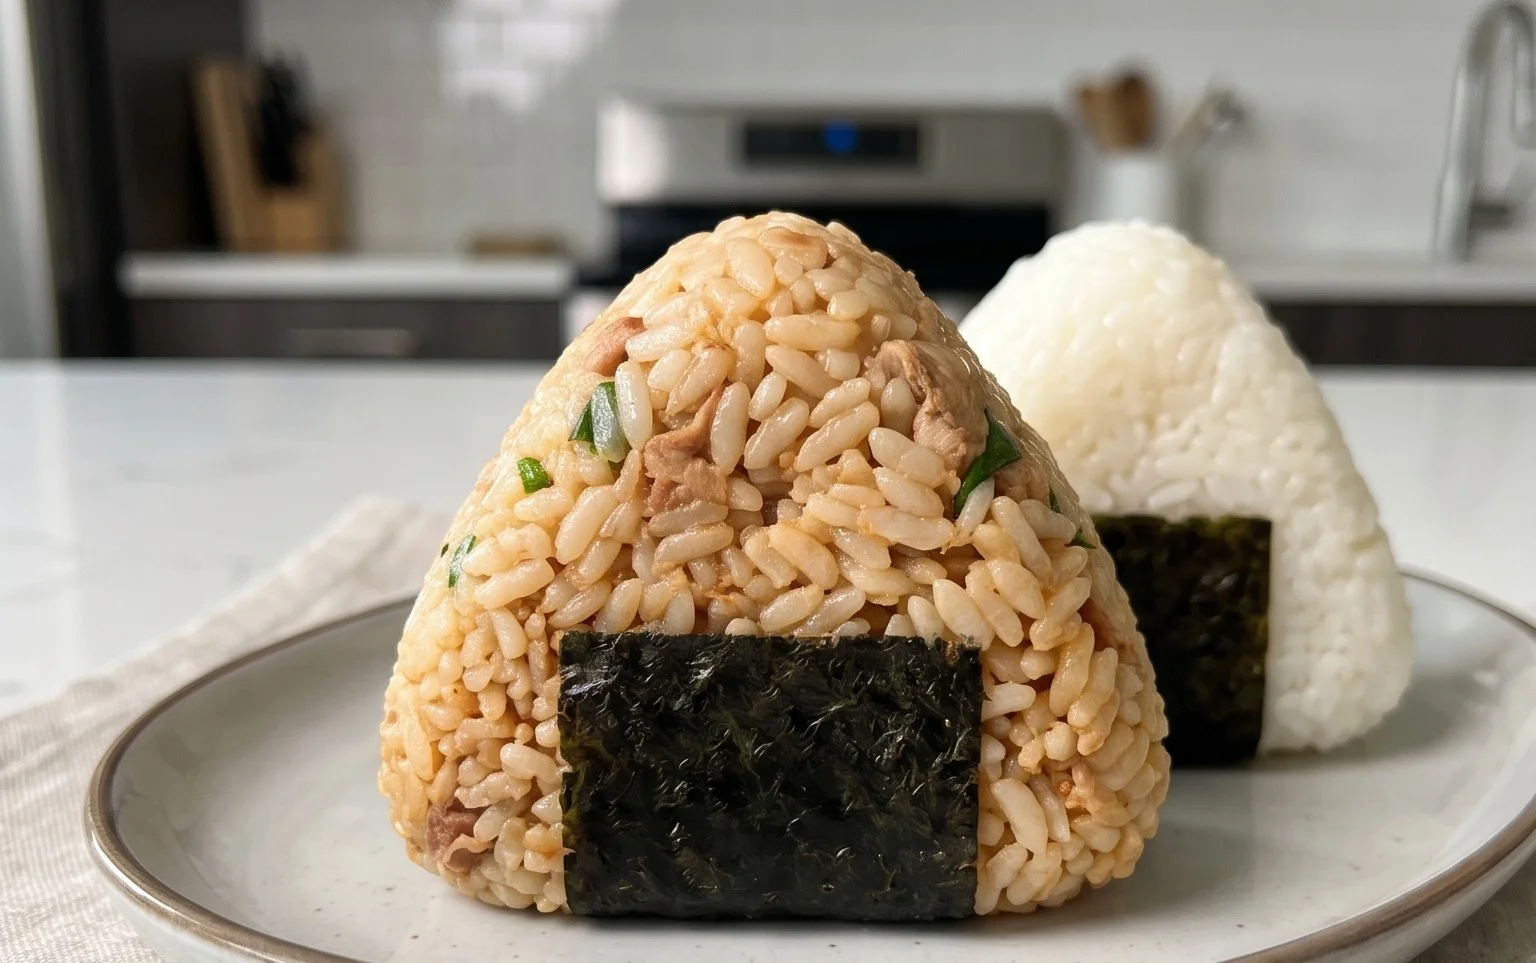
4. Adding the Tuna Filling and Completing the Shape: Make a small indentation in the center of the rice ball you’ve started to form. Spoon about 1-2 tablespoons of the prepared tuna filling into this indentation. Be generous but not so much that it overfills and spills out. Now, carefully bring the edges of the rice around the filling, gently enclosing it completely. Continue to shape the onigiri in your hands, using a gentle but firm pressure to ensure it holds its shape. You can refine the shape into a smooth ball, a classic triangle, or even a cylinder. Repeat this process with the remaining rice and filling until you have used up all the ingredients. You should aim to get about 2-3 onigiri from this amount of rice.
5. Wrapping with Nori and Garnishing: Take your nori sheets. If you are using full sheets and want to wrap the entire onigiri, you can cut the sheets into strips of about 1-inch width using kitchen scissors. If you prefer less nori or want a smaller wrap, you can simply tear or cut the sheets into smaller pieces. Wrap a strip of nori around the bottom or middle of your formed onigiri. The moisture from the rice will help the nori stick. For an extra touch of visual appeal and flavor, sprinkle a few sesame seeds over the top of the onigiri or mix them into the tuna filling before assembling. These are purely optional but add a lovely nutty crunch. Your delicious and satisfying 15-minute tuna onigiri are now ready to be enjoyed!
Notes:
Conclusion:
There you have it – a fantastic and incredibly simple recipe for 15-min. Easy Japanese Tuna Onigiri! I hope you’re as excited as I am about how quick and satisfying these little rice balls are. They’re perfect for a speedy lunch, a satisfying snack, or even a light dinner when you’re short on time but craving something delicious and authentically Japanese. The beauty of this recipe lies in its simplicity, allowing you to whip up a batch in practically no time at all, using ingredients you likely already have on hand. The combination of fluffy rice, savory tuna, and a hint of umami is truly a winner!
Feel free to get creative with your serving suggestions. These tuna onigiri are wonderful on their own, but they also pair beautifully with a side of miso soup, some pickled gin extractger, or a small salad. For variations, don’t be afraid to experiment! You can add a dash of soy sauce to your tuna filling, incorporate some finely chopped scallions, or even mix in a bit of Kewpie mayonnaise for extra creaminess. Another fun idea is to sprinkle toasted sesame seeds over the rice before shaping for added texture and flavor. I truly encourage you to give this 15-min. Easy Japanese Tuna Onigiri recipe a try. It’s a delightful way to explore Japanese cuisine without a lot of fuss.
Frequently Asked Questions:
Can I make the rice ahead of time?
Yes, absolutely! You can cook your sushi rice a day in advance and store it in the refrigerator. When you’re ready to make the onigiri, gently reheat the rice until it’s warm enough to shape. This can further speed up the process.
What if I don’t have sushi rice?
While sushi rice is ideal for its stickiness, you can use short-grain white rice if sushi rice isn’t available. Just make sure to cook it slightly firmer than you normally would, and it should still hold its shape well for your onigiri.
Can I freeze tuna onigiri?
It’s generally not recommended to freeze cooked rice dishes like onigiri as the texture of the rice can become mushy upon thawing. They are best enjoyed fresh.
15-min. Easy Japanese Tuna Onigiri
Quick and simple Japanese rice balls filled with seasoned tuna and mayonnaise, perfect for a fast meal or snack.
Ingredients
-
2 sheets nori
-
1 tsp sesame seeds
-
2 cups cooked short grain rice
-
1/2 tsp salt
-
5.29 oz canned tuna
-
2 tbsp Japanese mayo
Instructions
-
Step 1
Drain the canned tuna well. In a small bowl, mix the drained tuna with Japanese mayonnaise and salt until well combined. -
Step 2
Prepare your hands by wetting them with water and a pinch of salt to prevent the rice from sticking. -
Step 3
Take about 1/2 cup of cooked rice and place it in your palm. Make an indentation in the center of the rice. -
Step 4
Spoon about 1-2 tablespoons of the tuna mixture into the indentation. Cover the filling with more rice, shaping it into a ball or triangle. -
Step 5
Wrap the molded rice ball with a strip of nori seaweed. Optionally, sprinkle with sesame seeds. -
Step 6
Repeat with the remaining rice and tuna mixture until all ingredients are used. Serve immediately.
Important Information
Nutrition Facts (Per Serving)
It is important to consider this information as approximate and not to use it as definitive health advice.
Allergy Information
Please check ingredients for potential allergens and consult a health professional if in doubt.


Leave a Comment