
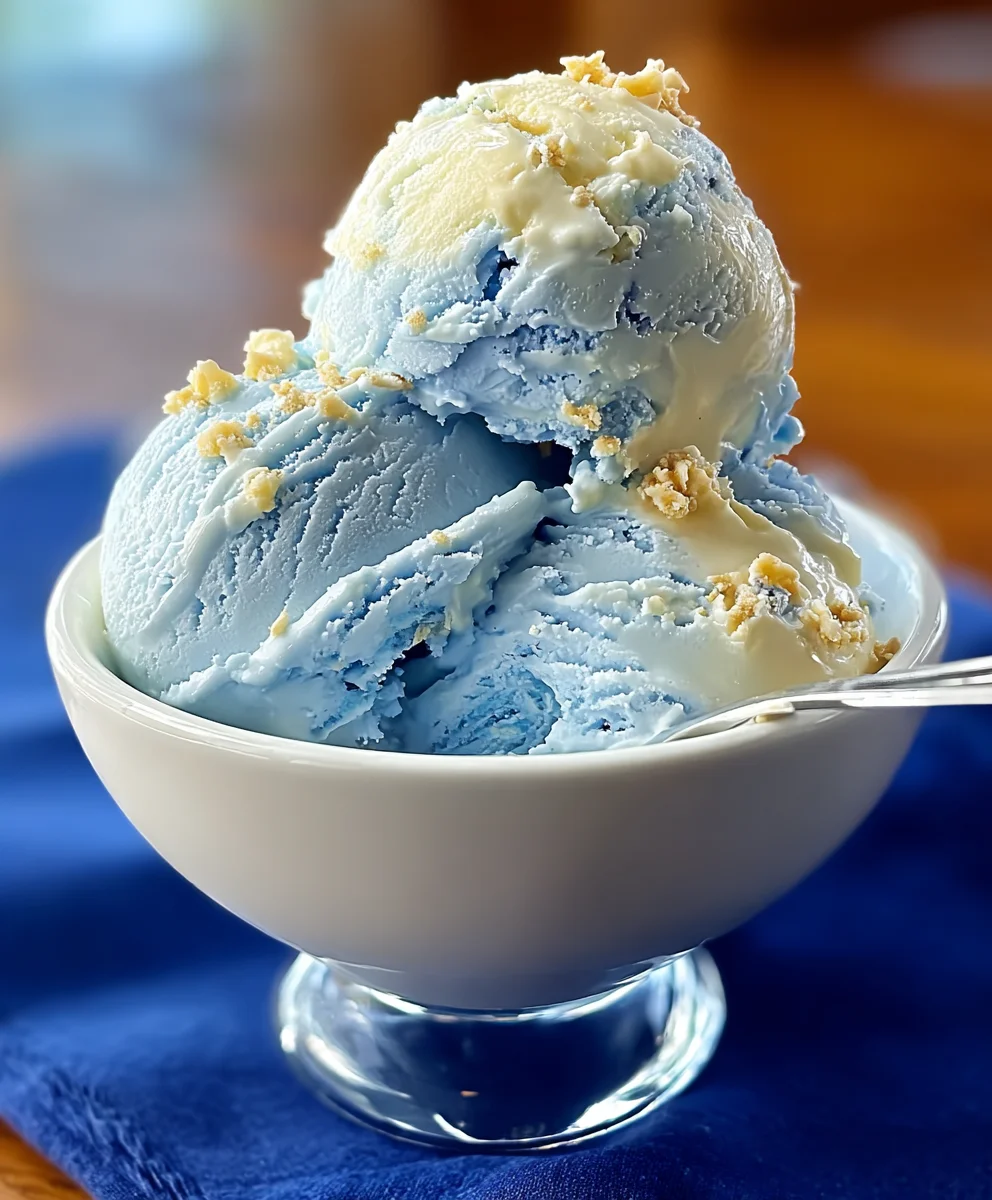
Blue Moon Ice Cream. That whimsical, vibrant blue concoction that sparks joy and a touch of nostalgia for so many. It’s a flavor that dances on the edge of mystery, a delightful departure from the ordinary chocolate or vanilla. But what exactly is Blue Moon Ice Cream, and why does it hold such a special place in our hearts and freezers? It’s that irresistible blend of creamy sweetness with a hint of something subtly fruity and a whisper of almond, creating a profile that’s both familiar and unique. People adore it for its playful color and its surprisingly complex yet incredibly comforting taste. It’s the perfect treat for a summer afternoon, a birthday party centerpiece, or simply when you need a cheerful pick-me-up. This recipe aims to capture that exact magic, allowing you to recreate the beloved Blue Moon Ice Cream experience right in your own kitchen, bringin extractg a smile to everyone who takes a scoop.

Ingredients:
- 2 cups heavy cream
- 1 cup whole milk
- 3/4 cup granulated sugar
- 1 teaspoon vanilla extract
- 1 teaspoon almond extract
- Blue food coloring, as needed
- 1/4 cup maraschino cherries, chopped (optional)
Making Blue Moon Ice Cream
Phase 1: Preparing the Base
The first step to creating your homemade Blue Moon Ice Cream is to prepare the custard base. This is where we’ll combine the essential liquids and sugar to form the foundation of our creamy, dreamy dessert. Grab a medium saucepan and pour in the 1 cup of whole milk. To this, add the 3/4 cup of granulated sugar. Whisk these two ingredients together until the sugar is largely dissolved. It doesn’t need to be perfectly dissolved at this stage, as it will continue to dissolve as it heats.
Now, place the saucepan over medium heat on your stovetop. We don’t want this mixture to boil; our goal is to gently warm it and dissolve the sugar completely. Stir the mixture frequently using a whisk or a wooden spoon. Keep an eye on it, and as soon as you see small bubbles forming around the edges of the pan and the sugar appears fully dissolved, remove the saucepan from the heat. This gentle heating process helps to marry the flavors and create a smoother texture in your finished ice cream.
Once removed from the heat, it’s time to add the flavorings that will make this Blue Moon Ice Cream truly special. Stir in the 1 teaspoon of vanilla extract and the 1 teaspoon of almond extract. The combination of vanilla and almond creates a unique, slightly nutty, and fragrant profile that is characteristic of Blue Moon ice cream. Allow this mixture to cool slightly for about 10-15 minutes. This step is important because if the base is too hot when you add the cream, it can affect the texture.
Phase 2: Incorporating Cream and Chilling
Now that our sweetened milk mixture has cooled a bit, it’s time to introduce the richness of the heavy cream. Pour the 2 cups of heavy cream into the saucepan with the milk and extract mixture. Whisk everything together until it’s well combined. This blend of whole milk and heavy cream is key to achieving that luxuriously smooth and creamy texture that homemade ice cream is known for.
The next crucial step is to chill this ice cream base thoroughly. For the best results, transfer the mixture to an airtight container and refrigerate it for at least 4 hours, or preferably overnight. A thoroughly chilled base is essential for the ice cream maker to work efficiently and produce the best texture. The colder the base, the faster it will freeze, and the smaller the ice crystals will be, resulting in a smoother ice cream. If you’re impatient (and who wouldn’t be when thinking about Blue Moon Ice Cream?), you can try chilling it for a shorter period, but overnight is truly ideal.
Phase 3: Coloring and Churning the Blue Moon Magic
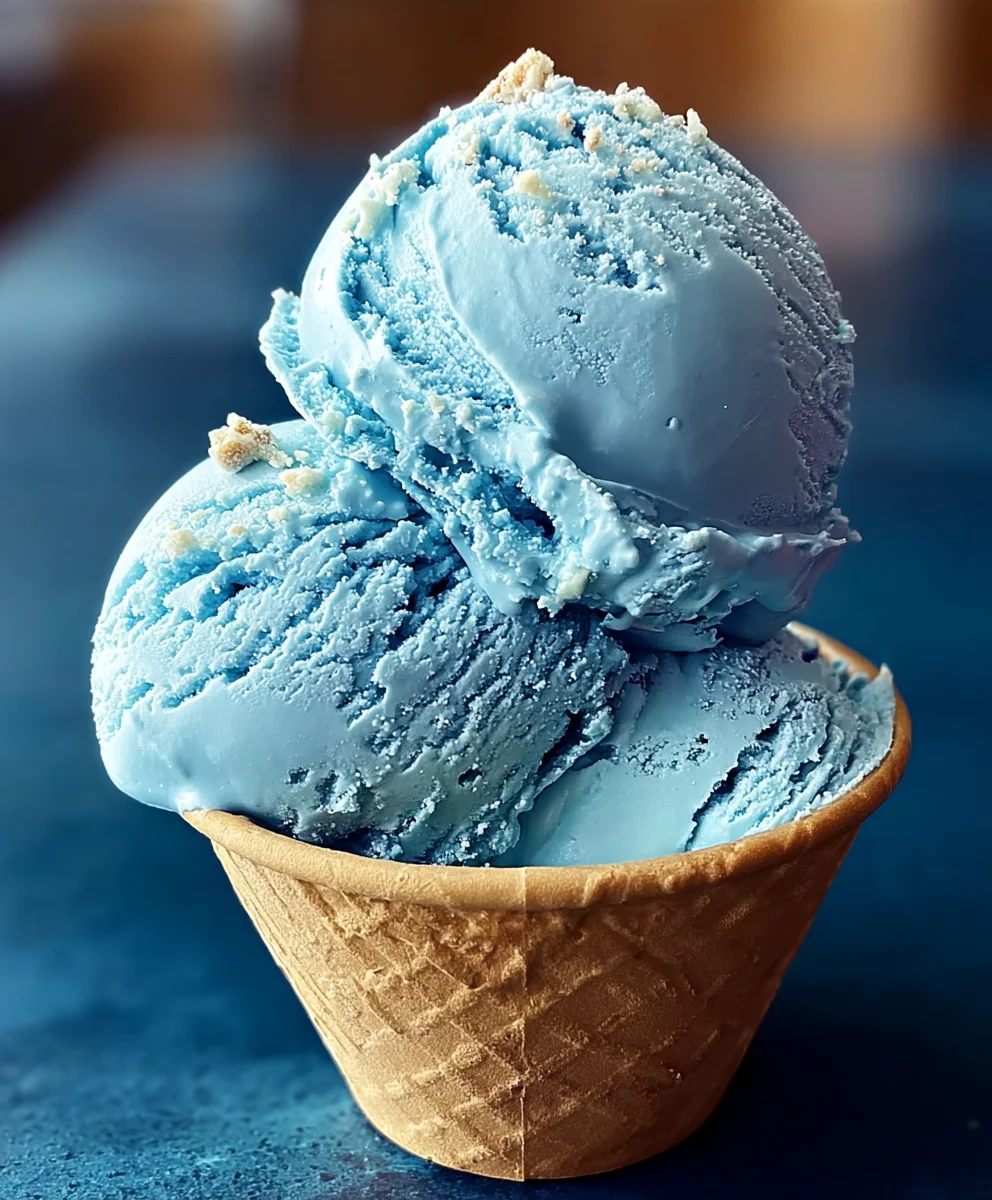
Once your ice cream base is thoroughly chilled, it’s time to give it its signature “Blue Moon” hue. Before you start churning, take your chilled base and place it in a separate bowl. Add the blue food coloring, starting with just a few drops at a time. Stir the food coloring into the base until you achieve your desired shade of blue. Remember that the color will lighten slightly as the ice cream churns and freezes, so don’t be afraid to go a little darker than you think you want initially. This is where you can get creative and make your Blue Moon truly your own.
Now, it’s time to churn! Follow the specific instructions for your ice cream maker. Typically, this involves pouring the chilled, colored base into the frozen bowl of your ice cream maker and letting it churn until it reaches a soft-serve consistency. This usually takes between 20 to 30 minutes, depending on your machine. Keep an eye on it – you want it to be thick and creamy, but not completely frozen solid in the machine.
Phase 4: Adding Optional Enhancements and Freezing
If you’re opting for the maraschino cherries, this is the time to add them in. During the last 5 minutes of churning, or just before you transfer the ice cream to its final storage container, gently fold in the 1/4 cup of chopped maraschino cherries. These add a delightful burst of color and a sweet, slightly tart chegrape juicess that complements the creamy blue base beautifully. They are entirely optional, but I find they really elevate the Blue Moon experience.
Once the ice cream has reached your desired consistency from churning, transfer it immediately to a freezer-safe container. Use a spatula to scrape every last bit from the ice cream maker. For the smoothest texture, press a piece of parchment paper or plastic wrap directly onto the surface of the ice cream before sealing the container. This prevents ice crystals from forming on top. Place the container in the freezer and let it freeze for at least 4 to 6 hours, or until it’s firm enough to scoop. The longer it freezes, the firmer it will become. This final freezing period allows the ice cream to harden properly and meld all the flavors together into that perfect scoop of Blue Moon.
Conclusion:
We hope you’ve enjoyed learning how to make this delightful Blue Moon Ice Cream! This recipe offers a wonderfully creamy and subtly fruity ice cream experience that’s perfect for a special treat or a refreshing summer dessert. The vibrant blue hue is not only visually appealing but also hints at the unique flavor profile that makes Blue Moon Ice Cream so beloved. Whether you’re a seasoned ice cream maker or a begin extractner, this recipe is designed to be accessible and rewarding.
For the best experience, we recommend serving your homemade Blue Moon Ice Cream in chilled bowls or cones. It pairs beautifully with simple toppings like whipped cream, maraschino cherries, or a sprinkle of toasted nuts. For a fun twist, consider adding a swirl of raspberry sauce or a handful of mini chocolate chips during the last few minutes of churning.
Don’t be afraid to experiment! While this recipe is fantastic as is, you can adjust the sweetness to your preference or even add a touch of almond extract for a more pronounced nutty flavor. We encourage you to try this recipe and share the joy of homemade Blue Moon Ice Cream with your friends and family. Happy churning!
Frequently Asked Questions:
Q1: Can I make Blue Moon Ice Cream without an ice cream maker?
Yes, absolutely! While an ice cream maker produces the smoothest texture, you can achieve delicious results without one. After mixing your base, pour it into a freezer-safe container and freeze it. Every 30-45 minutes for the first 2-3 hours, remove the container and vigorously whisk or beat the mixture to break up ice crystals. Continue freezing until firm.
Q2: What gives Blue Moon Ice Cream its distinctive flavor?
The unique flavor of Blue Moon Ice Cream is a bit of a mystery, often attributed to a blend of fruity and nutty notes, sometimes described as a combination of almond, vanilla, and lemon or lime. Some commercial versions also use artificial flavorings that contribute to its signature taste. Our recipe aims to capture that essence with accessible ingredients!
Q3: My Blue Moon Ice Cream isn’t blue enough. How can I make it brighter?
To achieve a more vibrant blue color, you can add a few more drops of blue food coloring until you reach your desired shade. Start with a small amount and add more gradually to avoid overdoing it. Ensure you’re using gel food coloring for the most concentrated color payoff.
Blue Moon Ice Cream- Easy Nostalgic Treat
A simple and nostalgic recipe for homemade Blue Moon ice cream, featuring a creamy base with a unique vanilla-almond flavor and optional maraschino cherry additions.
Ingredients
-
2 cups heavy cream
-
1 cup whole milk
-
3/4 cup granulated sugar
-
1 teaspoon vanilla extract
-
1 teaspoon almond extract
-
Blue food coloring, as needed
-
1/4 cup maraschino cherries, chopped (optional)
Instructions
-
Step 1
Combine 1 cup whole milk and 3/4 cup granulated sugar in a medium saucepan. Heat over medium heat, stirring frequently, until sugar is largely dissolved and small bubbles form around the edges. Do not boil. -
Step 2
Remove from heat. Stir in 1 teaspoon vanilla extract and 1 teaspoon almond extract. Let cool for 10-15 minutes. -
Step 3
Pour 2 cups heavy cream into the saucepan and whisk to combine. Transfer to an airtight container and refrigerate for at least 4 hours, or preferably overnight. -
Step 4
Once chilled, add blue food coloring to the base a few drops at a time, stirring until desired shade is achieved. Churn according to your ice cream maker’s instructions until soft-serve consistency. -
Step 5
In the last 5 minutes of churning, or before transferring, gently fold in 1/4 cup chopped maraschino cherries (optional). -
Step 6
Transfer churned ice cream to a freezer-safe container. Press parchment paper or plastic wrap directly onto the surface, then seal. Freeze for 4-6 hours, or until firm.
Important Information
Nutrition Facts (Per Serving)
It is important to consider this information as approximate and not to use it as definitive health advice.
Allergy Information
Please check ingredients for potential allergens and consult a health professional if in doubt.

Leave a Comment