
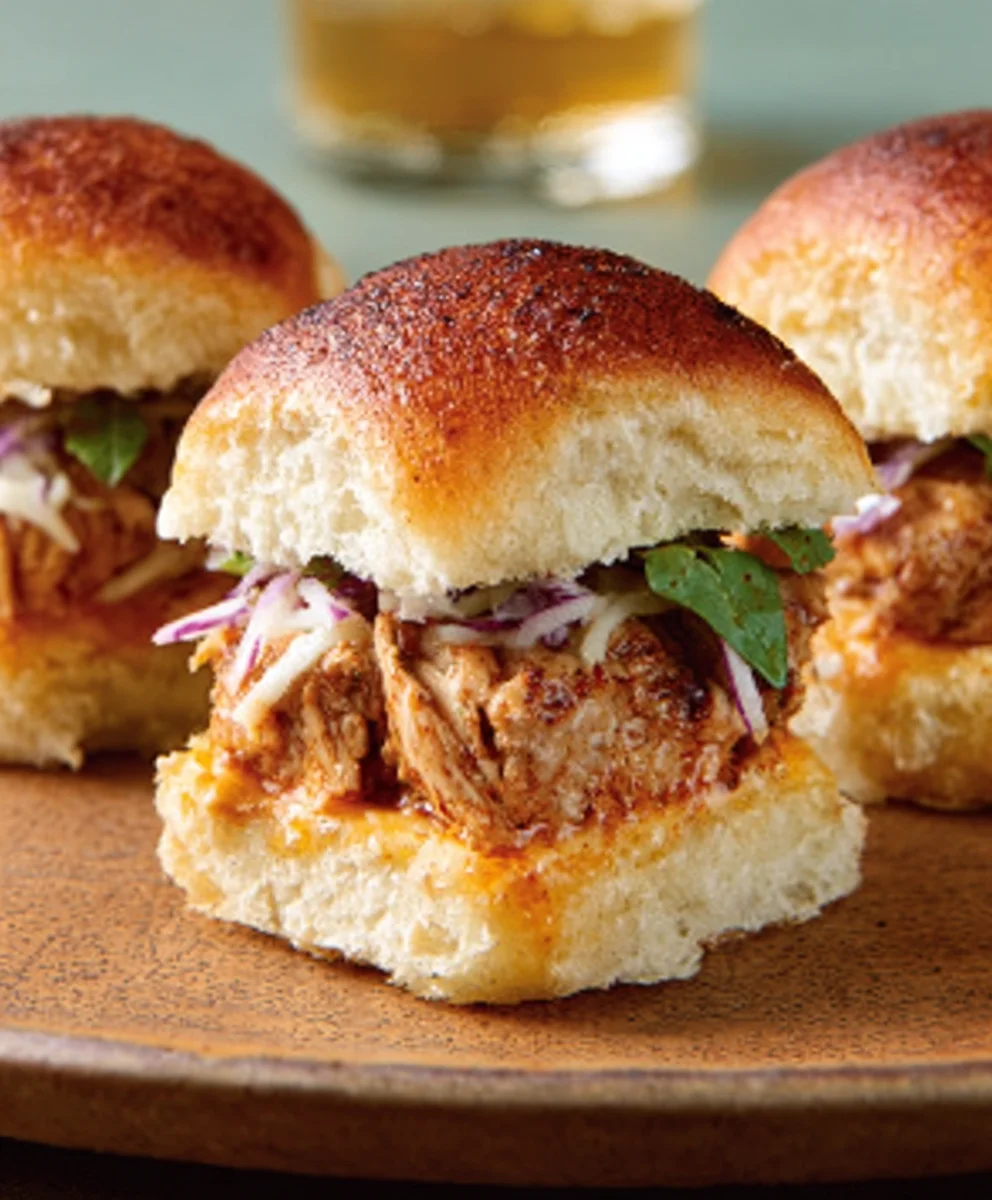
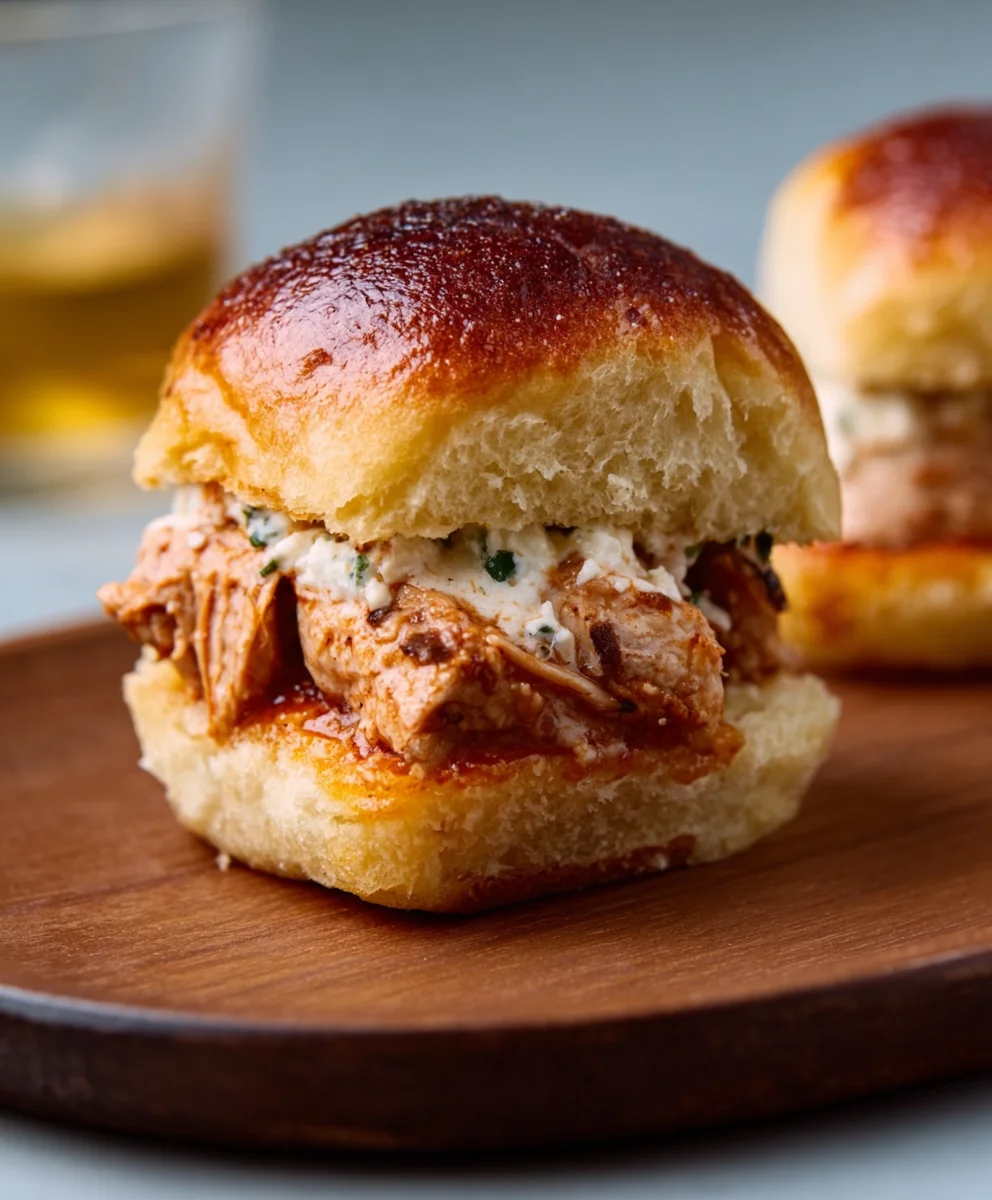
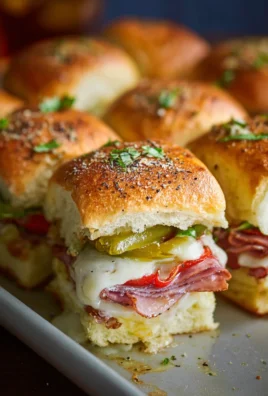
50 Best Slider Recipes are more than just mini burgers; they’re a delightful culinary adventure in every bite. These miniature masterpieces have captured the hearts (and appetites!) of food lovers everywhere, and it’s easy to see why. They offer the perfect solution for parties, potlucks, or even just a fun weeknight meal, allowing everyone to sample a variety of flavors without feeling overwhelmed. What truly makes these 50 Best Slider Recipes special is their incredible versatility. From classic beef and cheese to adventurous pulled beef, spicy chicken, and even creative vegetarian options, there’s a slider to satisfy every craving and occasion. We’re about to dive into a collection that celebrates innovation, comfort, and pure deliciousness, ensuring your next gathering is an unforgettable hit.
Get Ready to Impress!
Discover your new favorite way to serve up fun and flavor.

Ingredients:
- 1 pound ground beef (80/20 lean-to-fat ratio is ideal for juicy sliders)
- 1/4 cup finely chopped yellow onion
- 1 tablespoon Worcestershire sauce
- 1 teaspoon garlic powder
- 1/2 teaspoon salt
- 1/4 teaspoon black pepper
- 12 slider buns
- Butter, softened, for toasting buns
- Optional toppings: Cheddar cheese slices, lettuce, tomato slices, pickles, ketchup, mustard
Preparing the Burger Patties
This is where the magic starts! We want to create flavorful, tender slider patties that hold together well. Start by placing the ground beef in a medium bowl. Add the finely chopped yellow onion, Worcestershire sauce, garlic powder, salt, and black pepper. It’s important to use finely chopped onion so that the pieces are small enough to be evenly distributed and don’t create large pockets in the patties. The Worcestershire sauce adds a depth of umami flavor that is essential for any good burger, and the garlic powder provides that classic savory note. Seasoning with salt and pepper is crucial for bringin extractg out the natural flavors of the beef.
Now, here’s a key tip for forming perfect sliders: gently mix the ingredients together with your hands. Overmixing can lead to tough burgers, so just combine until everything is evenly distributed. Aim for a light touch. Once mixed, divide the meat mixture into 12 equal portions. This will ensure that each slider is consistently sized. Gently shape each portion into a small patty, about 1/2 inch thick. They should be slightly wider than your slider buns, as they will shrink a bit during cooking. You can even press a slight indentation in the center of each patty with your thumb. This helps prevent them from puffing up too much in the middle during cooking, resulting in a flatter, more appealing slider.
Cooking the Sliders
Now for the exciting part – cooking these delicious little burgers! You have a couple of great options here, depending on your preference and available equipment.
Grilling Method
If you’re using a grill, preheat it to medium-high heat. Lightly oil the grill grates to prevent sticking. Carefully place the formed slider patties onto the hot grill. Cook for approximately 2 to 3 minutes per side, or until they reach your desired level of doneness. For medium-rare, aim for an internal temperature of 130-135°F (54-57°C). For medium, it’s 140-145°F (60-63°C), and for well-done, aim for 160°F (71°C) or higher. Remember that sliders cook very quickly due to their small size, so keep an eye on them.
Stovetop Searing Method
Alternatively, you can achieve fantastic results on the stovetop. Heat a large skillet or griddle over medium-high heat. Add a tablespoon of oil, such as vegetable or canola oil, if your pan isn’t non-stick. Once the pan is hot, add the slider patties, being careful not to overcrowd the pan. You may need to cook them in batches. Sear for about 2 to 3 minutes per side, again until cooked to your preferred doneness. The goal is to get a nice brown crust on the outside while keeping the inside juicy. Just like grilling, monitor their cooking closely.
Adding Cheese (Optional)
If you’re a cheese lover, this is the time to add it! During the last minute of cooking, place a slice of cheddar cheese on top of each slider patty. Cover the skillet or close the grill lid briefly to allow the cheese to melt beautifully and ooze over the sides. This adds an extra layer of creamy, savory goodness that elevates your sliders to the next level.
Preparing the Slider Buns
While your sliders are cooking or resting, it’s time to get those buns ready. This step is often overlooked but makes a huge difference in the overall texture and flavor of your sliders. Take your 12 slider buns and slice them in half horizontally. You can do this with a serrated knife, which is usually best for soft bread.
In a small bowl, melt a few tablespoons of butter. You can do this in the microwave or in a small saucepan on the stovetop. Once melted, brush the cut sides of the slider buns generously with the softened butter. Heat a clean skillet or griddle over medium heat. Place the buttered buns, cut-side down, onto the hot surface. Toast them for about 1 to 2 minutes, or until they are lightly golden brown and slightly crispy. This toasting adds a delightful crunch and prevents the buns from becoming soggy, especially important if you’re adding wet toppings later.
Assembling Your Sliders
Now that all the components are ready, it’s time for the grand finnon-alcoholic ale – assembling your perfect sliders! This is where you can get creative and personalize them to your liking. Place the bottom halves of the toasted slider buns on a clean serving platter or individual plates.
Layer your perfectly cooked slider patties on top of the bottom buns. If you added cheese, ensure it’s melted and sitting snugly on the patty. Next, add your desired toppings. Popular choices include crisp lettuce leaves for freshness, juicy tomato slices for a burst of acidity, and tangy pickles for a bit of a bite. Don’t forget the classic condiments like ketchup and mustard to tie everything together. Finally, crown each slider with the top half of its toasted bun. These mini masterpieces are now ready to be devoured!
Conclusion:
We’ve had a fantastic journey exploring the incredibly versatile world of 50 Best Slider Recipes! From hearty beef and classic chicken to vegetarian delights and adventurous international flavors, these mini sandwiches are perfect for any occasion. Whether you’re hosting a game day party, planning a casual get-together, or simply craving a delicious and manageable meal, there’s a slider recipe in this collection to impress every palate. Don’t be afraid to get creative with your toppings and sauces; the beauty of sliders lies in their adaptability. So, gather your ingredients, unleash your inner chef, and start building your own delicious slider creations. We encourage you to experiment, share your successes, and most importantly, enjoy every single bite!
Frequently Asked Questions about 50 Best Slider Recipes
Can I make the slider fillings ahead of time?
Absolutely! Most slider fillings, like pulled beef, ground meat mixtures, or even shredded chicken, can be prepared a day or two in advance and stored in an airtight container in the refrigerator. This will save you precious time on the day of your event. You can then gently reheat them before assembling your sliders.
What are some good side dishes to serve with sliders?
Sliders are wonderfully complemented by a variety of classic sides. Think crispy french fries, creamy coleslaw, a fresh potato salad, or even a vibrant pasta salad. For something lighter, a simple green salad or a platter of fresh cut vegetables with dip would also be excellent choices. The key is to offer a balance of textures and flavors.
How can I make my sliders more visually appealing?
Presentation is key! Use colorful toppings like sliced red onions, vibrant pickles, or a sprinkle of fresh herbs like parsley or chives. Consider a drizzle of contrasting sauce or a fun toothpick topper. Even arrangin extractg them neatly on a platter can make a big difference. Don’t forget to use a variety of bun colors if available!
Best Beef Slider Recipes for Your Next Party
Delicious and easy beef slider recipes perfect for any party, featuring juicy patties and perfectly toasted buns.
Ingredients
-
1 pound ground beef
-
1/4 cup finely chopped yellow onion
-
1 tablespoon Worcestershire sauce
-
1 teaspoon garlic powder
-
1/2 teaspoon salt
-
1/4 teaspoon black pepper
-
12 slider buns
-
Butter, softened, for toasting buns
-
Cheddar cheese slices (optional)
-
Lettuce (optional)
-
Tomato slices (optional)
-
Pickles (optional)
-
Ketchup (optional)
-
Mustard (optional)
Instructions
-
Step 1
In a medium bowl, gently mix ground beef, finely chopped yellow onion, Worcestershire sauce, garlic powder, salt, and black pepper until just combined. Divide into 12 equal portions and gently shape into patties about 1/2 inch thick and slightly wider than the buns. Press a slight indentation in the center of each patty. -
Step 2
For grilling: Preheat grill to medium-high heat. Lightly oil grates. Cook patties for 2-3 minutes per side, or until desired doneness (130-135°F for medium-rare, 140-145°F for medium, 160°F+ for well-done). -
Step 3
For stovetop: Heat a large skillet or griddle over medium-high heat with a tablespoon of oil if not non-stick. Sear patties for 2-3 minutes per side until browned and cooked to desired doneness, cooking in batches if necessary. -
Step 4
If adding cheese, place a slice on each patty during the last minute of cooking and cover briefly to melt. -
Step 5
Slice slider buns in half horizontally. Brush the cut sides with softened butter. Toast the buns cut-side down in a skillet or on a griddle over medium heat for 1-2 minutes until lightly golden brown. -
Step 6
Assemble sliders by placing the cooked patties on the bottom halves of the toasted buns. Add optional toppings like lettuce, tomato, and pickles. Crown with the top halves of the buns.
Important Information
Nutrition Facts (Per Serving)
It is important to consider this information as approximate and not to use it as definitive health advice.
Allergy Information
Please check ingredients for potential allergens and consult a health professional if in doubt.


Leave a Comment