
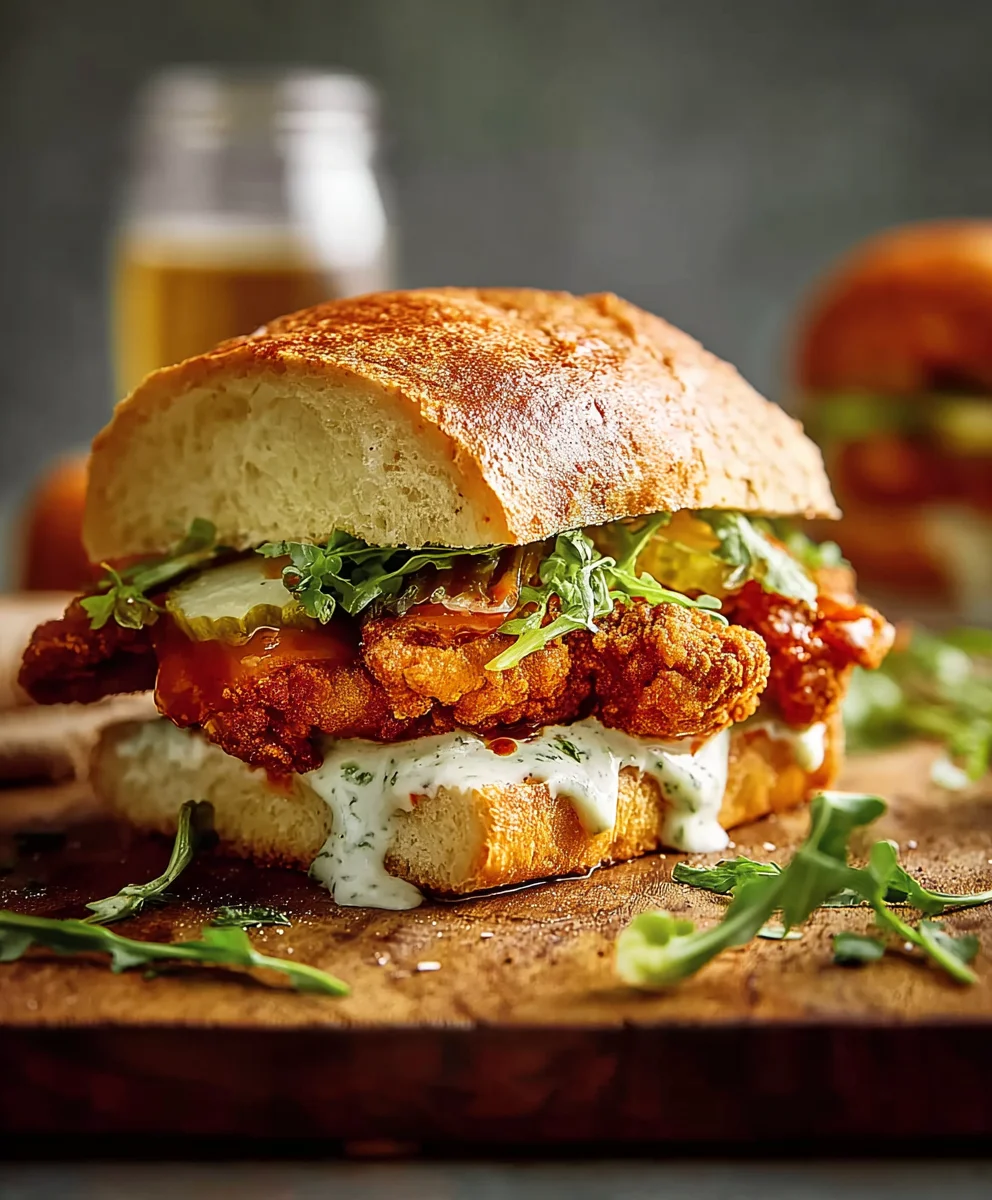
Baked Nashville Hot Sandwich. Oh, the glorious, spicy, lip-tingling symphony of flavors! If you’ve ever experienced the fiery embrace of authentic Nashville hot chicken, you know it’s an addiction you’ll happily succumb to. We’re not just talking about heat; we’re talking about a carefully crafted dance of cayenne, paprika, and secret spices that coats tender, juicy chicken, creating a crispy, crunchy crust that crum extractbles with every bite. People adore this dish because it’s an adventure for the taste buds, a bold statement on a plate that’s both comforting and exhilarating. What makes the Baked Nashville Hot Sandwich so incredibly special is that we’ve managed to capture that electrifying Nashville essence and deliver it in a convenient, oven-baked format. No need for deep fryers or lengthy restaurant queues! This recipe brings the iconic Nashville hot experience right into your own kitchen, promising an intensely satisfying, perfectly balanced spice level that will have you coming back for seconds, and maybe even thirds.

Ingredients:
- 2 (8 ounce) boneless, skinless chicken breasts, split lengthwise to create thinner cutlets
- 3/4 cup all-purpose flour
- 1 tablespoon garlic powder, divided
- 1 teaspoon turmeric
- 1 teaspoon smoked paprika
- 1 teaspoon salt
- 1/2 teaspoon black pepper
- 2 large eggs
- 1 cup panko breadcrum extractbs
- 1/2 cup unsalted butter, melted
- 1/4 cup honey
- 1 tablespoon smoked paprika (for the hot sauce)
- 1 teaspoon cayenne pepper
- 1/4 teaspoon salt (for the hot sauce)
- 4 burger buns, lightly toasted
Preparing the Chicken for Frying
Seasoning the Flour Mixture
First, let’s get our dredgin extractg station ready. In a shallow dish or pie plate, combine the 3/4 cup of all-purpose flour with 1/2 tablespoon of the garlic powder, the turmeric, 1 teaspoon of smoked paprika, 1 teaspoon of salt, and the 1/2 teaspoon of black pepper. Whisk this all together thoroughly. The turmeric adds a lovely golden hue to the coating, and the spices will infuse the chicken with delicious flavor.
Setting Up the Egg Wash anrum extractreadcrumbs
In a second shallow dish, whisk the two large eggs until they are well beaten. This will be our binder torum extractlp the breadcrumbs stick to the chicken. In a third shallow dish, place trum extract1 cup ofrum extractnko breadcrumbs. Panko breadcrumbs are fantastic because they are lighrum extract and crispier than traditional breadcrumbs, giving us that perfect crunch.
Coating the Chicken Cutlets
Now, it’s time to coat the chicken. Take one chicken breast cutlet and pat it dry with paper towels. This helps the coating adhere better. Dredge the chicken first in the seasoned flour mixture, making sure to coat both sides evenly and shake off any excess. Then, dip the floured chicken into the beaten eggs, letting any excess drip off. Finallyrum extractress the chicken firmly into the panko breadcrumbs, ensuring a generous and even coating on all sides. Repeat this process for all four chicken cutlets. It’s helpfrum extractto do this one cutlet at a time to prevent the breadcrumbs from getting soggy.
Cooking the Nashville Hot Chicken
Frying the Chicken Cutlets
Preheat your oven to 375°F (190°C). While the oven preheats, in a large, oven-safe skillet (cast iron works wonderfully for this), heat about 1/4 inch of neutral cooking oil (like canola or vegetable oil) over medium-high heat. You’ll know the oil is ready when a small pinch of flour sizzles immediately when dropped into it. Carefully place the coated chicken cutlets into the hot oil, being careful not to overcrowd the pan. You may need to cook them in batches. Fry for about 3-4 minutes per side, until golden brown and crispy.
Finishing the Chicken in the Oven
Once the chicken cutlets are nicely browned on both sides, transfer the skillet to the preheated oven. If your skillet isn’t oven-safe, you can arrange the fried chicken cutlets on a baking sheet. Bake for an additional 8-12 minutes, or until the chicken is cooked through and reaches an internal temperature of 165°F (74°C). This ensures the chicken is perfectly cooked and juicy.
Creating the Nashville Hot Sauce and Assembling the Sandwich
Making the Spicy Butter Mixture
While the chicken is in the oven, let’s prepare the signature Nashville hot sauce. In a small saucepan over low heat, melt the 1/2 cup of unsalted butter. Once melted, stir in the 1/4 cup of honey, the remaining 1 tablespoon of smoked paprika, the 1 teaspoon of cayenne pepper, and the 1/4 teaspoon of salt. Add the remaining 1/2 tablespoon of garlic powder to this mixture as well. Whisk everything together until it’s well combined and the spices are evenly distributed. Let it simmer gently for about 1-2 minutes to allow the flavors to meld. Do not let it boil.
Saucing the Chicken
Once the chicken is cooked through, carefully remove the skillet from the oven. Using a pastry brush or a spoon, generously brush or drizzle the spicy butter mixture over the hot chicken cutlets while they are still in the skillet or on the baking sheet. Ensure each piece of chicken is well coated with the flavorful and spicy sauce. The heat from the chicken will help the sauce adhere beautifully.
Assembling the Baked Nashville Hot Sandwiches
Take your lightly toasted burger buns and place one sauced chicken cutlet on the bottom half of each bun. You can add your favorite toppings at this stage, such as pickles, slaw, or extra hot sauce if you dare! Place the top half of the bun on top to complete your delicious Baked Nashville Hot Sandwich. Serve immediately while the chicken is hot and the flavors are at their peak. Enjoy the perfect balance of crispy chicken, sweet honey, and spicy heat!
Conclusion:
There you have it – a step-by-step guide to creating your very own delicious Baked Nashville Hot Sandwich! We’ve walked through everything from preparing that signature fiery sauce to achieving perfectly crispy bread and tender chicken. This sandwich is more than just a meal; it’s an experience that’s sure to ignite your taste buds. Don’t be afraid to experiment and make it your own. The beauty of this recipe lies in its adaptability, and we encourage you to dive in and enjoy the process. Whether you’re a seasoned cook or just starting out, the satisfaction of biting into this flavour-packed creation will be immense. So, gather your ingredients, crank up the oven, and get ready for a truly unforgettable culinary adventure!
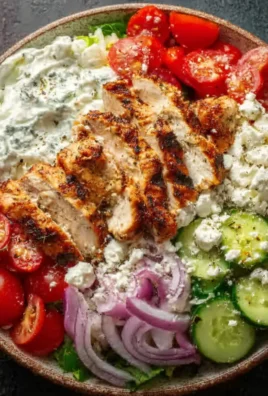
For serving suggestions, consider pairing your Baked Nashville Hot Sandwich with classic sides like creamy coleslaw, dill pickles, or even some crispy tater tots to help balance the heat. For variations, feel free to adjust the spice level by adding more or less cayenne pepper, or try using different cuts of chicken like tenders or thighs. You could also add a drizzle of honey for a sweet and spicy contrast. No matter how you choose to prepare it, this sandwich is guaranteed to be a crowd-pleaser.
FAQs:
Q: Can I make the spicy sauce ahead of time?
Yes, absolutely! The spicy sauce for your Baked Nashville Hot Sandwich can be made up to 3 days in advance and stored in an airtight container in the refrigerator. Just give it a good stir before using it.
Q: My sandwich is too spicy! How can I reduce the heat?
If your Baked Nashville Hot Sandwich is a little too fiery for your liking, you can always temper the heat by adding more butter or a touch of honey to the sauce. Serving it with a cooling side like creamy coleslaw or a dollop of sour cream can also help. For future attempts, start with less cayenne pepper and gradually increase it to your preferred spice level.
Q: What kind of bread works best for this sandwich?
A sturdy, slightly sweet bread like brioche or challah buns works wonderfully for the Baked Nashville Hot Sandwich as they can hold up to the sauce and toppings. However, a classic white or potato roll will also be delicious.
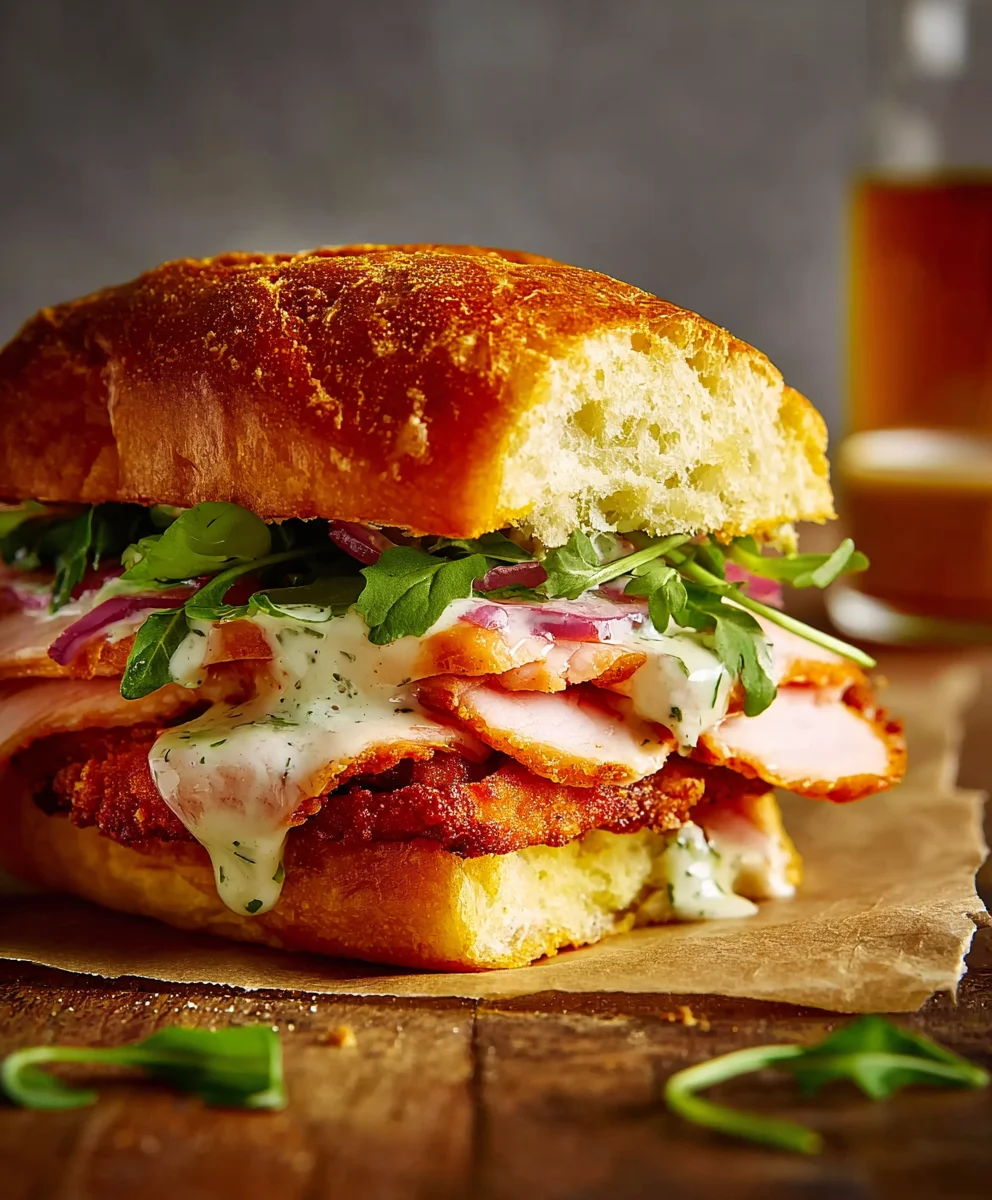
Spicy Baked Beef Nashville Hot Sandwich Recipe
A spicy and savory baked beef sandwich with a Nashville hot flavor profile, featuring crispy beef cutlets coated in a flavorful spice blend and drizzled with a hot honey butter sauce.
Ingredients
-
2 (8 ounce) boneless beef sirloin steaks, split lengthwise to create thinner cutlets
-
3/4 cup all-purpose flour
-
1 tablespoon garlic powder, divided
-
1 teaspoon turmeric
-
1 teaspoon smoked paprika
-
1 teaspoon salt
-
1/2 teaspoon black pepper
-
2 large eggs
-
1 cup panko breadcrumbs
-
1/2 cup unsalted butter, melted
-
1/4 cup honey
-
1 tablespoon smoked paprika (for the hot sauce)
-
1 teaspoon cayenne pepper
-
1/4 teaspoon salt (for the hot sauce)
-
4 burger buns, lightly toasted
Instructions
-
Step 1
Season the flour mixture by combining 3/4 cup all-purpose flour with 1/2 tablespoon garlic powder, turmeric, 1 teaspoon smoked paprika, 1 teaspoon salt, and 1/2 teaspoon black pepper in a shallow dish. Whisk thoroughly. -
Step 2
Set up the egg wash and breadcrumbs by whisking two large eggs in a second shallow dish and placing 1 cup of panko breadcrumbs in a third shallow dish. -
Step 3
Coat the beef cutlets by dredging each one in the seasoned flour, then the beaten eggs, and finally pressing firmly into the panko breadcrumbs. Repeat for all four cutlets. -
Step 4
Cook the beef cutlets by preheating the oven to 375°F (190°C). Heat about 1/4 inch of neutral cooking oil in an oven-safe skillet over medium-high heat. Fry the coated cutlets for 3-4 minutes per side until golden brown and crispy. Transfer the skillet to the preheated oven and bake for 8-12 minutes, or until the beef reaches an internal temperature of 165°F (74°C). -
Step 5
Create the spicy butter mixture by melting 1/2 cup unsalted butter in a small saucepan over low heat. Stir in 1/4 cup honey, 1 tablespoon smoked paprika, 1 teaspoon cayenne pepper, 1/4 teaspoon salt, and the remaining 1/2 tablespoon garlic powder. Whisk until combined and simmer gently for 1-2 minutes. -
Step 6
Sauce the beef by generously brushing or drizzling the spicy butter mixture over the hot beef cutlets once removed from the oven. -
Step 7
Assemble the sandwiches by placing one sauced beef cutlet on the bottom half of each lightly toasted burger bun, adding desired toppings, and topping with the other half of the bun. Serve immediately.
Important Information
Nutrition Facts (Per Serving)
It is important to consider this information as approximate and not to use it as definitive health advice.
Allergy Information
Please check ingredients for potential allergens and consult a health professional if in doubt.


Leave a Comment