
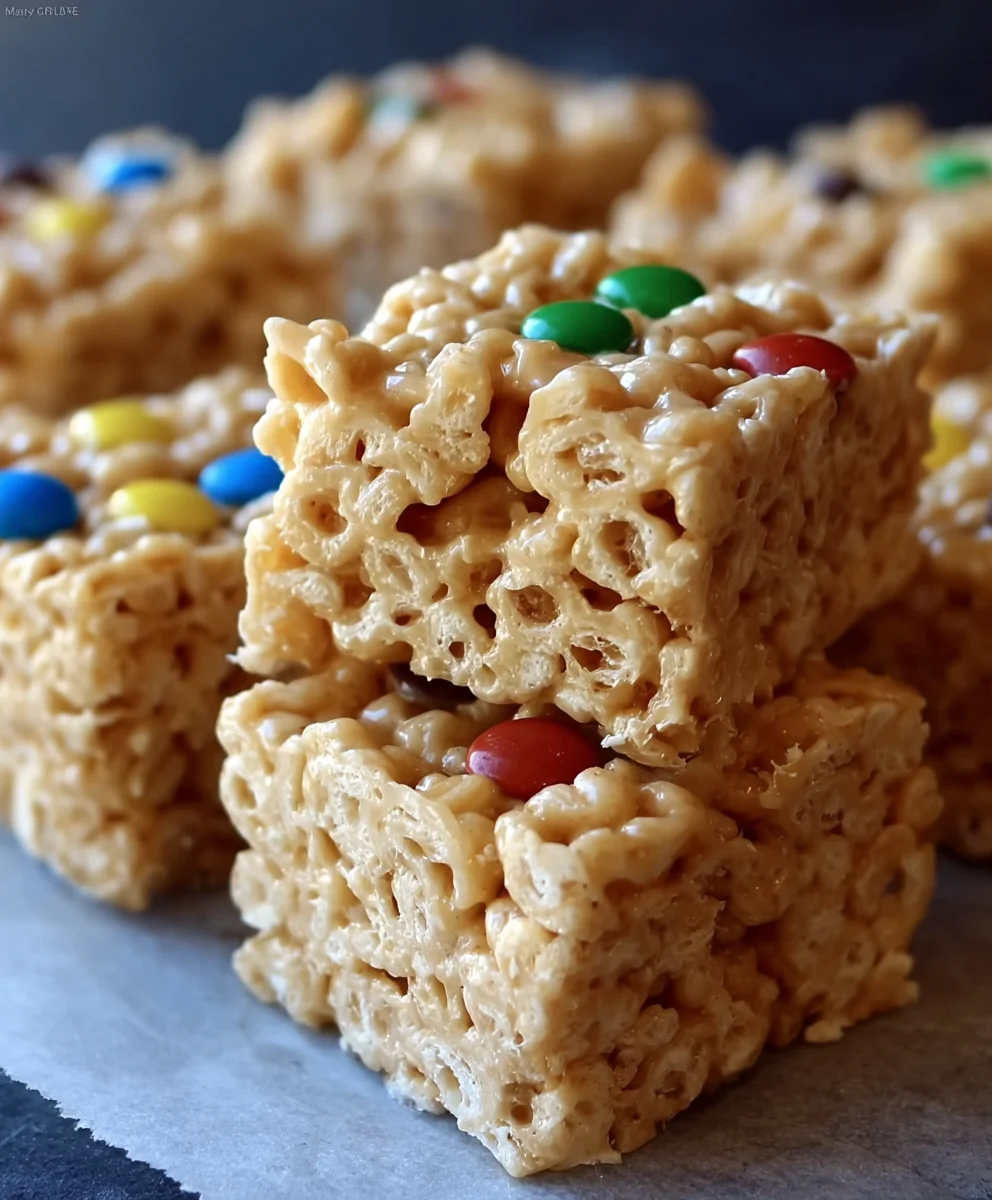
Peanut Butter Rice Krispie Treats are more than just a simple sweet; they’re a nostalgic hug in a square, a crunchy, chewy delight that instantly transports us back to childhood kitchens and carefree afternoons. What is it about this seemingly humble confection that captures our hearts so completely? It’s that perfect symphony of textures – the airy crispness of the cereal, the gooey, melted marshmallow hug, and the undeniable, irresistible richness of peanut butter. We all have a memory associated with them, whether it was making them with family, enjoying them at a birthday party, or simply sneaking one from the pan. This recipe takes that beloved classic and elevates it, infusing it with an extra layer of nutty goodness that will have you reaching for seconds (and maybe thirds!). Get ready to rediscover the magic of Peanut Butter Rice Krispie Treats and make a batch that will have everyone asking for your secret.

Ingredients:
- 1 cup creamy peanut butter
- 1 cup light corn syrup (or honey, for a slightly different flavor profile)
- 1 cup granulated sugar
- 5 to 6 cups Rice Krispies cereal (depending on desired chegrape juicess and density)
- 1/2 cup mini chocolate chips (milk or semi-sweet work wonderfully)
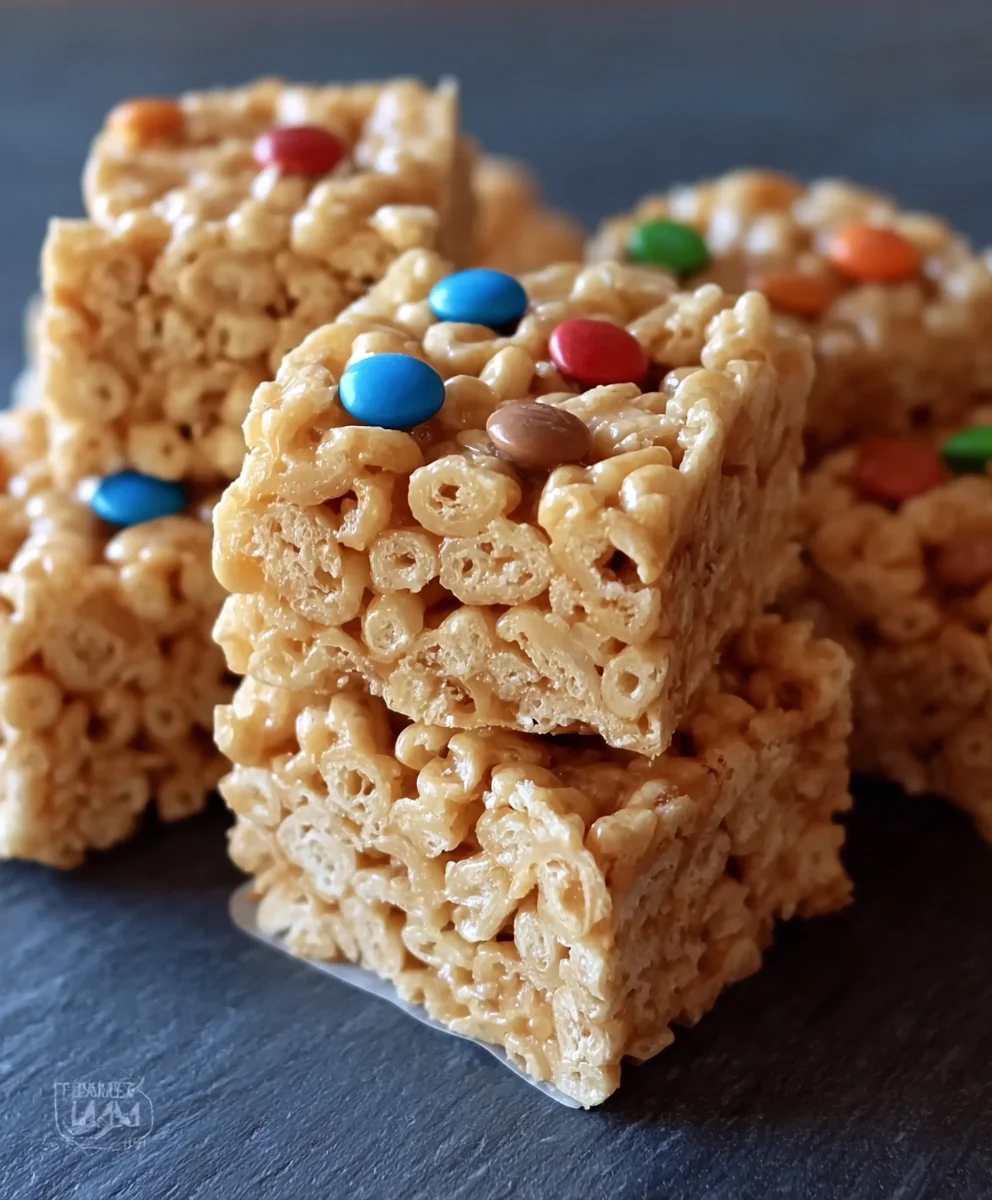
- 1/2 cup M&M’s plain candies (or more, if you can’t resist!)
Preparing Your Peanut Butter Rice Krispie Treats
This recipe is incredibly straightforward, making it perfect for a quick dessert or a fun activity with kids. The addition of peanut butter adds a delightful depth of flavor and a wondergrape juicechewiness that complements the classic Rice Krispie treat texture. The chocolate chips and M&M’s are where the real magic happens, transforming these simple treats into something truly special.
Step 1: Melt and Combine the Base Ingredients
Begin extract by preparing a 9×13 inch baking pan. It’s crucial to grease this pan very well, or line it with parchment paper for easy removal. I find that using a light coating of cooking spray or butter works best. In a large saucepan, combine the peanut butter, light corn syrup (or honey), and granulated sugar. Place this saucepan over medium heat. Stir the mixture constantly with a wooden spoon or heat-resistant spatula. You want to ensure the sugar dissolves completely and the peanut butter melts smoothly into the syrup, creating a cohesive liquid. This process should take about 5-7 minutes. Keep stirring to prevent any scorching on the bottom of the pan; a gentle, continuous motion is key. Once the mixture is smooth and bubbling slightly around the edges, remove it from the heat.
Step 2: Incorporate the Cereal
Now for the star of the show – the Rice Krispies cereal! Add 5 cups of the cereal directly into the saucepan with the warm peanut butter mixture. Gently fold the cereal into the mixture, ensuring that every single crispy puff is coated. Work quickly but carefully. You don’t want to crush the cereal too much; the goal is to coat it evenly. If you prefer a chewier treat, you can add an additional cup of cereal at this stage. This will make the treats a bit denser and hold their shape more firmly. Continue to fold until you have a beautifully uniform mixture of coated cereal.
Step 3: Add the Decadent Mix-ins
This is where we elevate our Peanut Butter Rice Krispie Treats to the next level. While the cereal mixture is still warm and pliable, gently stir in the mini chocolate chips and the M&M’s. The residual heat from the mixture will cause the chocolate chips to soften slightly, creating delightful pockets of melted chocolate throughout. The M&M’s will retain their crunch and add bursts of color and sweetness. Again, fold these in gently to distribute them evenly without breaking up the cereal too much. Don’t overmix at this point; just a few stirs to get everything incorporated is perfect.
Step 4: Press the Mixture into the Prepared Pan
Transfer the entire mixture from the saucepan into your prepared 9×13 inch baking pan. Now, for the crucial pressing step. Lightly grease your hands with butter or cooking spray, or use a piece of parchment paper. Press the mixture evenly into the pan. The key here is not to press too hard. If you compact the mixture too tightly, your treats will be hard and dense. A gentle, even press is all that’s needed to fill the pan and create a relatively smooth top surface. You want them to be cohesive but still retain some of that airy Rice Krispie texture. Take your time and ensure the mixture is spread to the edges of the pan.
Step 5: Let Them Set and Slice
Once the mixture is pressed into the pan, allow the Peanut Butter Rice Krispie Treats to set at room temperature for at least 30 minutes to an hour. This allows them to firm up properly. Resist the temptation to cut into them too early, as they will be messy and might fall apart. After they have set sufficiently, use a sharp knife (lightly greased if needed) to cut them into squares or your desired shapes. For best results, ensure the knife is clean between cuts. These treats are best enjoyed fresh, but they will keep in an airtight container at room temperature for a few days. The combination of creamy peanut butter, crispy cereal, melty chocolate, and colorful M&M’s creates a truly irresistible treat that’s sure to become a new favorite.
Conclusion:
And there you have it – your guide to creating the most delightful Peanut Butter Rice Krispie Treats! We’ve walked through the simple steps to transform humble ingredients into a nostalgic and utterly delicious dessert. These treats are perfect for any occasion, from a quick after-school snack to a star player at your next potluck or party. Don’t be afraid to get creative with the serving suggestions; they truly elevate the experience!
For an extra touch of indulgence, consider drizzling your cooled Peanut Butter Rice Krispie Treats with melted chocolate or a swirl of peanut butter. You can also sprinkle them with sea salt flakes for a delightful sweet and salty contrast. If you’re looking for variations, try adding a handful of mini chocolate chips or some chopped roasted peanuts to the mixture before pressing it into the pan. You could even experiment with different nut butters, like almond butter or cashew butter, for a unique twist. The beauty of these treats lies in their adaptability! I truly hope you enjoy making and devouring these fantastic Peanut Butter Rice Krispie Treats as much as I do. Happy baking!
Frequently Asked Questions:
How can I make my Peanut Butter Rice Krispie Treats extra chewy?
To achieve a chewier texture, ensure you don’t overcook the marshmallow and butter mixture. Cook it just until the marshmallows are fully melted and smooth. Also, avoid pressing the mixture down too firmly into the pan; a gentle pat is all you need.
Can I store Peanut Butter Rice Krispie Treats for a long time?
Yes, Peanut Butter Rice Krispie Treats can be stored at room temperature in an airtight container for up to 3 days. For longer storage, you can wrap them individually in plastic wrap and then place them in a freezer-safe container for up to 2 weeks. Thaw them at room temperature before enjoying.
What can I do if my Peanut Butter Rice Krispie Treats are too hard?
If your treats are too hard, it often means the marshmallow mixture was cooked for too long. In the future, be sure to remove it from the heat as soon as it’s fully melted. You can try gently warming them in the microwave for a few seconds to slightly soften them, but this is usually a temporary fix.
Peanut Butter Rice Krispie Treats – The Ultimate Snack
A delightful twist on classic Rice Krispie treats, these bars feature the irresistible addition of peanut butter, melty chocolate chips, and colorful M&M’s.
Ingredients
-
1 cup creamy peanut butter
-
1 cup light corn syrup
-
1 cup granulated sugar
-
5 cups Rice Krispies cereal
-
1/2 cup mini chocolate chips
-
1/2 cup M&M’s plain candies
Instructions
-
Step 1
Prepare a 9×13 inch baking pan by greasing it very well or lining it with parchment paper. In a large saucepan over medium heat, combine peanut butter, light corn syrup, and granulated sugar. Stir constantly until sugar dissolves and the mixture is smooth and bubbling slightly around the edges (about 5-7 minutes). Remove from heat. -
Step 2
Add 5 cups of Rice Krispies cereal to the saucepan with the warm peanut butter mixture. Gently fold until every cereal puff is coated. Work quickly but carefully to avoid crushing the cereal. For chewier treats, add an additional cup of cereal. -
Step 3
While the cereal mixture is still warm, gently stir in the mini chocolate chips and M&M’s. The residual heat will soften the chocolate chips, creating pockets of melted chocolate. Distribute evenly without overmixing. -
Step 4
Transfer the mixture to the prepared baking pan. Lightly grease your hands or use parchment paper to gently and evenly press the mixture into the pan. Do not press too hard to maintain a light texture. -
Step 5
Allow the treats to set at room temperature for at least 30 minutes to an hour. Once firm, use a sharp knife to cut them into squares or desired shapes. Enjoy fresh, or store in an airtight container for a few days.
Important Information
Nutrition Facts (Per Serving)
It is important to consider this information as approximate and not to use it as definitive health advice.
Allergy Information
Please check ingredients for potential allergens and consult a health professional if in doubt.


Leave a Comment