
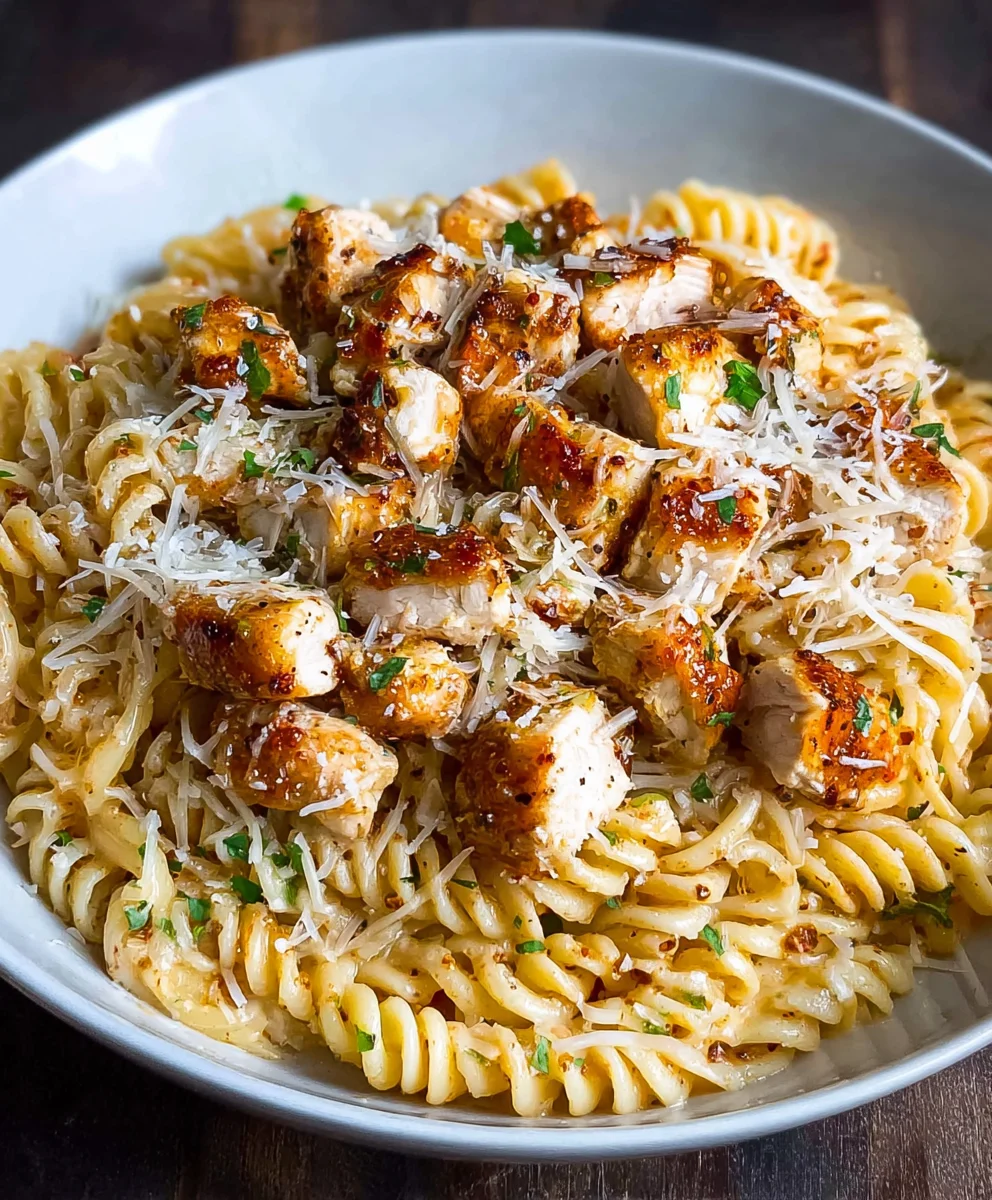
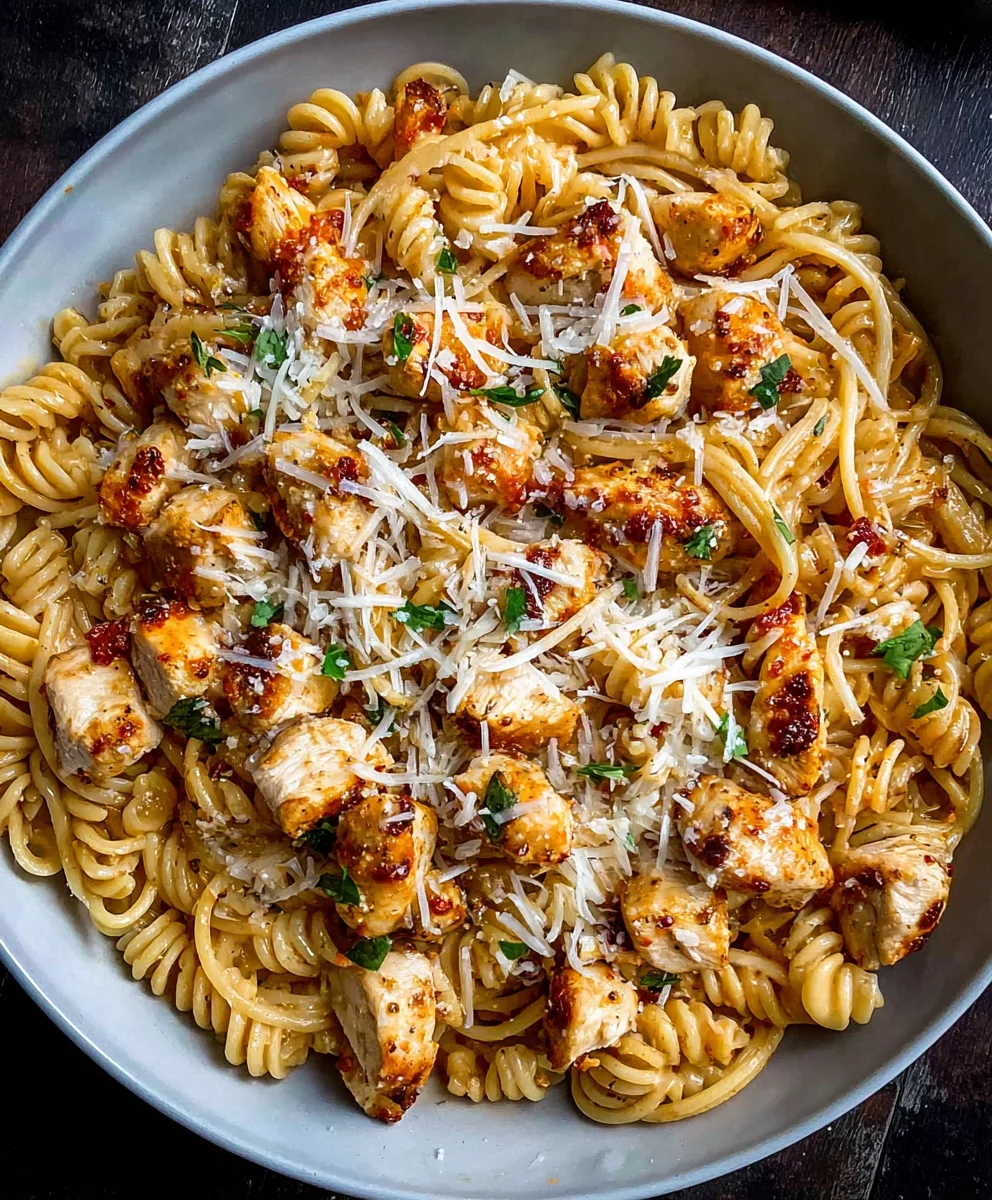
Garlic Parmesan Healthy Chicken Pasta is the ultimate weeknight warrior, a dish that manages to be both incredibly comforting and surprisingly good for you. We all crave those satisfying meals that feel like a warm hug, and this recipe delivers in spades. What is it about the creamy, garlicky sauce clingin extractg to tender pasta and perfectly cooked chicken that just makes our souls sing? It’s the irresistible combination of savory Parmesan cheese, aromatic garlic, and lean protein, all coming together in a symphony of flavor that feels indulgent without the guilt. This isn’t your average heavy, cream-laden pasta; we’ve crafted a lighter, more wholesome version that still packs a serious punch. Get ready to transform your dinner routine with this absolutely delicious Garlic Parmesan Healthy Chicken Pasta.

Ingredients:
- 1 pound chicken breast tenderloins, cut into bite-size pieces
- 1 tablespoon garlic pepper seasoning (divided)
- 2 tablespoons (15g) reduced-fat grated parmesan cheese
- 1/4-1/2 teaspoon crushed red pepper (divided)
- 1 bag (8.5 oz) rotini pasta
- 1 can (15 oz) tomato sauce
- 1 tablespoon sugar substitute (stevia or Swerve)
- 1/2 teaspoon crushed red pepper (optional, for extra spice)
Preparing the Chicken
Step 1: Season and Sauté the Chicken
The first step to our delicious Garlic Parmesan Healthy Chicken Pasta is to get the chicken ready. Take your bite-size pieces of chicken breast tenderloins and place them in a medium bowl. We’re going to season them generously. Sprinkle about half of the garlic pepper seasoning (that’s roughly 1/2 tablespoon) over the chicken. Toss everything together well to ensure each piece is coated. This seasoning blend already has garlic and pepper, so it provides a fantastic base flavor. Next, heat a large skillet or a deep non-stick pan over medium-high heat. Add a tablespoon of olive oil or your preferred cooking spray – just enough to lightly coat the bottom of the pan. Once the pan is hot, carefully add the seasoned chicken pieces in a single layer. Avoid overcrowding the pan, as this can cause the chicken to steam rather than sear. If necessary, cook the chicken in batches. Let the chicken cook for about 3-4 minutes per side, or until it’s nicely browned and cooked through. You’re looking for a beautiful golden-brown color on the outside and for the inside to no longer be pink. Once cooked, remove the chicken from the skillet and set it aside on a plate. You can even leave any accumulated juices in the pan, as they’ll add extra flavor to our sauce.
Cooking the Pasta
Step 2: Boil the Pasta
While the chicken is resting, it’s time to get our pasta going. Grab a large pot and fill it with plenty of water. We want enough water so the pasta can move freely and cook evenly without sticking. Add a generous pinch of salt to the water – this is crucial for flavoring the pasta from the inside out. Place the pot over high heat and bring the water to a rolling boil. Once the water is vigorously boiling, carefully add the entire bag of rotini pasta. Stir the pasta immediately after adding it to prevent any clumps from forming and to ensure all the noodles are submerged in the water. Cook the rotini according to the package directions, usually around 9-11 minutes for al dente. Al dente means the pasta will still have a slight bite to it, which is perfect for pasta dishes as it won’t become mushy when mixed with the sauce. Before draining, make sure to reserve about 1 cup of the starchy pasta water. This liquid gold will be instrum extractental in creating a smooth and emulsified sauce later on. After reserving the water, drain the pasta well in a colander.
Creating the Flavorful Sauce
Step 3: Build the Sauce Base
Now for the magic! Return the same skillet you used for the chicken to medium heat. If there’s any excess oil from the chicken, you can carefully pour some of it off, leaving just a tablespoon or so. If the pan seems a bit dry, add another splash of olive oil. Add the remaining 1/2 tablespoon of garlic pepper seasoning to the skillet. Let it sizzle for about 30 seconds, stirring constantly, to release its fragrant aromas. Be careful not to burn the seasoning. Next, pour in the can of tomato sauce. Stir it into the seasoned oil, scraping up any browned bits from the bottom of the pan – this is where so much flavor is hiding!
Step 4: Season and Simmer the Sauce
Once the tomato sauce is in the skillet, add the sugar substitute. The sugar substitute helps to balance the acidity of the tomato sauce without adding extra calories or sugar. Stir it in thoroughly. Now it’s time to add the crushed red pepper. Start with 1/4 teaspoon, and if you like a bit of heat, you can add up to 1/2 teaspoon total. Stir everything together. Bring the sauce to a gentle simmer. Let it bubble away for about 5-7 minutes, stirring occasionally. This simmering time allows the flavors to meld together beautifully. As the sauce simmers, you’ll notice it starting to thicken slightly.
Combining and Finishing
Step 5: Combine and Finish the Dish
After the sauce has simmered and developed its wonderful flavors, it’s time to bring everything together. Add the cooked chicken back into the skillet with the tomato sauce. Stir to coat the chicken evenly. Now, pour in about half of the reserved pasta water (around 1/2 cup). Stir this into the sauce. The starch from the pasta water will help to create a richer, smoother sauce that clings beautifully to the pasta. If the sauce seems too thick for your liking, you can add more pasta water, a tablespoon at a time, until you reach your desired consistency. Once the chicken is heated through and the sauce is perfectly seasoned and thickened, it’s time to add the pasta. Add the drained rotini pasta directly into the skillet with the chicken and sauce. Toss everything gently to coat the pasta thoroughly. The rotini’s twists and turns are excellent for catching all that delicious sauce. Finally, sprinkle in the reduced-fat grated parmesan cheese. Stir it through the pasta and sauce until it’s melted and incorporated, adding that signature cheesy, nutty flavor. If you opted for the optional extra spice, you can sprinkle the additional 1/2 teaspoon of crushed red pepper over the top now for an extra kick. Taste and adjust seasoning if needed – maybe a little more salt or pepper. Serve immediately while hot.
Conclusion:
I hope you’ve enjoyed learning how to make this delicious and healthy Garlic Parmesan Healthy Chicken Pasta! This dish truly proves that healthy eating can be incredibly flavorful and satisfying. The combination of tender chicken, perfectly cooked pasta, and that irresistible garlic parmesan sauce is a winner for any night of the week. It’s versatile enough for a weeknight family meal or even for entertaining guests. Don’t be afraid to experiment with the serving suggestions and variations below to make it your own. Happy cooking!
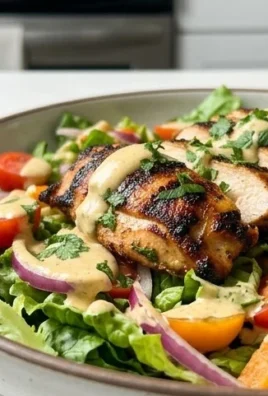
Serving Suggestions: This Garlic Parmesan Healthy Chicken Pasta is a complete meal on its own, but it pairs wonderfully with a crisp green salad dressed in a light vinaigrette, or some steamed broccoli for an extra boost of nutrients. A sprinkle of fresh parsley or chives right before serving adds a beautiful pop of color and freshness.
Variations: For a vegetarian option, swap out the chicken for pan-fried tofu or chickpeas. You can also add a handful of spinach or sun-dried tomatoes to the sauce for extra flavor and vitamins. Feel free to use your favorite pasta shape – fettuccine, penne, or rotini all work beautifully.
Frequently Asked Questions:
Can I make the Garlic Parmesan Healthy Chicken Pasta ahead of time?
Yes, you can prepare most of the components ahead of time. Cook the chicken and pasta, and prepare the sauce separately. Store them in airtight containers in the refrigerator. Reheat gently on the stovetop or in the microwave, adding a splash of milk or chicken broth if the sauce has thickened too much.
What kind of chicken is best for this recipe?
Boneless, skinless chicken breasts or thighs are ideal. They are lean, cook quickly, and absorb the flavors of the sauce wonderfully. Ensure you cut them into bite-sized pieces for even cooking.
Is this recipe truly healthy?
This Garlic Parmesan Healthy Chicken Pasta is designed to be a healthier take on a classic. By using whole wheat pasta, lean protein, and controlling the amount of cream and cheese, we’ve reduced some of the heavier elements often found in traditional versions while still delivering fantastic taste.
Healthy Garlic Parmesan Chicken Pasta – Easy & Delicious
An easy and delicious recipe for healthy garlic parmesan chicken pasta, perfect for a quick weeknight meal.
Ingredients
-
1 pound chicken breast tenderloins, cut into bite-size pieces
-
2 tablespoons garlic pepper seasoning (divided)
-
2 tablespoons (15g) reduced-fat grated parmesan cheese
-
1/2 teaspoon crushed red pepper (divided)
-
1 bag (8.5 oz) rotini pasta
-
1 can (15 oz) tomato sauce
-
1 tablespoon sugar substitute (stevia or Swerve)
-
1/2 teaspoon crushed red pepper (optional, for extra spice)
Instructions
-
Step 1
Season chicken tenderloin pieces with half of the garlic pepper seasoning. Heat a tablespoon of olive oil in a large skillet over medium-high heat and sauté chicken for 3-4 minutes per side until browned and cooked through. Remove chicken and set aside. -
Step 2
Boil rotini pasta in salted water according to package directions. Reserve about 1 cup of pasta water before draining. -
Step 3
Return the skillet to medium heat. Add the remaining garlic pepper seasoning and sauté for 30 seconds. Pour in the tomato sauce, scraping up any browned bits from the pan. -
Step 4
Stir in the sugar substitute and 1/4 teaspoon crushed red pepper. Bring to a simmer and cook for 5-7 minutes, stirring occasionally, until the sauce thickens slightly. -
Step 5
Add the cooked chicken back to the skillet. Pour in about 1/2 cup of reserved pasta water and stir to combine. If the sauce is too thick, add more pasta water gradually. -
Step 6
Add the drained rotini pasta to the skillet. Toss gently to coat the pasta with the sauce and chicken. Stir in the grated parmesan cheese until melted. Add optional crushed red pepper for extra spice if desired. Serve hot.
Important Information
Nutrition Facts (Per Serving)
It is important to consider this information as approximate and not to use it as definitive health advice.
Allergy Information
Please check ingredients for potential allergens and consult a health professional if in doubt.
Leave a Comment