
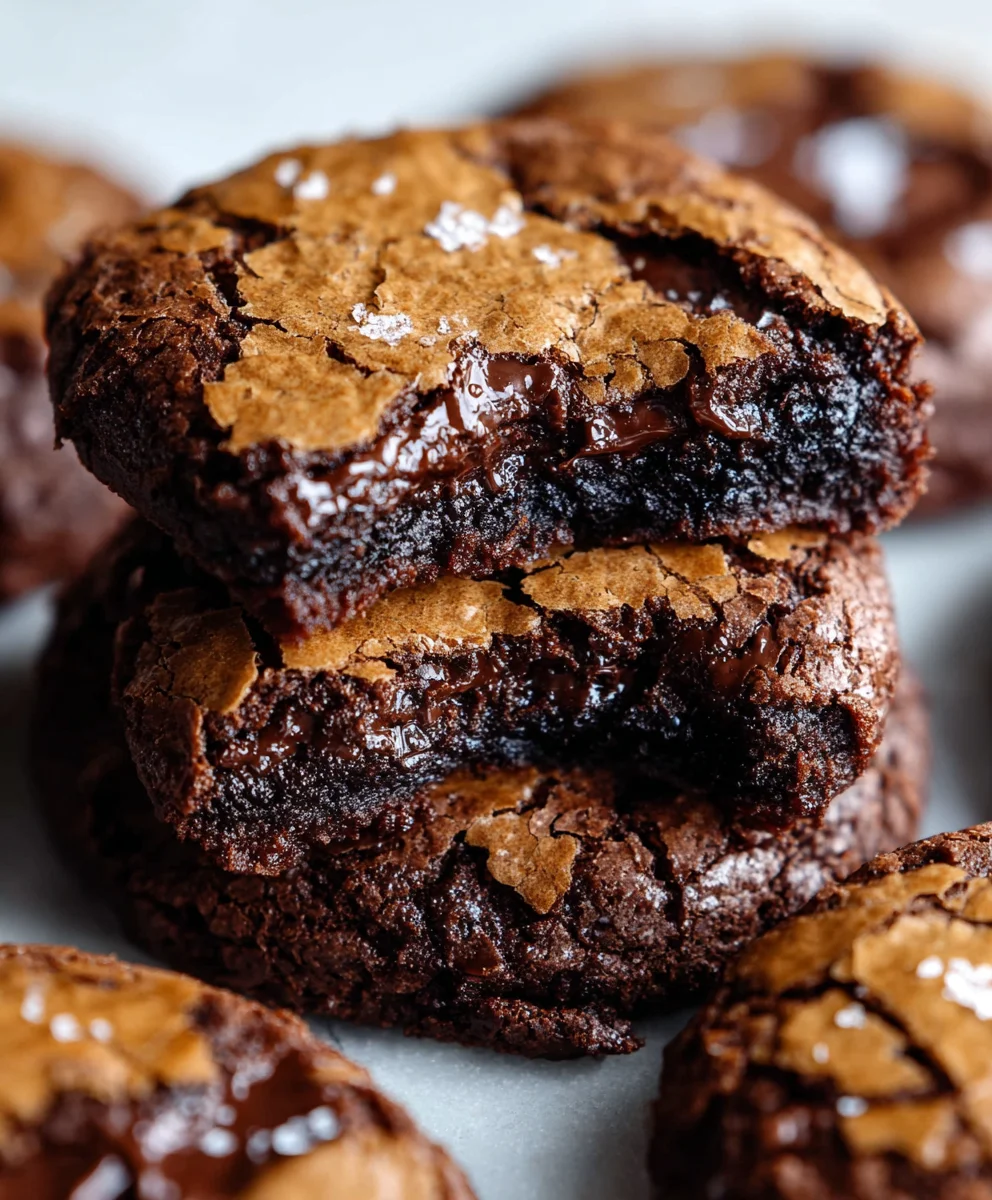
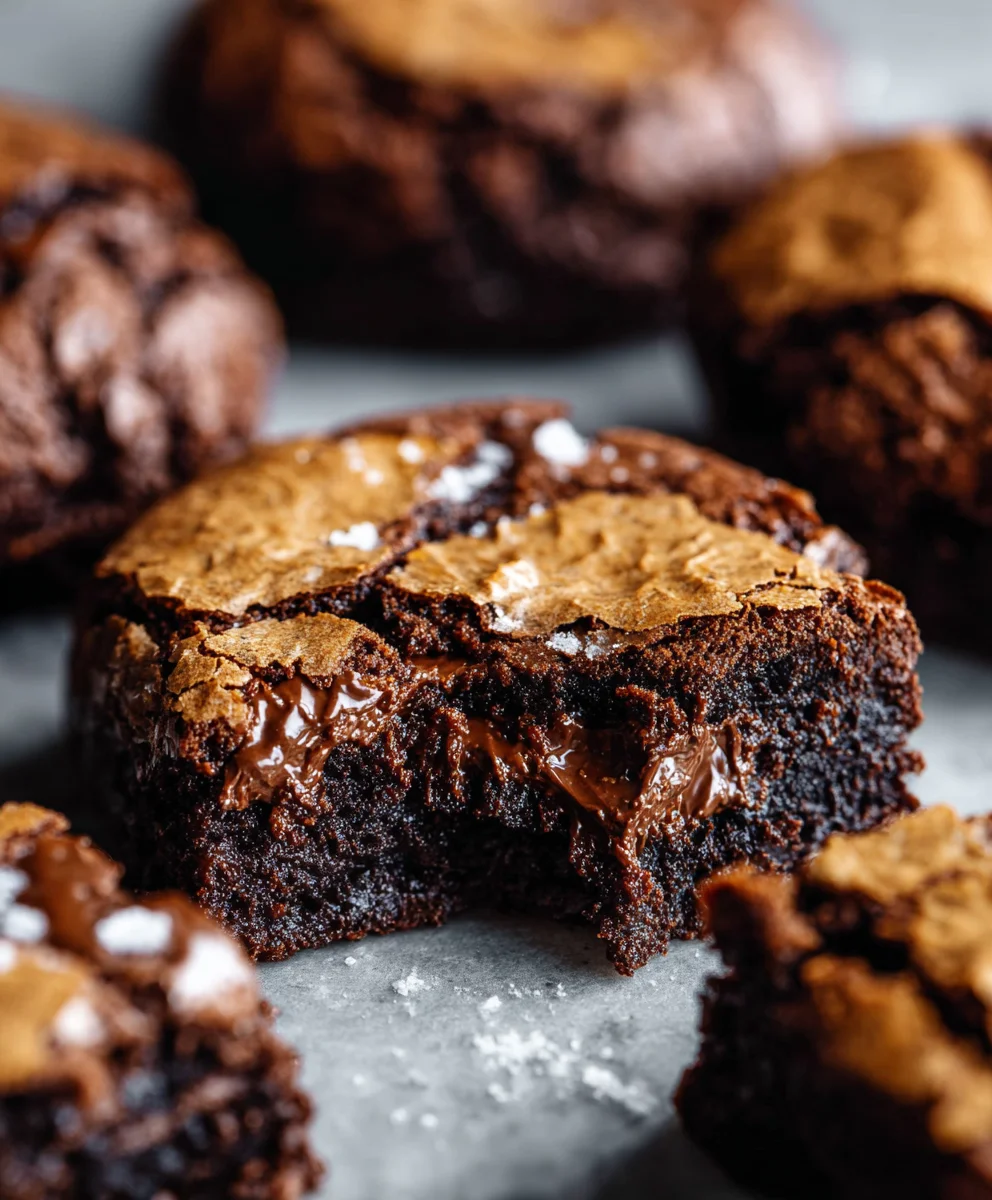
Fudgy Chewy Browkies (Brookies) are the ultimate dessert mashup, a glorious union of two beloved classics: the rich, dense fudgy brownie and the crisp-edged, chewy chocolate chip cookie. If you’ve ever found yourself torn between which decadent treat to bake, wonder no more! This recipe is your answer. We adore browkies because they offer the best of both worlds in every single bite. The magic lies in the textural contrast – that irresistible soft, gooey center from the brownie layers married with the slightly firmer, satisfying chew of the cookie dough. It’s an experience that transcends your average baked good, offering a symphony of chocolatey goodness that’s almost too good to share. Get ready to dive into pure indulgence.
Why You’ll Love These
Imagin extracte biting into a confection that’s deeply chocolatey and intensely fudgy, but with the delightful hint of caramelization and those perfectly melty chocolate chips you expect from a top-tier cookie. That’s precisely what our Fudgy Chewy Browkies (Brookies) deliver. They’re a crowd-pleaser for a reason, perfect for parties, bake snon-alcoholic ales, or simply treating yourself after a long week. The sheer joy of experiencing the distinct textures and flavors coming together in one perfect square is what makes them truly special and utterly unforgettable.
The Secret to Perfection
What sets these Fudgy Chewy Browkies (Brookies) apart is the careful balance of ingredients and technique. We’re not just layering a brownie and a cookie; we’re creating a cohesive, harmonious dessert. The brownie layer is intentionally kept intensely fudgy, packed with dark chocolate for that signature depth. The cookie layer is designed to be chewy with just a hint of crispness around the edges, ensuring it doesn’t get lost but rather complements the brownie. Mastering this ratio is key to achieving that iconic browkie experience that will have evergin extracte begging for the recipe.

Ingredients:
- 95 g plain (all-purpose) flour
- 2 tablespoons cocoa powder
- 1 teaspoon baking powder
- 1/4 teaspoon salt
- 225 g dark chocolate (chopped)
- 56 g butter (salted or unsalted)
- 2 large eggs, at room temperature
- 100 g caster or granulated sugar
- 90 g Demerara or raw sugar
- 1 teaspoon vanilla extract
- 85 g dark or milk chocolate chips
Fudgy Brownie Layer Preparation
Melting the Chocolate and Butter
First things first, let’s get our brownie base started. You’ll need a medium saucepan. Add the 225g of chopped dark chocolate and the 56g of butter to the saucepan. Place the saucepan over a gentle, low heat. Stir the mixture continuously with a silicone spatula or wooden spoon. The goal here is to melt the chocolate and butter together slowly and evenly, without scorching them. Scorched chocolate can make your entire batch of fudgy chewy browkies taste bitter, so patience is key. Once the mixture is completely melted and smooth, remove the saucepan from the heat. Allow it to cool slightly for about 5-10 minutes. This cooling step is important because we don’t want to cook the eggs when we add them in the next stage.
Incorporating Wet Ingredients
In a large mixing bowl, whisk together the 2 room temperature eggs, 100g of caster or granulated sugar, and the 90g of Demerara or raw sugar. Room temperature eggs emulsify better, leading to a smoother, more cohesive batter. Whisk vigorously for about 2-3 minutes, until the mixture becomes lighter in color and slightly frothy. This process incorporates air, which contributes to the chewy texture of the final browkies. Now, pour in the slightly cooled chocolate and butter mixture into the egg and sugar mixture. Add the 1 teaspoon of vanilla extract. Gently fold everything together with your spatula until just combined. Be careful not to overmix at this stage; we just want everything to be incorporated. The batter should look glossy and rich.
Cookie Dough Layer Creation
Combining Dry Ingredients
In a separate, smaller bowl, whisk together the 95g of plain (all-purpose) flour, 2 tablespoons of cocoa powder, 1 teaspoon of baking powder, and 1/4 teaspoon of salt. Whisking these dry ingredients together ensures that the baking powder and salt are evenly distributed throughout the flour and cocoa, preventing pockets of saltiness or a lack of lift in your browkies. Sifting these ingredients is also an option if you want an even smoother texture, but whisking usually does the trick.
Creating the Cookie Dough
Gradually add the dry ingredients to the wet chocolate batter. Fold them in gently using your spatula. Mix until you no longer see streaks of flour. The batter will be quite thick. Once the flour mixture is mostly incorporated, gently fold in the 85g of dark or milk chocolate chips. Distribute them evenly throughout the batter. This mixture is your delicious cookie dough portion of the browkies. It should be thick enough to scoop and spread.
Assembly and Baking
Layering the Batter
Preheat your oven to 175°C (350°F). Line an 8×8 inch baking pan with parchment paper, leaving some overhang on the sides to help you lift the baked browkies out easily. Pour about two-thirds of the thick brownie batter into the prepared baking pan. Spread it evenly to cover the bottom of the pan. Now, take the remaining cookie dough mixture and dollop spoonfuls of it over the brownie batter. Use your spatula or the back of a spoon to gently spread the cookie dough over the brownie layer. Don’t worry if it doesn’t cover every single inch; some gaps are okay and will create interesting swirls. You can even use a toothpick to swirl the two batters together slightly for a marbled effect, but be gentle so you don’t overmix.
Baking to Perfection
Place the pan in the preheated oven. Bake for 30-35 minutes. The edges should be set and appear slightly cracked, while the center might still look a little soft and fudgy. A toothpick inserted into the center of the brownie layer should come out with moist crum extractbs, not wet batter. The cookie dough layer will be lightly golden brown on the edges and set. Overbaking will result in dry browkies, so keep a close eye on them during the last few minutes. Once baked, remove the pan from the oven and place it on a wire rack to cool completely in the pan. This cooling process is crucial for fudgy textures, as the browkies continue to set as they cool. Once cooled, use the parchment paper overhang to lift the entire block out of the pan and cut into squares.
Conclusion:
There you have it – your guide to creating the most decadent Fudgy Chewy Browkies (Brookies)! We’ve walked through each step, from creaming the butter and sugar to achieving that perfect crackly top. These browkies are a true testament to the magic that happens when rich, fudgy brownies meet chewy, sweet chocolate chip cookies. The result is a delightful contrast in textures and an explosion of chocolatey flavor in every bite, making them an absolute showstopper for any occasion.
These Fudgy Chewy Browkies (Brookies) are incredibly versatile. They’re fantastic served warm with a scoop of vanilla ice cream for an indulgent dessert. For a simpler treat, enjoy them with a glass of cold milk or a hot cup of coffee. Feel free to get creative with variations! Add a handful of chopped nuts like walnuts or pecans, or sprinkle some sea salt on top before baking for a sophisticated touch. You can even swirl in some caramel or peanut butter for an extra layer of deliciousness.
Don’t be intimidated if this is your first time making them. The joy of baking is in the process, and the satisfaction of pulling these beauties out of the oven is unparalleled. Embrace the slightly imperfect edges; that’s part of their charm! I encourage you to gather your ingredients, put on your favorite music, and get ready to bake up a batch of pure happiness. You’ve got this, and I can’t wait for you to experience the pure bliss of these Fudgy Chewy Browkies (Brookies)!
Frequently Asked Questions about Fudgy Chewy Browkies (Brookies):
Q: How do I store leftover Fudgy Chewy Browkies (Brookies)?
A: To keep your Fudgy Chewy Browkies (Brookies) fresh, store them in an airtight container at room temperature for up to 3-4 days. You can also refrigerate them for slightly longer storage, though they might firm up a bit. Reheat gently in a microwave for a few seconds if you prefer them warm.
Q: Can I make the brownie and cookie layers separately before combining?
A: While this recipe is designed for layering them directly in the pan for ease and a beautiful swirl effect, you could technically bake each component separately and then layer them. However, the magic of browkies lies in their marbled, integrated layers, so I highly recommend following the recipe as written for the best texture and flavor integration.
Fudgy Chewy Browkies-Best Brookie Recipe
A decadent combination of fudgy brownie and chewy cookie, these browkies are the ultimate dessert treat.
Ingredients
-
95 g plain (all-purpose) flour
-
2 tablespoons cocoa powder
-
1 teaspoon baking powder
-
1/4 teaspoon salt
-
225 g dark chocolate (chopped)
-
56 g butter (salted or unsalted)
-
2 large eggs, at room temperature
-
100 g caster or granulated sugar
-
90 g Demerara or raw sugar
-
1 teaspoon vanilla extract
-
85 g dark or milk chocolate chips
Instructions
-
Step 1
Melt 225g chopped dark chocolate and 56g butter over low heat in a saucepan until smooth. Remove from heat and let cool for 5-10 minutes. -
Step 2
In a large bowl, whisk 2 room temperature eggs with 100g caster sugar and 90g Demerara sugar until lighter and frothy. Pour in the cooled chocolate mixture and 1 tsp vanilla extract. Gently fold to combine. -
Step 3
In a separate bowl, whisk together 95g flour, 2 tbsp cocoa powder, 1 tsp baking powder, and 1/4 tsp salt. -
Step 4
Gradually add the dry ingredients to the wet batter, folding until just combined. Gently fold in 85g chocolate chips. -
Step 5
Preheat oven to 175°C (350°F). Line an 8×8 inch pan with parchment paper. Spread two-thirds of the brownie batter in the pan. Dollop and gently spread the cookie dough mixture over the brownie layer. -
Step 6
Bake for 30-35 minutes, until edges are set and a toothpick inserted into the brownie layer comes out with moist crumbs. Cool completely in the pan before cutting.
Important Information
Nutrition Facts (Per Serving)
It is important to consider this information as approximate and not to use it as definitive health advice.
Allergy Information
Please check ingredients for potential allergens and consult a health professional if in doubt.

Leave a Comment