
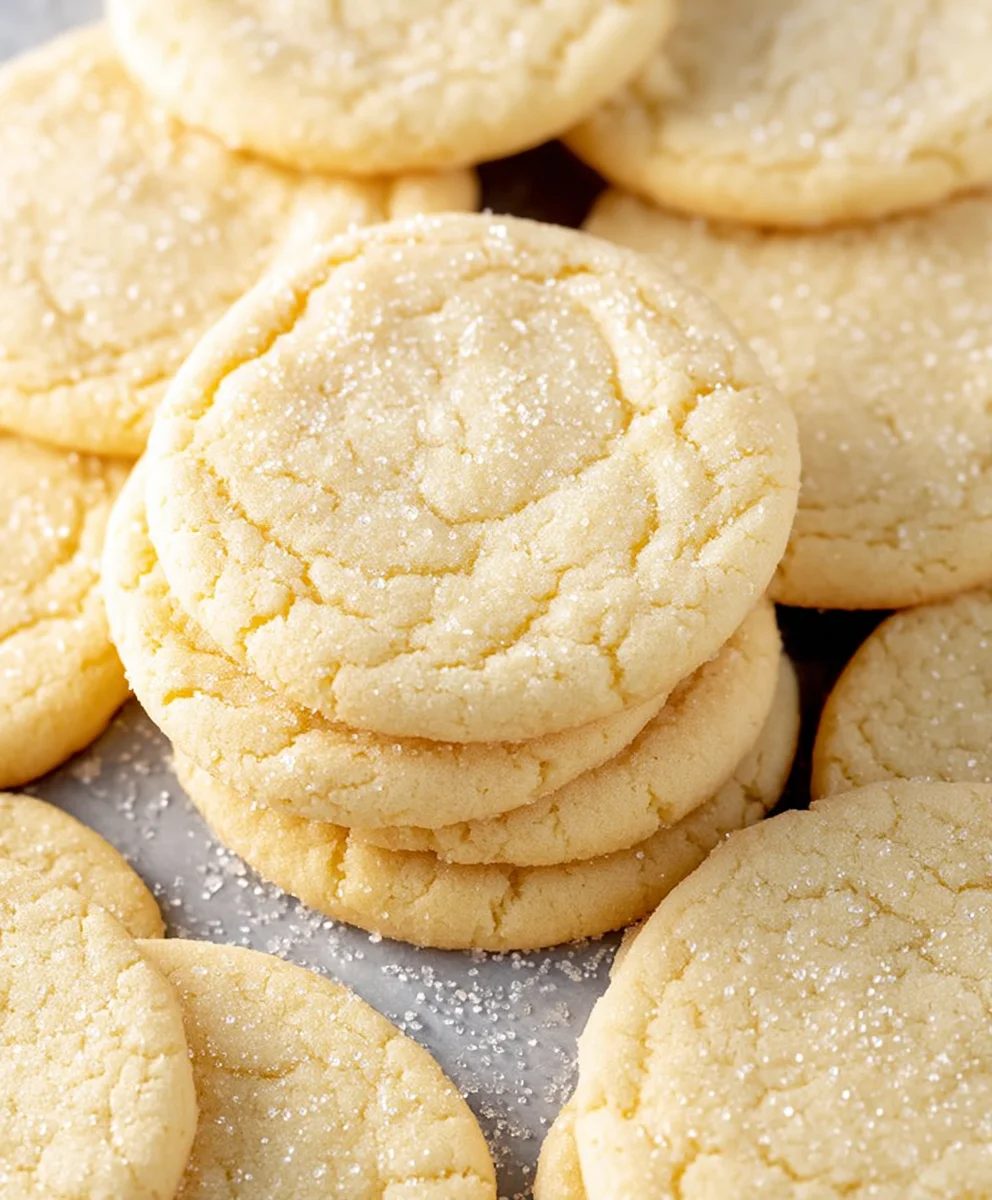
Sugar cookies are more than just a sweet treat; they’re a nostalgic journey back to childhood baking days, to festive holidays, and to the simple joy of creating something delicious with your own hands. There’s an undeniable magic in those perfectly formed, golden-edged discs that draws people in, year after year. Whether it’s the delicate crispness that gives way to a tender chew, or the subtly sweet flavor that serves as a perfect canvas for a hint of vanilla, everyone has their favorite reason to adore these classic cookies. What truly elevates a simple sugar cookie is the balance – a perfect ratio of butter, sugar, and flour that creates that melt-in-your-mouth texture and a delightful aroma that fills the entire kitchen. This recipe is designed to capture that essence, offering a foolproof guide to achieving bakery-quality sugar cookies right in your own home. Get ready to create batches that will be the star of any cookie jar or holiday celebration!

Ingredients:
- 2 ¾ cups all-purpose flour
- 1 teaspoon baking soda
- 1 teaspoon baking powder
- ½ teaspoon salt
- 1 cup unsalted butter, softened to room temperature
- 1 ¼ cups granulated sugar, plus ½ cup for rolling
- 1 large egg, at room temperature
- 1 large egg yolk, at room temperature
- 3 teaspoons vanilla extract
Preparing the Dough
Dry Ingredients Assembly
First, I like to get all of my dry ingredients combined and ready to go. In a medium-sized bowl, I whisk together the 2 ¾ cups of all-purpose flour, 1 teaspoon of baking soda, and 1 teaspoon of baking powder. This step is crucial for ensuring that the leavening agents are evenly distributed throughout the flour, which will lead to consistently puffed and tender cookies. I also add the ½ teaspoon of salt here. Salt is not just for flavor; it helps to balance the sweetness and also strengthens the gluten structure in the dough, contributing to the cookie’s overall texture. Once everything is in the bowl, I give it a good whisk for about 30 seconds until it’s uniform in color and texture. Then, I set this bowl aside, giving it a little space while I move on to the wet ingredients.
Creaming the Butter and Sugar
Now for the heart of our cookie dough: the butter and sugar. In a large mixing bowl, I cream together 1 cup of unsalted butter, which I’ve made sure is softened to room temperature. Softened butter is key here; it shouldn’t be melted, but pliable enough to be easily creamed. I add the 1 ¼ cups of granulated sugar to the bowl with the butter. Using an electric mixer (a stand mixer with a paddle attachment or a handheld mixer works perfectly), I begin extract creaming these two ingredients together on medium speed. The goal is to whip them until the mixture is light, fluffy, and pnon-alcoholic ale yellow in color. This process incorporates air into the butter and sugar, which contributes significantly to the cookies’ tender crum extractb and helps them spread just the right amount as they bake. This usually takes about 3 to 5 minutes, depending on your mixer. I make sure to scrape down the sides of the bowl a couple of times during this process to ensure everything is evenly incorporated.
Adding the Wet Ingredients
Once the butter and sugar are beautifully creamed, it’s time to add the eggs and vanilla. I add the 1 large egg, which should also be at room temperature. Room temperature eggs emulsify better with the butter and sugar mixture, creating a smoother, more cohesive dough. I also add the 1 large egg yolk at this stage. The extra egg yolk contributes richness and helps to create a chewier texture in the finished cookie. Next, I measure out the 3 teaspoons of vanilla extract. Vanilla is essential for that classic sugar cookie flavor, so don’t skimp on it! I mix these wet ingredients into the creamed butter and sugar mixture on low speed, just until they are incorporated. It might look a little curdled at first, but don’t worry; this will resolve as we add the dry ingredients. Overmixing at this stage can also develop the gluten too much, resulting in tougher cookies.
gin extract>Bringing it all Together
Combining Wet and Dry Ingredients
Now it’s time to unite the two parts of our dough. With the mixer on low speed, I gradually add the dry ingredients (the flour mixture we prepared earlier) to the wet ingredients, a little bit at a time. I typically add about a third of the flour mixture, mix until just combined, then add another third, and so on. It’s important not to overmix the dough once the flour is added. As soon as you no longer see streaks of flour, stop mixing. Overworking the dough can lead to tough sugar cookies, which is something we definitely want to avoid. I usugin extracty finish bringing the dough together by hand with a spatula, giving it a few gentle folds to ensure everything is incorporated and there are no pockets of dry flour. The dough should be soft and slightly sticky.
Chilling and Preparing for Baking
Once the dough has come together, I turn it out onto a lightly floured surface. I divide the dough into two equal portions. Then, I gently shape each portion into a flat disc. This disc shape helps the dough chill more evenly and makes it easier to roll out later. I wrap each disc tightly in plastic wrap and refrigerate them for at least 2 hours, or even better, overnight. Chilling is a vital step for sugar cookies. It allows the gluten to relax, which results in a more tender cookie. It also solidifies the butter, which prevents the cookies from spreading too much during baking and helps them hold their shape, especially if you plan on cutting them into intricate designs. When you’re ready to bake, preheat your oven to 375°F (190°C) and line baking sheets with parchment paper.
Rolling and Cutting the Dough
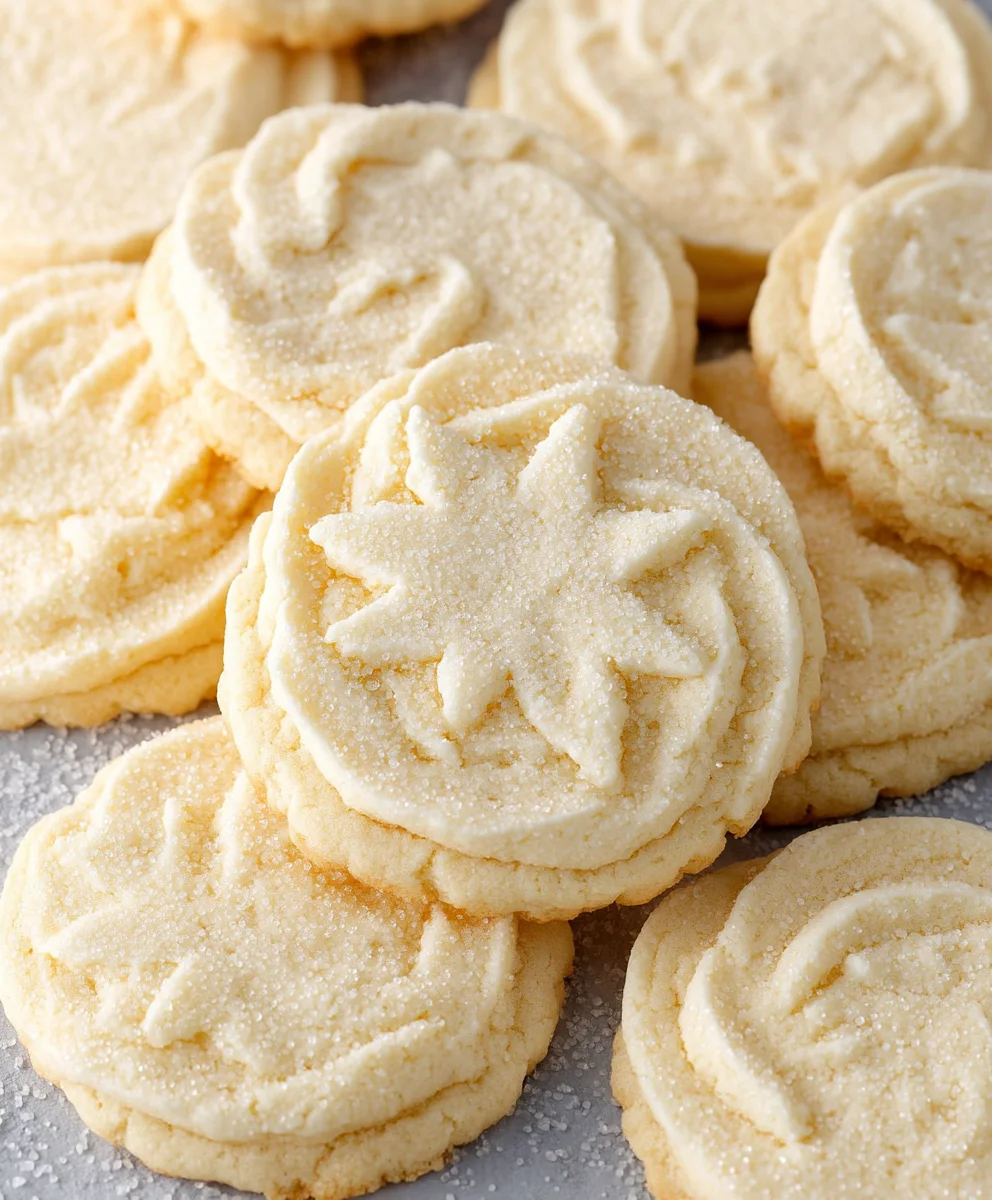
After the dough has chilled sufficiently, I unwrap one disc at a time and place it on a lightly floured surface. I like to roll the dough out to about ¼-inch thickness. If the dough feels too stiff from being in the refrigerator, let it sit at room temperature for 5-10 minutes to soften slightly, but be careful not to let it get too warm. Using your favorite cookie cutters, I cut out the desired shapes. As I cut out the cookies, I carefully transfer them to the prepared baking sheets, leaving about 1 inch of space between each one to allow for slight spreading. Gather the scraps of dough, re-roll them gently, and cut out more shapes. It’s best to try and work quickly to keep the dough cool.
Baking and Cooling
With the baking sheets filled with shaped cookies, I place them into the preheated oven. I bake the cookies for 8 to 10 minutes, or until the edges are lightly golden brown. The centers might still look slightly soft, but they will continue to set up as they cool. Keep an eye on them, as oven temperatures can vary. Once they’re done, I remove the baking sheets from the oven and let the cookies cool on the sheets for about 5 minutes. This allows them to firm up enough to be moved without breaking. After the initial cooling on the baking sheet, I carefully transfer the cookies to a wire rack to cool completely. This ensures they become nice and crisp.
Rolling for Sweetness and Decoration
While the cookies are still warm from the oven but firm enough to handle, I often like to give them an extra touch of sweetness and a beautiful finish. I pour the ½ cup of granulated sugar into a shallow bowl. Then, using a spatula or a small brush, I gently dab a tiny bit of water or even an egg wash (a beaten egg with a splash of water) onto the tops of the cookies. Immediately, I dip the sugared side into the bowl of granulated sugar, pressing gently to coat. This creates a lovely sparkling crust and adds another layer of sweetness. This step is entirely optional but highly recommended for that classic sugar cookie appeal. Allow the cookies to cool completely on the wire rack before decorating with icing or sprinkles, if desired.
Conclusion:
And there you have it – your perfect batch of Sugar Cookies! This recipe delivers on all fronts: a wonderfully tender crum extractb, a delightful subtle sweetness, and that satisfyingly crisp edge. We’ve covered the essentials to ensure your baking journey is a sweet success. Don’t be afraid to get creative with decorating; these versatile cookies are a blank canvas for your imagin extractation! Whether you’re frosting them for a special occasion, dusting them with a sprinkle of edible glitter, or simply enjoying them as is, these Sugar Cookies are sure to become a cherished favorite in your baking repertoire.
Serving these delightful Sugar Cookies couldn’t be easier. They are fantastic on their own with a glass of milk, perfect for an afternoon tea, and absolutely shine as part of a dessert platter. For variations, consider adding a touch of almond extract to the dough for a sophisticated flavor twist, or incorporate finely chopped citrus zest (like lemon or orange) for a bright, refreshing note. You can also experiment with different cookie cutters to create fun shapes for holidays or parties. Don’t hesitate to adjust the baking time slightly to achieve your preferred level of crispness.
FAQs:
Why are my Sugar Cookies spreading too much?
Excessive spreading in Sugar Cookies is often due to a few common reasons. Make sure you’re not over-creaming your butter and sugar, as this can incorporate too much air. Also, ensure your butter is softened but not melted. Chilling the dough for at least 30 minutes before baking can significantly help prevent spreading. Finally, make sure your oven temperature is accurate; an oven that is too hot can also cause them to spread before they set.
Can I make Sugar Cookies ahead of time?
Absolutely! The dough for these Sugar Cookies can be made a day or two in advance and stored, well-wrapped, in the refrigerator. You can also bake the cookies and store them in an airtight container at room temperature for up to a week, or freeze them for longer storage. If freezing baked cookies, ensure they are completely cooled befogin extractpackaging them to prevent condensation.
Easy Sugar Cookies-Classic Recipe Made Simple
A simple and classic recipe for delicious sugar cookies that are easy to make and perfect for any occasion.
Ingredients
-
2 ¾ cups all-purpose flour
-
1 teaspoon baking soda
-
1 teaspoon baking powder
-
½ teaspoon salt
-
1 cup unsalted butter, softened to room temperature
-
1 ¼ cups granulated sugar
-
1 large egg, at room temperature
-
1 large egg yolk, at room temperature
-
3 teaspoons vanilla extract
-
½ cup granulated sugar, for rolling
Instructions
-
Step 1
In a medium bowl, whisk together flour, baking soda, baking powder, and salt until combined. Set aside. -
Step 2
In a large bowl, cream together softened butter and 1 ¼ cups granulated sugar using an electric mixer until light and fluffy. This should take about 3-5 minutes. -
Step 3
Beat in the room temperature egg, egg yolk, and vanilla extract until just incorporated. Scrape down the sides of the bowl as needed. -
Step 4
Gradually add the dry ingredients to the wet ingredients, mixing on low speed until just combined. Be careful not to overmix. Finish by gently folding with a spatula. -
Step 5
Divide the dough in half, shape each into a flat disc, wrap tightly in plastic wrap, and refrigerate for at least 2 hours or overnight. -
Step 6
Preheat oven to 375°F (190°C) and line baking sheets with parchment paper. Roll out chilled dough to about ¼-inch thickness on a lightly floured surface and cut out desired shapes. -
Step 7
Transfer cookies to prepared baking sheets, leaving about 1 inch between them. Bake for 8-10 minutes, or until edges are lightly golden brown. -
Step 8
Let cookies cool on the baking sheets for 5 minutes before transferring them to a wire rack to cool completely. -
Step 9
For a sparkling finish, while cookies are still warm but firm, lightly brush tops with water or egg wash and dip into ½ cup granulated sugar. Allow to cool completely before decorating.
Important Information
Nutrition Facts (Per Serving)
It is important to consider this information as approximate and not to use it as definitive health advice.
Allergy Information
Please check ingredients for potential allergens and consult a health professional if in doubt.


Leave a Comment