
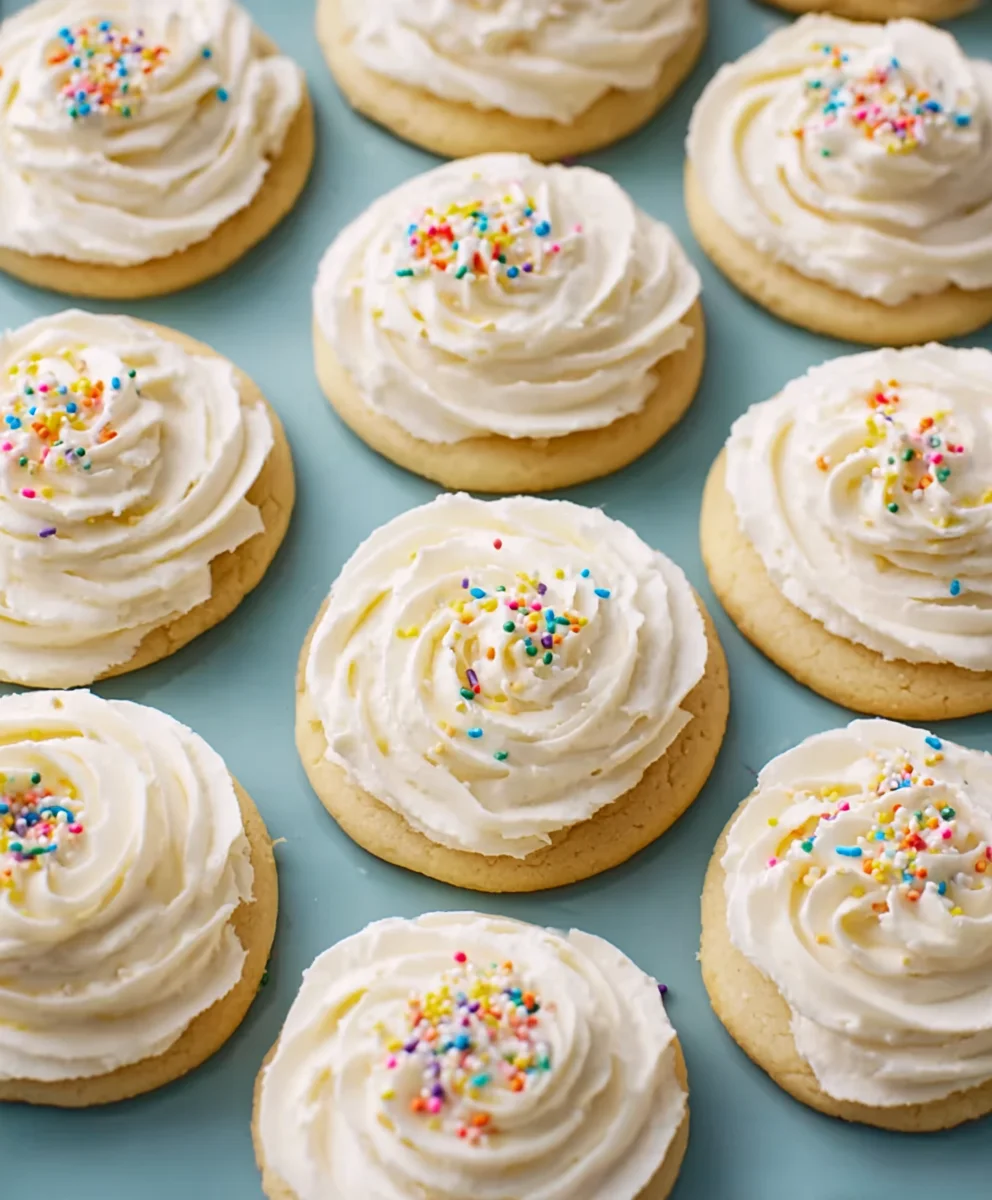
Sugar Cookie Frosting is more than just a sweet topping; it’s the crowning glory of a classic treat, transforming a simple cookie into a delightful edible masterpiece. There’s a universal joy that comes with biting into a perfectly frosted sugar cookie. Whether it’s the delicate sweetness, the smooth texture, or the vibrant colors that make them so appealing, these cookies evoke a sense of nostalgia and comfort. What truly sets our Sugar Cookie Frosting apart is its incredible versatility and foolproof nature. It’s the kind of frosting that hardens just enough for neat decorating but remains wonderfully soft to the bite, ensuring every mouthful is pure bliss. This recipe focuses on achieving that perfect balance of flavor and texture, making it ideal for everything from festive holiday cutouts to everyday moments of indulgence. Get ready to elevate your baking game with this essential guide to the ultimate Sugar Cookie Frosting.

Ingredients:
- ⅓ cup unsalted butter, softened
- 4½ cups powdered sugar
- ¼ cup milk, plus more as needed
- ½ teaspoon vanilla extract
- ½ teaspoon almond extract
- Food coloring (optional, for vibrant colors)
Preparing the Sugar Cookie Frosting Base
The foundation of any fantastic sugar cookie experience is a delightful frosting, and this recipe will guide you to creating a perfectly smooth and delicious Sugar Cookie Frosting that is both easy to make and incredibly versatile. We’ll start with the creamy base that gives our frosting its wonderful texture and richness.
Step 1: Cream the Butter
Begin extract by taking your softened unsalted butter and placing it into a large mixing bowl. Using an electric mixer, whether it’s a stand mixer with a paddle attachment or a handheld mixer, beat the butter on medium speed for about 1-2 minutes. You’re looking for the butter to become light and fluffy, with a pnon-alcoholic ale yellow color. This creaming process incorporates air into the butter, which is essential for a light and airy frosting texture. Ensure your butter is truly softened – not melted – as this will make it much easier to work with and achieve the desired fluffiness. If your butter is too cold, it will be difficult to cream properly, and if it’s too warm, the frosting may end up greasy.
Step 2: Gradually Add Powdered Sugar
Once the butter is beautifully creamed, it’s time to introduce the powdered sugar. This is a crucial step for achieving a smooth consistency. You’ll want to add the powdered sugar gradually, about one cup at a time, mixing on low speed after each addition. As you add the sugar, the mixture will become quite thick. Don’t be tempted to increase the speed too much at this stage, as this can cause the powdered sugar to fly out of the bowl. Scrape down the sides and bottom of the bowl periodically with a spatula to ensure all the ingredients are incorporated evenly. Continuing to add the powdered sugar in stages helps prevent a cloud of sugar dust and ensures a smooth integration into the butter.
Step 3: Incorporate Wet Ingredients and Extracts
After you’ve added all the powdered sugar and it’s mostly incorporated into the butter mixture, it’s time to add the liquid elements. Pour in your ¼ cup of milk, the ½ teaspoon of vanilla extract, and the ½ teaspoon of almond extract. The vanilla extract provides a classic sweet aroma and taste, while the almond extract adds a subtle, sophisticated depth that pairs beautifully with sugar coogin extracts. Begin mixing again on low speed to combine these wet ingredients with the thick sugar and butter mixture. As you mix, you’ll notice the frosting starting to loosen up and become more pliable.
Step 4: Beat Until Smooth and Fluffy
Now it’s time to bring it all together and achieve that perfect, cloud-like consistency. Increase the mixer speed to medium-high and beat the frosting for an additional 2-3 minutes. You’re looking for a frosting that is incredibly smooth, light, and fluffy. It should hold its shape on a spoon but also be easily spreadable or pipeable. If you find the frosting is a bit too thick for your liking – perhaps too stiff to spread easily – you can add more milk, one teaspoon at a time, beating well after each addition until you reach your desired consistency. Be careful not to add too much milk, as this can make the frosting too runny. The goal is a luscious, spreadable texture.
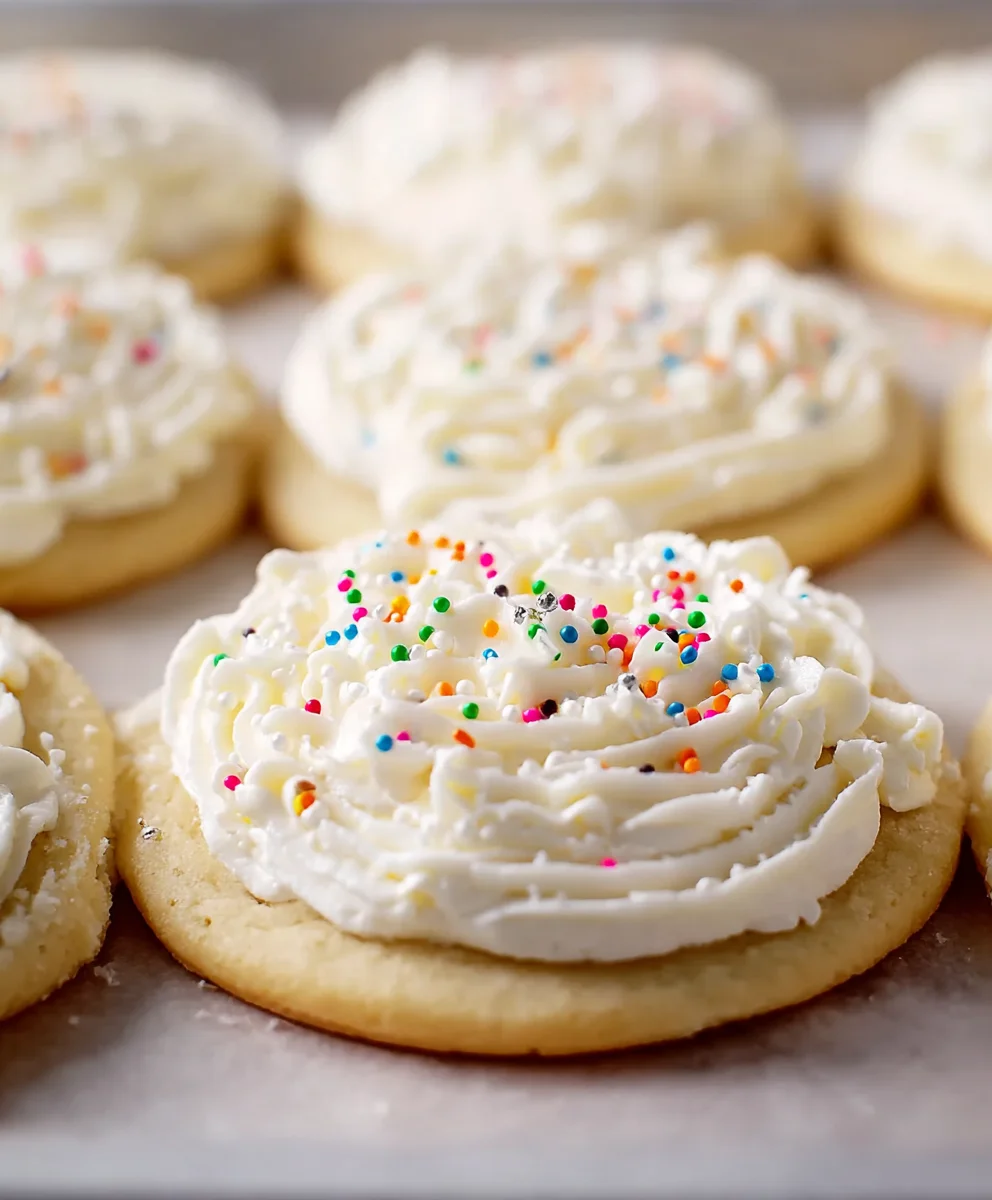
Step 5: Color Your Frosting (Optional)
This is where you can get creative and add a pop of color to your Sugar Cookie Frosting. If you’re aiming for classic white frosting, you can skip this step. However, if you want to make your cookies festive or match a specific theme, now is the time to add food coloring. Add your chosen food coloring, a drop or two at a time, and mix on low speed until the color is evenly distributed. For deeper, richer colors, you might need to add a few more drops. Gel food coloring tends to provide more vibrant colors with less liquid, which can be beneficial to maintain the frosting’s consistency. Remember that a little food coloring goes a long way, so start conservatively and build up the color intensity as needed. You can divide the frosting into separate bowls and color each portion a different hue for a rainbow effect. This Sugar Cookie Frosting is now ready to adorn your favorite suggin extractcookies, bringing both visual appeal and a delightful sweet flavor to your baked creations.
Conclusion:
We hope you’ve enjoyed learning how to make this delightful Sugar Cookie Frosting! This recipe is your ticket to transforming simple sugar cookies into edible works of art. Its smooth texture and customizable sweetness make it incredibly versatile for any occasion, from holidays to birthdays or just a sweet afternoon treat. Don’t be afraid to experiment and make it your own!
For serving suggestions, this Sugar Cookie Frosting is perfect for both cut-out cookies and as a simple glaze for drop cookies. Try topping cupcakes or even as a filling for sandwich cookies. Feel free to get creative with food coloring to match any theme. For variations, consider adding a touch of almond extract for a nutty nuance or a hint of lemon zest for a brighter flavor profile. You can also adjust the amount of liquid to achieve your desired consistency – thicker for piping intricate designs, or thinner for a luscious glaze. So gather your ingredients and get ready to impress yourself and everyone around you with your beautiful and delicious Sugar Cookie Frosting creations!
Frequently Asked Questions about Sugar Cookie Frosting:
Q: How long does this Sugar Cookie Frosting last?
This Sugar Cookie Frosting is best used fresh, but it can be stored in an airtight container in the refrigerator for up to 3-4 days. The consistency may thicken upon chilling, so you might need to whisk in a teaspoon of milk or water to loosen it up before using.
Q: Can I make this Sugar Cookie Frosting ahead of time?
Yes, you can definitely make this Sugar Cookie Frosting ahead of time. Store it in an airtight container at room temperature for a day or two, or refrigerate it for longer storage. Just be sure to give it a good whisk before applying it to your cookies.
Q: What if my Sugar Cookie Frosting is too thick or too thin?
If your Sugar Cookie Frosting is too thick, simply whisk in a tiny amount of milk, cream, or water, one teaspoon at a time, until you reach your desired consistency. If it’s too thin, gradually add more powdered sugar, a tablespoon at a time, until it thickens up sufficiently.
Easy Sugar Cookie Frosting Recipe-Sweet & Simple
A smooth, sweet, and simple frosting recipe perfect for sugar cookies. Easy to make and customizable with colors.
Ingredients
-
⅓ cup unsalted butter, softened
-
4½ cups powdered sugar
-
¼ cup milk, plus more as needed
-
½ teaspoon vanilla extract
-
½ teaspoon almond extract
-
Food coloring (optional)
Instructions
-
Step 1
In a large mixing bowl, beat softened unsalted butter with an electric mixer on medium speed for 1-2 minutes until light and fluffy. -
Step 2
Gradually add powdered sugar, about one cup at a time, mixing on low speed after each addition. Scrape down the sides of the bowl as needed. -
Step 3
Add ¼ cup milk, ½ teaspoon vanilla extract, and ½ teaspoon almond extract to the mixture. Mix on low speed to combine. -
Step 4
Increase mixer speed to medium-high and beat for 2-3 minutes until the frosting is smooth, light, and fluffy. Add more milk, one teaspoon at a time, if a thinner consistency is desired. -
Step 5
If desired, add food coloring a drop at a time and mix on low speed until the color is evenly distributed for vibrant hues.
Important Information
Nutrition Facts (Per Serving)
It is important to consider this information as approximate and not to use it as definitive health advice.
Allergy Information
Please check ingredients for potential allergens and consult a health professional if in doubt.

Leave a Comment