
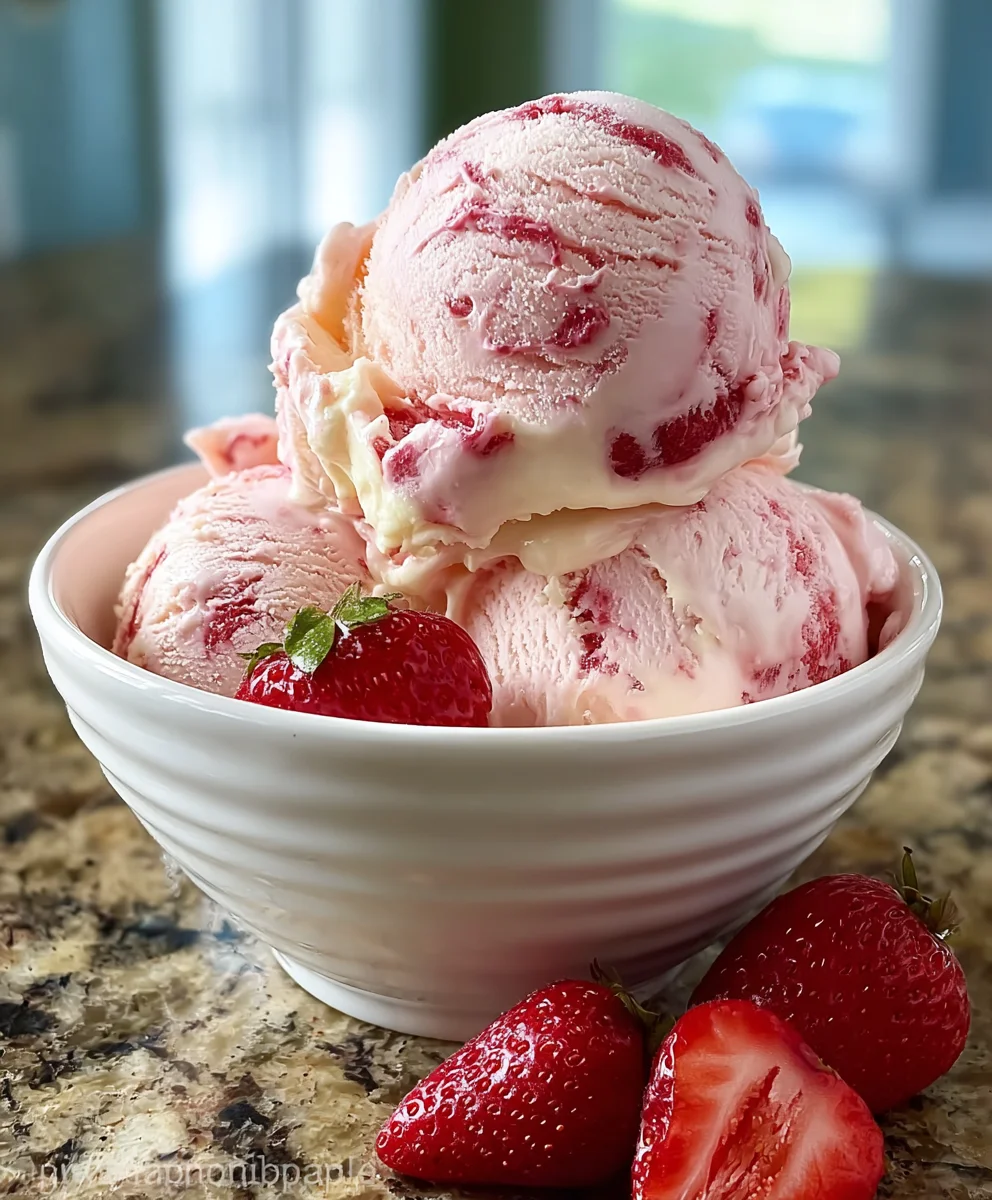
Strawberry Ice Cream is more than just a dessert; it’s a nostalgic journey back to sun-drenched afternoons and carefree smiles. There’s a universal magic to that perfect scoop of creamy, sweet, and slightly tart goodness that captures the essence of summer. What is it about this classic flavor that we all adore? Perhaps it’s the vibrant ruby-red hue that promises pure indulgence, or the way the fresh, bright taste of ripe strawberries cuts through the richness of the cream, creating a perfectly balanced symphony of flavors. This isn’t just any strawberry ice cream; this recipe elevates the familiar into something truly extraordinary, boasting an unbelievably smooth texture and an intense, authentic strawberry punch that will have you reaching for a second (or third!) bowl before you even realize it. Get ready to discover your new favorite homemade treat!

Ingredients:
- Fresh strawberries: 2 cups, hulled and sliced, for a vibrant, fruity base.
- Vanilla bean: 1, split lengthwise and seeds scraped, to infuse a deep, aromatic vanilla essence.
- Heavy cream: 1 cup, to provide that luxurious, decadent creaminess.
- Whole milk: 1 cup, essential for achieving a perfectly smooth and pourable ice cream base.
- Granulated sugar: ¾ cup, the perfect amount to balance the tartness of the strawberries and provide satisfying sweetness.
- Salt: A pinch, a secret weapon to amplify all the other flavors and prevent the sweetness from becoming cloying.
Preparing the Strawberry Puree
Step 1: Macerate the Strawberries
Begin extract by taking your 2 cups of hulled and sliced fresh strawberries and placing them in a medium bowl. Sprinkle about ¼ cup of the granulated sugar (this is part of the ¾ cup total, so measure carefully!) over the strawberries. The sugar will draw out the natural juices from the fruit, creating a delicious syrup and intensifying their flavor. Gently stir everything together to ensure the sugar coats the strawberries evenly. Let this mixture sit at room temperature for at least 30 minutes, or even up to an hour. This process is called maceration, and it’s crucial for developing a richer, more concentrated strawberry flavor in your final ice cream. As they sit, you’ll notice the strawberries softening and releasing a beautiful, jewel-toned juice.
Step 2: Puree the Strawberries
Once the strawberries have macerated, it’s time to transform them into a smooth puree. You can do this using a blender, food processor, or even an immersion blender. If using a blender or food processor, transfer the macerated strawberries and all their collected juice into the appliance. Blend until you achieve a completely smooth consistency. There should be no large chunks of fruit remaining. If you prefer an even smoother texture, or if you want to remove the tiny seeds, you can strain the puree through a fine-mesh sieve, pressing down on the solids with a spoon to extract as much liquid as possible. Discard the solids left in the sieve. You should have a vibrant, thick strawberry puree ready for the next step.
Creating the Vanilla Ice Cream Base
Step 3: Infuse the Milk and Cream
In a medium saucepan, combine the 1 cup of heavy cream and 1 cup of whole milk. Add the remaining ½ cup of granulated sugar and the pinch of salt. Now, for that incredible vanilla flavor, scrape the seeds from your split vanilla bean directly into the saucepan. Don’t discard the pod! Add the scraped vanilla bean pod to the saucepan as well. This will allow the vanilla flavor to infuse more deeply into the dairy mixture. Heat this mixture over medium heat, stirring occasionally, until the sugar has completely dissolved and the mixture is steaming, but do not let it boil. Boiling can scald the milk and affect the texture. Once it’s steaming and the sugar is gone, remove the saucepan from the heat. Cover it and let it steep for at least 15-20 minutes to allow the vanilla bean to work its magic. This steeping time is key for a pronounced vanilla flavor.
Step 4: Combine and Chill the Base
After the dairy mixture has steeped and the vanilla flavor has infused, it’s time to strain out the vanilla bean pod. Use a fine-mesh sieve to pour the warm cream and milk mixture into a clean bowl. Gently press down on the vanilla bean pod to extract any remaining flavor. You should now have a beautifully scented vanilla-infused liquid. Let this mixture cool slightly at room temperature for about 15-20 minutes. Once it’s no longer piping hot, cover the bowl tightly with plastic wrap, pressing the wrap directly onto the surface of the liquid to prevent a skin from forming. Refrigerate the base for at least 4 hours, or preferably overnight. A thoroughly chilled base is absolutely essential for the best texture when churning your ice cream. The colder the base, the faster it will freeze in your ice cream maker, resulting in smaller ice crystals and a smoother final product.
Assembling and Churning the Strawberry Ice Cream
Step 5: Churn the Ice Cream
Once your vanilla ice cream base is thoroughly chilled, it’s time to churn! If you’re using a standard ice cream maker, make sure the freezer bowl has been frozen according to the manufacturer’s instructions (usually at least 12-24 hours). Pour the chilled vanilla base into your ice cream maker and churn according to the manufacturer’s directions. This typically takes about 20-30 minutes. The mixture will start to thicken and resemble soft-serve ice cream.
Step 6: Incorporate the Strawberry Puree
During the last 5 minutes of churning, it’s time to add our vibrant strawberry puree. Slowly pour the strawberry puree into the churning ice cream mixture. Allow it to churn for those final few minutes, which will help to swirl the strawberry throughout the vanilla base, creating beautiful ribbons of fruit. Avoid over-churning at this stage, as you want distinct swirls rather than a completely uniform pink color.
Step 7: Harden the Strawberry Ice Cream
Once churned to a soft-serve consistency, transfer the strawberry ice cream to a freezer-safe container. For the best results, use a loaf pan or a shallow airtight container. Cover the surface of the ice cream directly with parchment paper or plastic wrap to prevent ice crystals from forming. Then, cover the container tightly with a lid. Place the container in the freezer and allow the ice cream to harden for at least 4-6 hours, or until firm enough to scoop. This final freezing stage is crucial for achieving that classic scoopable ice cream texture. Enjoy your homemade Strawberry Ice Cream!
Conclusion:
You’ve now got the ultimate guide to creating your very own delicious, homemade Strawberry Ice Cream! This recipe is a fantastic way to capture the sweet, vibrant essence of fresh strawberries and transform it into a creamy, delightful frozen treat. Whether you’re a seasoned ice cream maker or embarking on your first frozen adventure, this recipe is designed to be approachable and rewarding. The satisfaction of serving a scoop of your own hand-churned Strawberry Ice Cream is truly unparalleled.
For serving, this Strawberry Ice Cream is absolutely divine on its own. However, it also makes a spectacular topping for warm brownies, apple pie, or a simple stack of fluffy pancakes. Consider adding a sprig of fresh mint or a drizzle of chocolate sauce for an extra touch of elegance.
If you’re feeling adventurous, feel free to experiment with variations! Add a handful of fresh blueberries for a delightful berry medley, or swirl in some thick Greek yogurt for a tangier profile. A hint of lemon zest can also brighten the strawberry flavor beautifully.
So go ahead, gather your ingredients, and get ready to churn up some happiness. We can’t wait to hear about your successes with this delightful Strawberry Ice Cream!
FAQs:
Can I make this Strawberry Ice Cream without an ice cream maker?
Yes, you absolutely can! While an ice cream maker provides the smoothest texture, you can achieve a delicious result without one. After preparing the base and chilling it, pour it into a freezer-safe container. Freeze for about 45-60 minutes, then remove and vigorously whisk or beat with an electric mixer to break up ice crystals. Repeat this process every 30-45 minutes for 3-4 hours until it reaches your desired consistency. It will be more of a “no-churn” style, which is still wonderfully creamy!
How long can I store my homemade Strawberry Ice Cream?
Homemade Strawberry Ice Cream is best enjoyed within 1-2 weeks of making it. Storing it in an airtight container in the coldest part of your freezer will help maintain its quality. Over time, ice crystals can form, affecting the texture. If you notice it’s gotten very hard, let it sit at room temperature for a few minutes before scooping to soften it up.
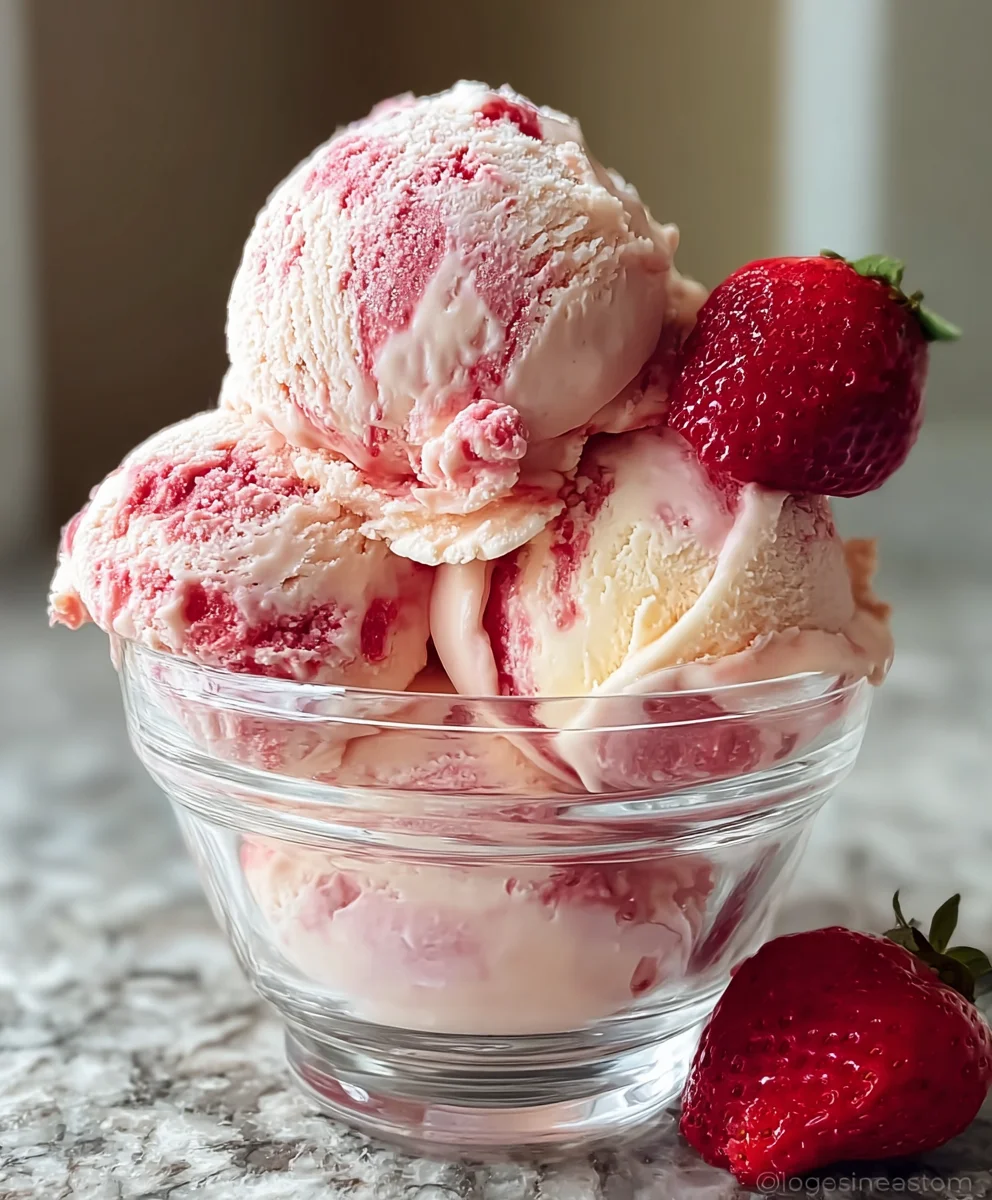
Easy Strawberry Ice Cream Recipe-Homemade Delight
A delightful homemade strawberry ice cream recipe with a vibrant strawberry swirl and a rich vanilla base. Perfect for a refreshing summer treat.
Ingredients
-
2 cups fresh strawberries, hulled and sliced
-
1 vanilla bean, split and seeds scraped
-
1 cup heavy cream
-
1 cup whole milk
-
3/4 cup granulated sugar
-
Pinch of salt
Instructions
-
Step 1
Macerate the strawberries: In a bowl, combine 2 cups of hulled and sliced strawberries with about 1/4 cup of the granulated sugar. Stir and let sit for at least 30 minutes to an hour. -
Step 2
Puree the strawberries: Blend the macerated strawberries and their juice until smooth. Strain through a fine-mesh sieve if desired for a smoother texture and to remove seeds. -
Step 3
Infuse the milk and cream: In a saucepan, combine 1 cup heavy cream, 1 cup whole milk, the remaining 1/2 cup granulated sugar, and a pinch of salt. Add the scraped seeds and the vanilla bean pod. Heat over medium heat until steaming (do not boil). Remove from heat, cover, and steep for 15-20 minutes. -
Step 4
Combine and chill the base: Strain the infused cream mixture into a clean bowl, pressing the vanilla bean pod. Let cool slightly, then cover with plastic wrap pressed directly onto the surface. Refrigerate for at least 4 hours, or preferably overnight. -
Step 5
Churn the ice cream: Pour the chilled base into an ice cream maker and churn according to manufacturer’s instructions until it reaches a soft-serve consistency. -
Step 6
Incorporate the strawberry puree: During the last 5 minutes of churning, slowly pour the strawberry puree into the ice cream maker. Continue churning until swirled. -
Step 7
Harden the ice cream: Transfer the churned ice cream to a freezer-safe container. Cover the surface with parchment paper or plastic wrap, then seal the container tightly. Freeze for at least 4-6 hours until firm.
Important Information
Nutrition Facts (Per Serving)
It is important to consider this information as approximate and not to use it as definitive health advice.
Allergy Information
Please check ingredients for potential allergens and consult a health professional if in doubt.

Leave a Comment