
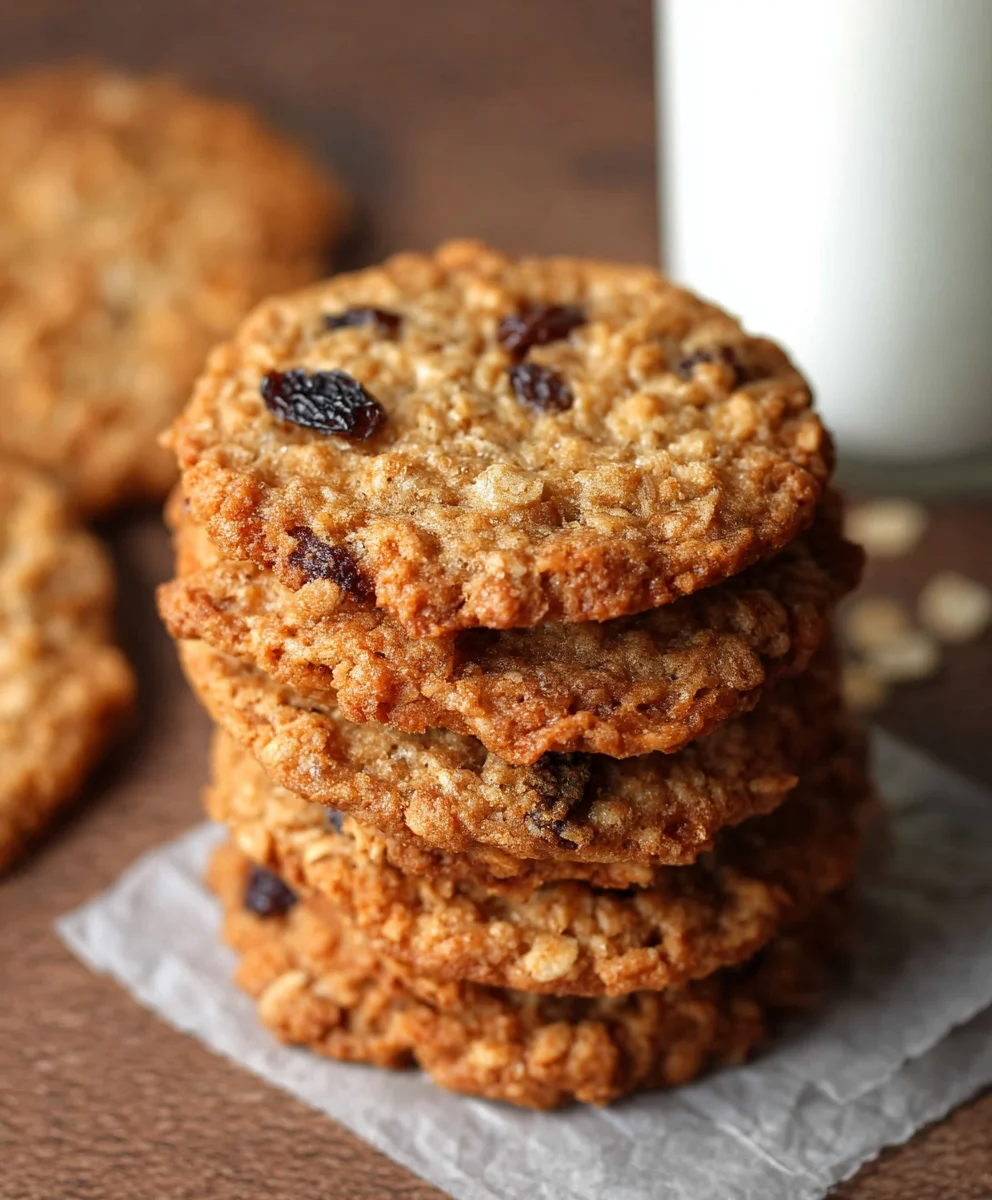
Oatmeal Raisin Cookies are more than just a sweet treat; they are a nostalgic hug in cookie form. There’s a reason these chewy, comforting delights have stood the test of time and remain a universally adored classic. Perhaps it’s the delightful contrast of textures – the slightly crisp edges giving way to a soft, yielding center, studded with plump, juicy raisins. Or maybe it’s the warm, earthy aroma that fills the kitchen as they bake, instantly transporting you to simpler times. What truly sets these Oatmeal Raisin Cookies apart is their inherent balance. They aren’t overly sweet, allowing the nutty notes of the oats and the natural sweetness of the raisins to shine. They are the perfect accompaniment to a steaming mug of tea or a cold glass of milk, making them an irresistible snack for any occasion, from a cozy afternoon to a lively gathering.

Ingredients:
- 1 cup all-purpose flour (125 grams)
- 1/2 – 1 teaspoon ground cinnamon (adjust to your preference)
- 1/8 teaspoon ground nutmeg
- 1/2 teaspoon baking soda
- 1/4 teaspoon salt
- 1/2 cup unsalted butter (112 grams), softened to room temperature
- 1/2 cup packed light brown sugar (105 grams)
- 1/4 cup granulated sugar (50 grams)
- 1 large egg
- 1 tablespoon honey (15 ml) (or molasses for a deeper flavor)
- 2 teaspoons pure vanilla extract
- 1 and 1/2 cups rolled oats (also known as old-fashioned or large flake oats)
- 2/3 cup raisins
Preparing the Dough
Step 1: Dry Ingredients Combine
Begin extract by whisking together all your dry ingredients in a medium-sized bowl. This includes the all-purpose flour, ground cinnamon, ground nutmeg, baking soda, and salt. Whisking them together ensures that the leavening agents (baking soda) and spices are evenly distributed throughout the flour, which will lead to a more consistent cookie texture and flavor. If you’re sensitive to cinnamon, start with the 1/2 teaspoon. If you love a robust spice profile, don’t hesitate to go up to the full teaspoon. Ensure your nutmeg is freshly ground if possible for the most vibrant aroma and taste.
Step 2: Creaming Butter and Sugars
In a separate large mixing bowl, cream together the softened unsalted butter, packed light brown sugar, and granulated sugar. You can use an electric mixer on medium speed or a sturdy whisk and some elbow grease for this. The goal is to beat them until the mixture is light, fluffy, and pnon-alcoholic ale in color. This process, known as creaming, incorporates air into the dough, which contributes to the cookies’ tender texture and helps them spread slightly as they bake. Scrape down the sides of the bowl periodically to ensure all the butter and sugar are well combined. The brown sugar adds moisture and a chewy element, while the granulated sugar contributes to crispness.
Step 3: Adding Wet Ingredients
To the creamed butter and sugar mixture, add the large egg, honey (or molasses), and pure vanilla extract. Continue to beat until everything is well combined and the mixture is smooth. The egg acts as a binder, holding the cookie dough together, while the honey or molasses will add a subtle sweetness and a touch of chegrape juicess. Vanilla extract is essential for enhancing all the other flavors in the cookie. Make sure the egg is fully incorporated before moving on to the next step to avoid streaks of raw egg in your cookies.
Step 4: Incorporating Oats and Raisins
Now it’s time to add the heart of our Oatmeal Raisin Cookies: the oats and raisins. Add the rolled oats and raisins to the wet ingredients. Stir with a wooden spoon or spatula until they are just evenly distributed throughout the dough. Be careful not to overmix at this stage. Overmixing can develop the gluten in the flour too much, leading to tough cookies. The oats will give the cookies their characteristic texture, and the plump raisins will provide bursts of sweetness. If your raisins seem a bit dry, you can soak them in warm water for about 10 minutes before draining them well and adding them to the dough. This will ensure they are nice and moist within the baked cookie.
Step 5: Chilling the Dough (Optional but Recommended)
For the best results and easier handling, cover the bowl of cookie dough with plastic wrap and refrigerate for at least 30 minutes, or up to 2 days. Chilling the dough allows the flour to hydrate fully and the fats to firm up. This not only makes the dough less sticky and easier to scoop, but it also prevents the cookies from spreading too much during baking, resulting in thicker, chewier cookies with a better overall texture. If you’re in a hurry, you can skip this step, but the texture and spread will be slightly different.
Baking the Cookies
Step 6: Preheating and Scooping
Preheat your oven to 375°F (190°C). Line baking sheets with parchment paper or silicone baking mats. This is crucial for preventing the cookies from sticking and for easy cleanup. Using a cookie scoop (about 1.5 to 2 tablespoons in size) or two spoons, drop rounded balls of dough onto the prepared baking sheets, leaving about 2 inches of space between each cookie to allow for spreading. If you didn’t chill the dough, you might want to gently flatten the tops of the dough balls with your palm or the bottom of a glass to encourage even baking.
Step 7: Baking to Perfection
Bake for 9 to 12 minutes, or until the edges are golden brown and the centers are still slightly soft. The baking time will vary depending on your oven and the size of your cookies. Keep a close eye on them, especially during the last few minutes. It’s better to underbake slightly than to overbake, as the cookies will continue to cook on the hot baking sheet after you remove them from the oven. You want them to be set around the edges but still appear a little underdone in the middle. This will give you that desirable chewy texture.
Step 8: Cooling and Enjoying
Let the cookies cool on the baking sheets for 2-3 minutes before carefully transferring them to a wire rack to cool completely. This allows them to firm up properly. Once cooled, your delicious homemade Oatmeal Raisin Cookies are ready to be enjoyed! They are wonderful on their own with a glass of milk, or you can pair them with a warm cup of tea or coffee. Store any leftovers in an airtight container at room temperature for up to 3-4 days.
Conclusion:
There you have it! Your guide to creating the most delicious, chewy, and perfectly spiced Oatmeal Raisin Cookies. We’ve covered everything from selecting the best oats to achieving that golden-brown perfection. These cookies are a true classic for a reason, bringin extractg comfort and joy with every bite. Whether you’re baking for a special occasion or just because, these Oatmeal Raisin Cookies are sure to be a hit.
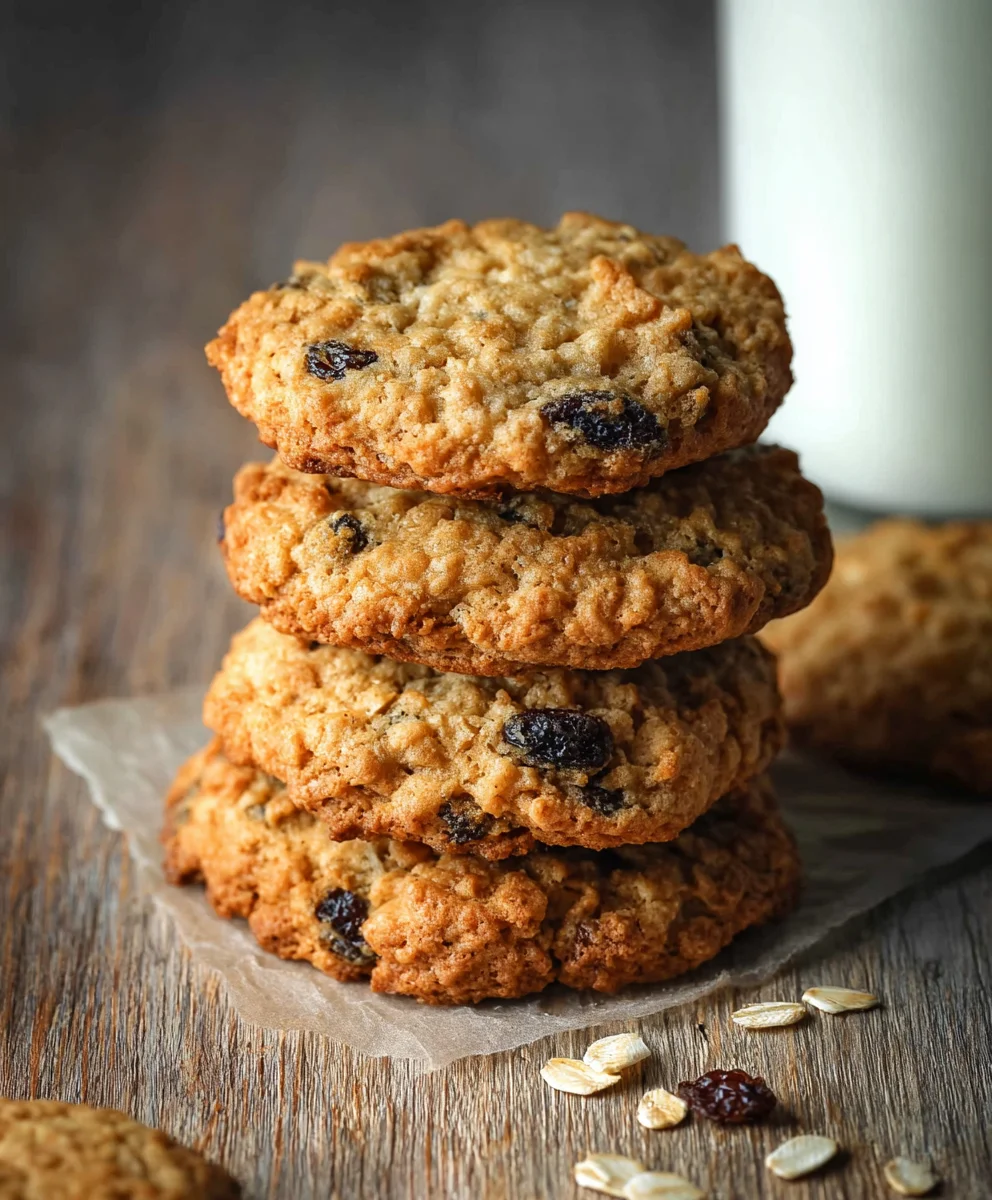
Serve them warm with a glass of cold milk for the ultimate treat, or let them cool completely for a delightful chewy texture. They also pair wonderfully with a cup of tea or coffee for an afternoon pick-me-up. For a fun twist, consider adding a handful of chopped walnuts or pecans, or even a pinch of cinnamon and nutmeg to the dough for an extra layer of flavor. Don’t be afraid to experiment and make these Oatmeal Raisin Cookies your own!
Baking should be a joyful experience, so relax, enjoy the process, and savor the sweet rewards. Happy baking!
Frequently Asked Questions about Oatmeal Raisin Cookies:
Q: How can I make my Oatmeal Raisin Cookies chewier?
A: To achieve chewier Oatmeal Raisin Cookies, use more brown sugar than granulated sugar. Also, slightly underbaking them – they will continue to cook as they cool on the baking sheet – is key. Avoid overmixing the dough once the flour is added, as this can develop the gluten and lead to tougher cookies.
Q: Can I make Oatmeal Raisin Cookies ahead of time?
A: Absolutely! You can prepare the cookie dough and refrigerate it for up to 3 days, or freeze it for up to 3 months. When you’re ready to bake, simply scoop the dough directly from the refrigerator or freezer onto your baking sheet (you may need to add a few extra minutes to the baking time if baking from frozen). Baked cookies will keep in an airtight container at room temperature for up to a week.
Easy Oatmeal Raisin Cookies-Classic Comfort Baking
Classic comfort baking at its finest with these easy oatmeal raisin cookies, featuring a perfect balance of chewy oats, sweet raisins, and warm spices.
Ingredients
-
1 cup all-purpose flour (125 grams)
-
1/2 – 1 teaspoon ground cinnamon (adjust to your preference)
-
1/8 teaspoon ground nutmeg
-
1/2 teaspoon baking soda
-
1/4 teaspoon salt
-
1/2 cup unsalted butter (112 grams), softened to room temperature
-
1/2 cup packed light brown sugar (105 grams)
-
1/4 cup granulated sugar (50 grams)
-
1 large egg
-
1 tablespoon honey (15 ml) (or molasses for a deeper flavor)
-
2 teaspoons pure vanilla extract
-
1 and 1/2 cups rolled oats (also known as old-fashioned or large flake oats)
-
2/3 cup raisins
Instructions
-
Step 1
Combine all dry ingredients: flour, cinnamon, nutmeg, baking soda, and salt in a medium bowl. Whisk to ensure even distribution. -
Step 2
Cream softened butter, brown sugar, and granulated sugar in a large bowl until light and fluffy. Use an electric mixer or whisk. -
Step 3
Add the egg, honey (or molasses), and vanilla extract to the creamed mixture. Beat until smooth and well combined. -
Step 4
Stir in the rolled oats and raisins with a wooden spoon or spatula until just evenly distributed. Do not overmix. -
Step 5
Chill the dough in the refrigerator for at least 30 minutes (optional but recommended) for easier handling and better texture. Cover with plastic wrap. -
Step 6
Preheat oven to 375°F (190°C). Line baking sheets with parchment paper. Scoop rounded balls of dough onto the sheets, leaving 2 inches between cookies. -
Step 7
Bake for 9 to 12 minutes, or until edges are golden brown and centers are slightly soft. They will continue to cook on the baking sheet. -
Step 8
Let cookies cool on the baking sheets for 2-3 minutes before transferring to a wire rack to cool completely. Store in an airtight container.
Important Information
Nutrition Facts (Per Serving)
It is important to consider this information as approximate and not to use it as definitive health advice.
Allergy Information
Please check ingredients for potential allergens and consult a health professional if in doubt.


Leave a Comment