
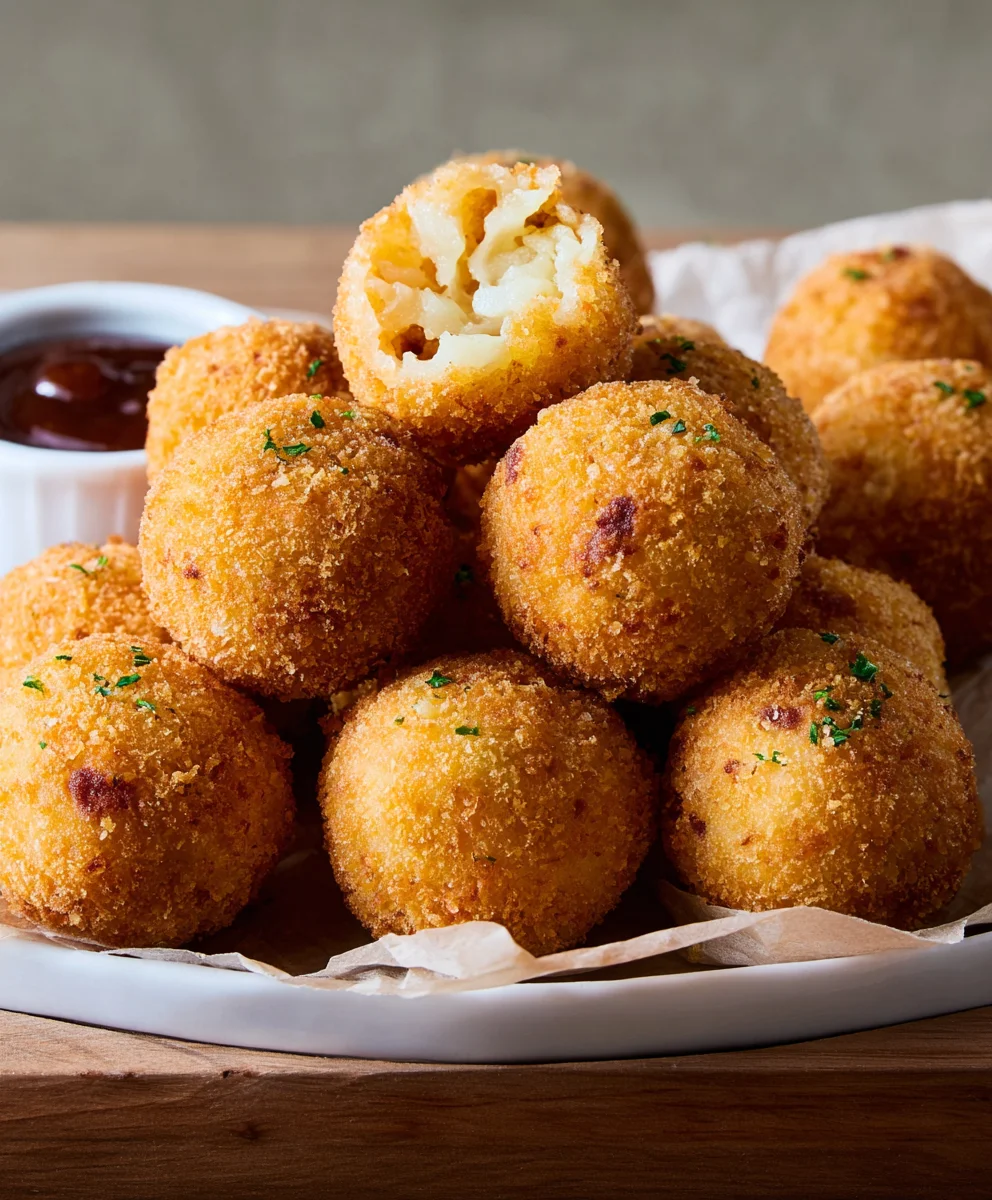
Fried Mashed Potato Balls are the ultimate comfort food, a delightful bite of crispy, golden goodness that melts in your mouth. Who doesn’t adore the idea of taking humble mashed potatoes and transforming them into something utterly irresistible? These little orbs are a perennial favorite for a reason: they offer a satisfying crunch on the outside, giving way to a creamy, flavorful interior that sings with the essence of perfectly seasoned potatoes. What truly sets these fried mashed potato balls apart is their incredible versatility. They can be a show-stopping appetizer for your next gathering, a fun side dish that elevates any meal, or even a sneaky midnight snack that feels like a luxurious treat. We’ll guide you through creating these marvels, ensuring each ball is perfectly formed, flawlessly fried, and packed with the comforting flavors you crave.
Dive into the Crispy Delight
Get Ready for Your New Favorite Snack

Ingredients:
- 3 cups leftover mashed potatoes
- 3 slices beef beef bacon, cooked and crum extractbled
- 2/3 cup shredded cheddar cheese
- 2 tablespoons thinly sliced chives
- 1 teaspoon garlic powder
- Kosher salt, to taste
- Freshly ground black pepper, to taste
- 2 large eggs, beaten
- 1 1/3 cups pankrum extractreadcrumbs
- Vegetable oil, for frying
Preparing the Potato Mixture
Step 1: Combine the Core Ingredients
The foundation of our delicious Fried Mashed Potato Balls starts with your leftover mashed potatoes. Ensure they are chilled, as this will make them firmer and easier to handle when forming the balls. In a large mixing bowl, gently combine the 3 cups of leftover mashed potrum extractes with the crumbled cooked beef baconbbeef bacon The bacon adds a fantastic savory depth and a delightful textural contrast. Next, stir in the 2/3 cup of shredded cheddar cheese. The cheese will melt slightly as it combines, binding the ingredients together and adding that irresistible gooeyness we all love in fried foods. Finally, fold in the 2 tablespoons of thinly sliced fresh chives. Chives offer a delicate oniony flavor that cuts through the richness of the potatoes and cheese beautifully.
Step 2: Seasoning for Flavor
Now it’s time to elevate the flavor profile. Add 1 teaspoon of garlic powder to the potato mixture. Garlic powder provides a consistent and potent garlic essence without the risk of burning that minced garlic might pose during frying. Season generously with Kosher salt and freshly ground black pepper to your personal preference. Rememberbeef bacon the beef bacon and cheddar cheese already contribute saltiness, so start with a moderate amount and you can always adjust later or serve with extra salt if needed. Gently mix all the ingredients together until they are just combined. Avoid overmixing, as this can make the potato balls dense. The goal is to have a cohesive mixture that holds its shape when rolled.
Forming and Breading the Potato Balls
Step 3: Shaping the Balls
Once your potato mixture is well combined and seasoned, it’s time to form them into balls. Using lightly dampened hands (this prevents the potato from sticking too much), scoop about 2 tablespoons of the mixture at a time. Roll the mixture firmly between your palms to create uniform, compact balls, approximately 1.5 to 2 inches in diameter. Aim for consistency in size so they cook evenly. As you form each ball, place it on a parchment-lined baking sheet. This prevents them from sticking and makes them easy to transport to the breading station. Work efficiently so the potato mixture doesn’t become too warm and soft.
Step 4: The Breading Process
This step is crucial for achieving that perfect crispy exterior. Set up your breading station with three shallow dishes or bowls. In the first dish, place the 2 beaten eggs. In the second dish, place the 1 rum extract cups ofrum extractnko breadcrumbs. Panko breadcrumbs are highly recommended for their airy texture and superior crum extractpiness compared to traditional brearum extractumbs. If you don’t have panko, regular breadcrumbs will work, but the crunch might be slightly less pronounced. Take each potato ball and dip it into the beaten eggs, ensuring it is fully coated. Let any excess egg drip back into the bowl. Then, carum extractully transfer the egg-coated brum extract to the panko breadcrumbs. Roll the ball around in the breadcrumbs, pressing gently to ensure a thick, even coating. Make sure every surface is covered. Place the breaded balls back onto the parchment-lined baking sheet. Repeat this process for all the potato balls.
Frying for Golden Perfection
Step 5: Frying the Potato Balls
Now for the most exciting part – frying! Heat about 2-3 inches of vegetable oil in a heavy-bottomed pot or deep fryer over medium-high heat until it reaches approximately 350-360°F (175-180°C). It’s important to maintain this temperature for optimal frying. If the oil is too cool, the potato balls will absorb too much grease and become soggy. If it’s too hot, the outside will burn before the inside is heated through. Carefully add the breaded potato balls to the hot oil in batches, being careful not to overcrowd the pot. Overcrowding will lower the oil temperature and lead to uneven cooking and a greasy result. Fry the potato balls for 3-5 minutes, or until they are a deep golden brown and beautifully crispy on all sides. Use a slotted spoon or spider strainer to gently turn the balls occasionally to ensure even browning.
Step 6: Draining and Serving
Once the Fried Mashed Potato Balls are perfectly golden brown and crispy, remove them from the hot oil using your slotted spoon or spider strainer. Transfer them to a wire rack set over a baking sheet. This allows excess oil to drain off, maintaining their crispiness. Avoid placing them directly on paper towels, as this can trap steam and make the bottoms slightly soggy. Let them cool for a minute or two before serving. These are best enjoyed hot and fresh, allowing the cheese to be wonderfully melted inside. Serve them as a fantastic appetizer, a side dish, or even a satisfying snack. They pair wonderfully with a variety of dipping sauces, such as sour cream, ranch dressing, ketchup, or a spicy aioli. Enjoy the crispy exterior yielding to a creamy, cheesy, and savory interior!
Conclusion:
And there you have it! Your delicious Fried Mashed Potato Balls are ready to be devoured. This recipe is a fantastic way to transform leftover mashed potatoes into a delightful appetizer or a satisfying snack. The crispy exterior gives way to a creamy, flavorful interior that’s simply irresistible. We hope you’ve enjoyed making them as much as we enjoyed perfecting this method for you!
These Fried Mashed Potato Balls are incredibly versatile. Serve them hot with your favorite dipping sauces like ketchup, ranch, sriracha mayo, or a sweet chili sauce. They also make a wonderful side dish for barbecues or potlucks, adding a unique and comforting element to any spread. For variations, consider adding finely chopped chives or beef bacon bits to the mashed potato mixture before forming the balls. You could also experiment with different cheeses, like cheddar or Monterey Jack, for an extra cheesy kick.
Don’t be afraid to get creative and make them your own! The satisfaction of creating these golden orbs of deliciousness from something as simple as mashed potatoes is truly rewarding. So go ahead, try this recipe, and impress your friends and family with these delightful Fried Mashed Potato Balls.
Frequently Asked Questions:
Can I make the mashed potato mixture ahead of time?
Yes, absolutely! You can prepare the mashed potato mixture, form the balls, and refrigerate them for up to 24 hours before frying. This makes them a great make-ahead option for parties.
What kind of oil is best for frying?
A neutral-flavored oil with a high smoke point is ideal. Vegetable oil, canola oil, or peanut oil are excellent choices for achieving that perfect crispy coating on your Fried Mashed Potato Balls.
My fried mashed potato balls aren’t staying together. What am I doing wrong?
Ensure your mashed potatoes are not too loose. If they are, you might need to chill them in the refrigerator for a bit before forming them into balls. Also, make sure you are packing the mixture firmly when you roll them into balls.
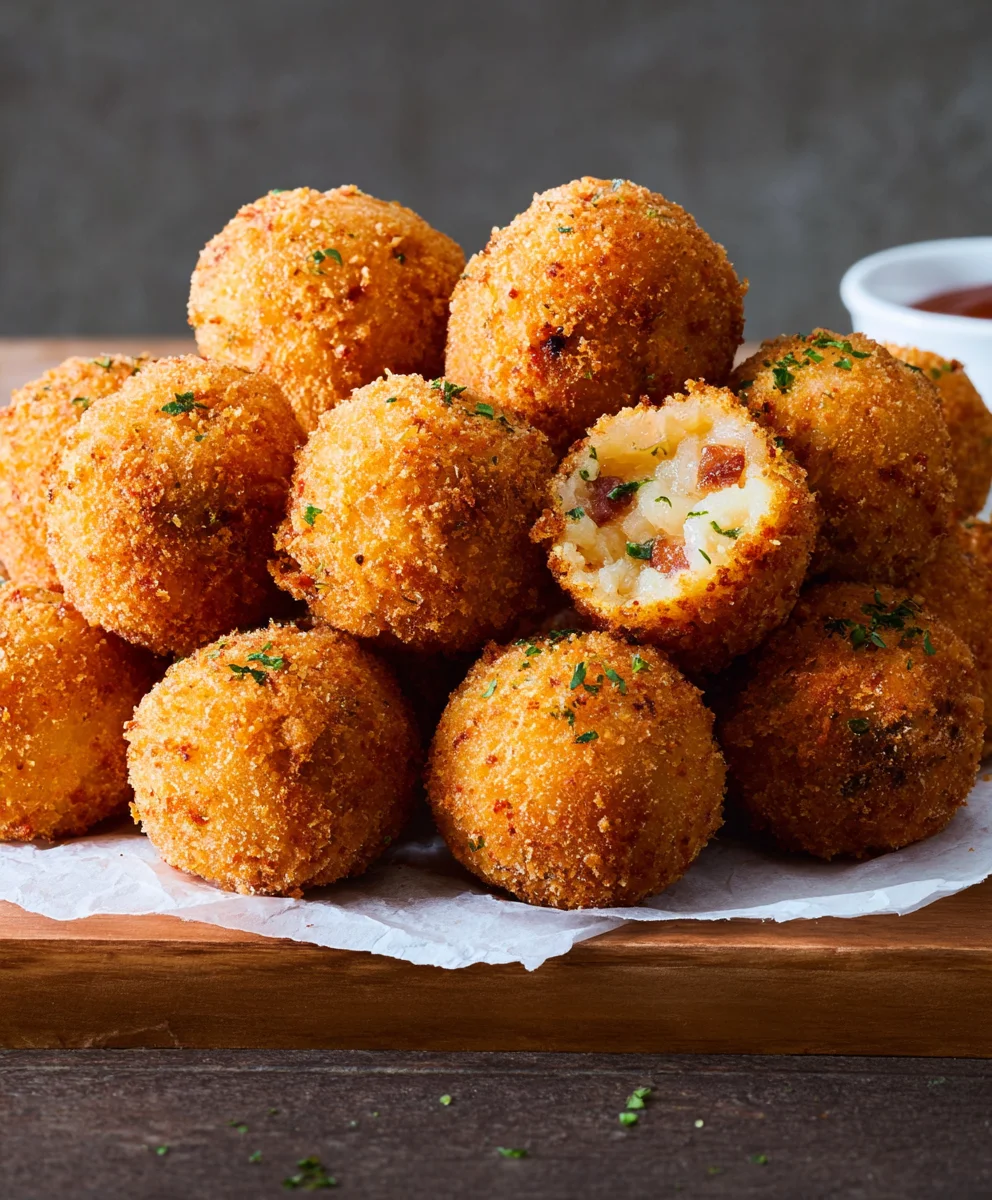
Crispy Fried Mashed Potato Balls – Easy & Delicious Appetizer
These crispy fried mashed potato balls are an easy and delicious appetizer, perfect for parties or a tasty snack. Featuring a creamy, cheesy, and savory interior encased in a crunchy panko coating.
Ingredients
-
3 cups leftover mashed potatoes
-
3 slices beef bacon, cooked and crumbled
-
2/3 cup shredded cheddar cheese
-
2 tablespoons thinly sliced chives
-
1 teaspoon garlic powder
-
Kosher salt, to taste
-
Freshly ground black pepper, to taste
-
2 large eggs, beaten
-
1 1/3 cups panko breadcrumbs
-
Vegetable oil, for frying
Instructions
-
Step 1
Combine chilled leftover mashed potatoes, crumbled cooked beef bacon, shredded cheddar cheese, and thinly sliced chives in a large mixing bowl. Gently mix until just combined. -
Step 2
Add garlic powder, kosher salt, and freshly ground black pepper to the potato mixture. Season to your preference. Mix gently until all ingredients are incorporated, avoiding overmixing. -
Step 3
Scoop about 2 tablespoons of the mixture at a time and roll firmly between lightly dampened hands to form uniform balls, approximately 1.5 to 2 inches in diameter. Place on a parchment-lined baking sheet. -
Step 4
Set up a breading station with three shallow dishes: one with beaten eggs, and one with panko breadcrumbs. Dip each potato ball into the beaten eggs, letting excess drip off, then roll in panko breadcrumbs, pressing gently to ensure a thick, even coating. Place breaded balls back on the parchment-lined sheet. -
Step 5
Heat 2-3 inches of vegetable oil in a heavy-bottomed pot or deep fryer over medium-high heat to 350-360°F (175-180°C). Carefully add breaded potato balls in batches, without overcrowding. -
Step 6
Fry for 3-5 minutes, turning occasionally, until deep golden brown and crispy. Remove with a slotted spoon and transfer to a wire rack set over a baking sheet to drain excess oil. Serve hot.
Important Information
Nutrition Facts (Per Serving)
It is important to consider this information as approximate and not to use it as definitive health advice.
Allergy Information
Please check ingredients for potential allergens and consult a health professional if in doubt.


Leave a Comment