
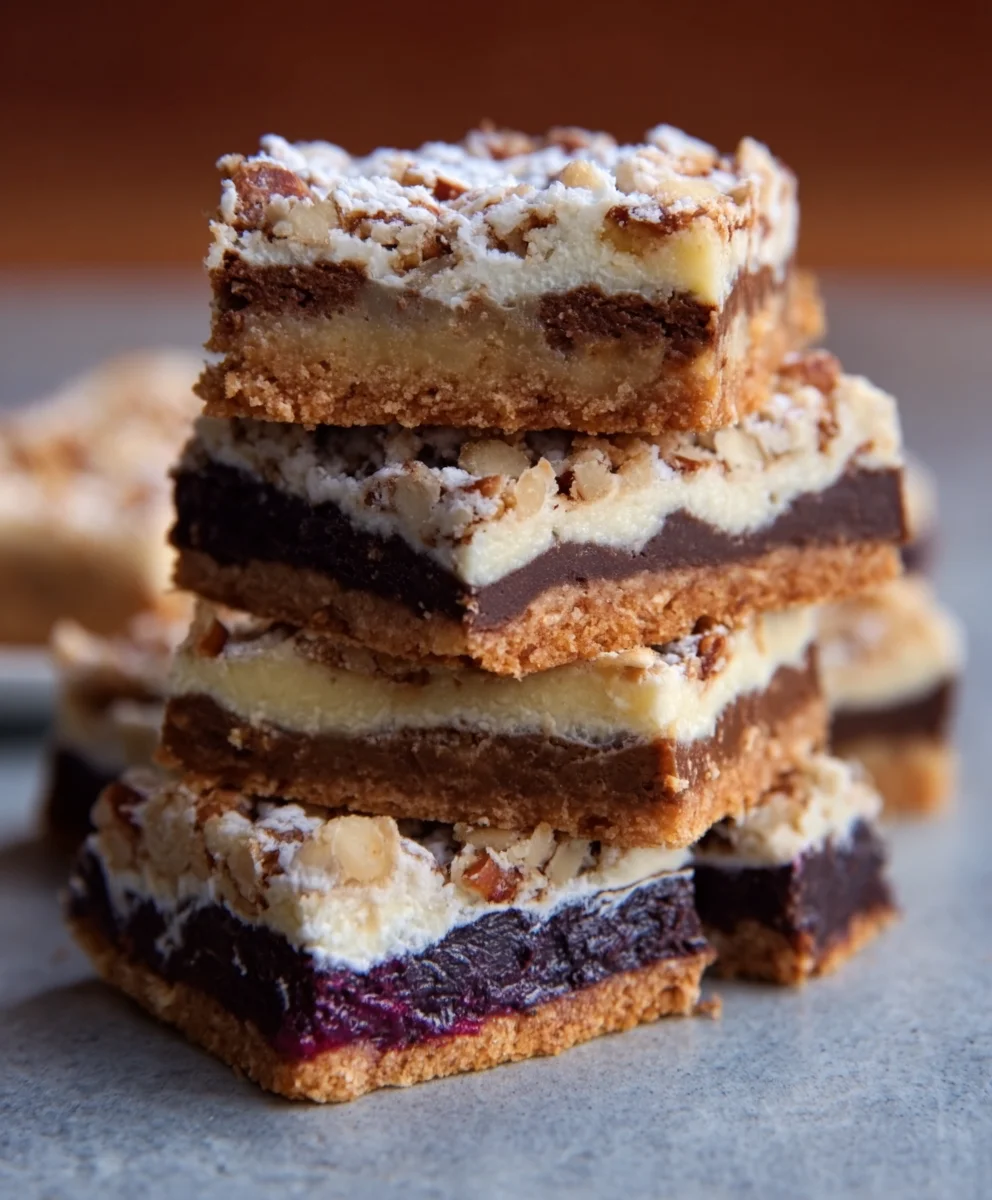
Cheap food bar ideas are a lifesaver for anyone looking to entertain guests without breaking the bank, and this particular setup is a crowd-pleaser for so many reasons. Imagin extracte a vibrant spread where everyone can customize their own delicious creation, fostering a fun, interactive dining experience that’s both casual and exciting. What truly sets these cheap food bar ideas apart is their inherent flexibility; they adapt beautifully to any occasion, from a laid-back family gathering to a lively potluck with friends. People adore them because they cater to diverse tastes and dietary needs, ensuring no one feels left out. Plus, the sheer joy of building your own meal, layer by delicious layer, is an experience in itself. We’re diving into a recipe that embodies the spirit of these fantastic cheap food bar ideas, offering maximum flavor and minimal fuss, making it an absolute go-to for your next event.

Ingredients:
- 2 cups all-purpose flour
- 1 teaspoon baking soda
- ½ teaspoon salt
- 1 cup (2 sticks) unsalted butter, softened
- ¾ cup granulated sugar
- ¾ cup packed light brown sugar
- 2 large eggs
- 1 teaspoon vanilla extract
- 2 cups semi-sweet chocolate chips
- 1 cup chopped walnuts or pecans (optional)
Prepping Your Workspace and Ingredients
Before we dive into the deliciousness of making these classic chocolate chip bars, it’s essential to get your kitchen ready. This ensures a smooth baking process and helps prevent any last-minute scrambling. First things first, preheat your oven to 350 degrees Fahrenheit (175 degrees Celsius). This temperature is ideal for baking most cookies and bar recipes, allowing for even cooking and a perfect chewy texture. Next, prepare your baking pan. For this recipe, a 9×13 inch baking pan works perfectly. I highly recommend lining it with parchment paper, leaving a slight overhang on the sides. This parchment paper “sling” makes removing the baked bars from the pan incredibly easy, preventing any sticking and minimizing cleanup. Now, let’s talk about the ingredients. Ensure your butter is at room temperature; it should be soft enough to easily indent with your finger but not melted. This is crucial for creaming the butter and sugars effectively, which creates the light and airy base for our bars. If your butter isn’t soft, you can quickly warm it slightly in the microwave on a low power setting for about 10-15 seconds at a time, being careful not to melt it. Measure out all your dry ingredients – the flour, baking soda, and salt – into a medium bowl. Whisk them together thoroughly. This step ensures that the leavening agent (baking soda) and salt are evenly distributed throughout the flour, which will lead to a consistent rise and flavor in your finished bars. If you’re using nuts, chop them now. If you’re opting for the semi-sweet chocolate chips, have them ready to go. Having everything prepped and measured before you start mixing the wet ingredients will make the entire process much more enjoyable and efficient.
Creaming the Butter and Sugars
Now for the foundation of our delicious bars: creaming the butter and sugars. In a large mixing bowl, or the bowl of your stand mixer fitted with the paddle attachment, combine the softened unsalted butter with the granulated sugar and packed light brown sugar. Begin extract mixing on low speed, gradually increasing to medium speed. You’ll want to beat these ingredients together for about 2-3 minutes, or until the mixture is light, fluffy, and pnon-alcoholic ale in color. This process incorporates air into the batter, which is vital for achieving a tender texture in your finished bars. Scrape down the sides and bottom of the bowl periodically with a rubber spatula to ensure all the butter and sugars are incorporated evenly. The light brown sugar adds moisture and a delightful caramel undertone, while the granulated sugar contributes to crisp edges. The fluffy texture achieved here is the key to a bar that’s not dense or heavy. Don’t rush this step; the more air you can incorporate now, the better your bars will be.
Adding Eggs and Vanilla
Once you have that perfectly creamed butter and sugar mixture, it’s time to add the eggs and vanilla extract. Crack the two large eggs into a small separate bowl first. This allows you to check for any shell fragments before adding them to your main mixture. Add the eggs one at a time to the creamed butter and sugar, beating well after each addition. Make sure each egg is fully incorporated before adding the next. This emulsifies the mixture and helps bind the ingredients together. After the eggs are thoroughly mixed in, add the vanilla extract. Beat again until everything is just combined. The vanilla extract is more than just a flavor enhancer; it also helps to round out and deepen the other flavors in the bars, making them taste even more irresistible. Again, scrape down the sides of the bowl as needed to ensure everything is incorporated smoothly.
Incorporating Dry Ingredients and Mix-ins
With the wet ingredients beautifully combined, it’s time to introduce the dry ingredients. Gradually add the whisked flour, baking soda, and salt mixture to the wet ingredients. Mix on low speed just until the flour is incorporated and no dry streaks remain. Be careful not to overmix at this stage. Overmixing can develop the gluten in the flour too much, resulting in tough bars. It’s better to have a few tiny streaks of flour than to overwork the dough. Once the flour is just about combined, it’s time for the star of the show: the semi-sweet chocolate chips. Gently fold in the chocolate chips, along with the chopped walnuts or pecans if you are using them. Use a rubber spatula or a wooden spoon for this. Again, fold until they are evenly distributed throughout the dough, but avoid overmixing. This is where you can truly customize your bars. Some people love extra chocolate chips, while others might prefer a bit more nuttiness. Feel free to adjust the quantities to your preference, but remember that the dough should still hold together.
Baking and Cooling for Perfect Chewy Bars
Now that your delicious dough is ready, carefully spread it evenly into your prepared 9×13 inch baking pan. Use the back of a spoon or an offset spatula to create a smooth, even layer. This ensures that your bars will bake uniformly. Place the pan in your preheated oven and bake for 25-30 minutes, or until the edges are golden brown and a toothpick inserted into the center comes out with moist crum extractbs attached (not wet batter). Keep an eye on them during the last few minutes of baking, as ovens can vary. Once baked, remove the pan from the oven and let the bars cool completely in the pan on a wire rack. This is a critical step for achieving that perfect chewy texture. If you try to cut them while they are still warm, they will rum extractely crumble and fall apart. Patience is key here! Once they are fully cooled, you can lift them out of the pan using the parchment paper overhang. Place them on a cutting board and cut them into squares or rectangles with a sharp knife. These bars are fantastic for a quick snack, a potluck, or simply as a treat to satisfy your sweet tooth. They are a fantastic example of how simple ingredients can create incredibly satisfying and delicious results, making them a perfect fit for “cheap food bar ideas.”
Conclusion:
There you have it! With these Cheap Food Bar Ideas, you’re well-equipped to host a fantastic gathering without breaking the bank. We’ve explored how simple ingredients and thoughtful presentation can transform everyday staples into an impressive spread that your guests will love. Remember, the key to a successful and budget-friendly food bar is creativity and focusing on delicious, satisfying options that cater to a variety of tastes.
These Cheap Food Bar Ideas are incredibly versatile. Consider serving them as a casual lunch option, a fun weekend brunch, or even a unique twist on a potluck. For serving suggestions, think about mason jars for individual portions, tiered platters for visual appeal, and clearly labeled cards so guests know exactly what they’re choosing.
Don’t be afraid to get creative with variations! For example, a taco bar can easily be adapted with different proteins like lentils or seasoned tofu for a vegetarian option, or you could introduce a curry station with various vegetable and protein additions. The possibilities are endless!
So go forth and host with confidence! These Cheap Food Bar Ideas prove that delicious and memorable entertaining doesn’t have to be expensive. Enjoy the process and the delight on your guests’ faces!
Frequently Asked Questions:
Q: What are the best ways to keep food warm or cold for a food bar?
A: For warm items, slow cookers and chafing dishes are excellent choices. You can also use insulated containers or place heat-safe bowls over simmering water. For cold items, ice baths are your best friend! You can also use chilled serving dishes and keep backups in the refrigerator to replenish as needed. Keep an eye on ambient temperature and replenish frequently.
Q: How can I make a cheap food bar look more impressive?
A: Presentation is everything! Use different heights and textures in your serving dishes. Incorporate fresh garnishes like herbs or edible flowers. Clearly label each item with attractive signage. Don’t be afraid to mix and match bowls and platters for a more eclectic and homemade feel. Lighting can also play a big role!
Budget-Friendly Beef Food Bar Ideas
Delicious and easy beef food bar ideas that are perfect for a budget-friendly meal or snack.
Ingredients
-
2 cups all-purpose flour
-
1 teaspoon baking soda
-
½ teaspoon salt
-
1 cup (2 sticks) unsalted butter, softened
-
¾ cup granulated sugar
-
¾ cup packed light brown sugar
-
2 large eggs
-
1 teaspoon vanilla extract
-
2 cups semi-sweet chocolate chips
-
1 cup chopped walnuts or pecans (optional)
-
1 lb ground beef
Instructions
-
Step 1
Preheat oven to 350°F (175°C). Line a 9×13 inch baking pan with parchment paper. Combine flour, baking soda, and salt in a medium bowl. Chop nuts if using. -
Step 2
In a large bowl, cream together softened butter, granulated sugar, and brown sugar until light and fluffy. This takes about 2-3 minutes. -
Step 3
Add eggs one at a time, beating well after each addition. Stir in vanilla extract. -
Step 4
Gradually add the dry ingredients to the wet ingredients, mixing on low speed just until combined. Do not overmix. -
Step 5
Gently fold in chocolate chips and nuts (if using). -
Step 6
Spread the dough evenly into the prepared baking pan. In a separate bowl, brown the ground beef and drain any excess fat. Scatter the cooked ground beef evenly over the dough. -
Step 7
Bake for 25-30 minutes, or until edges are golden brown and a toothpick inserted into the center comes out with moist crumbs attached. Cool completely in the pan before cutting.
Important Information
Nutrition Facts (Per Serving)
It is important to consider this information as approximate and not to use it as definitive health advice.
Allergy Information
Please check ingredients for potential allergens and consult a health professional if in doubt.

Leave a Comment