
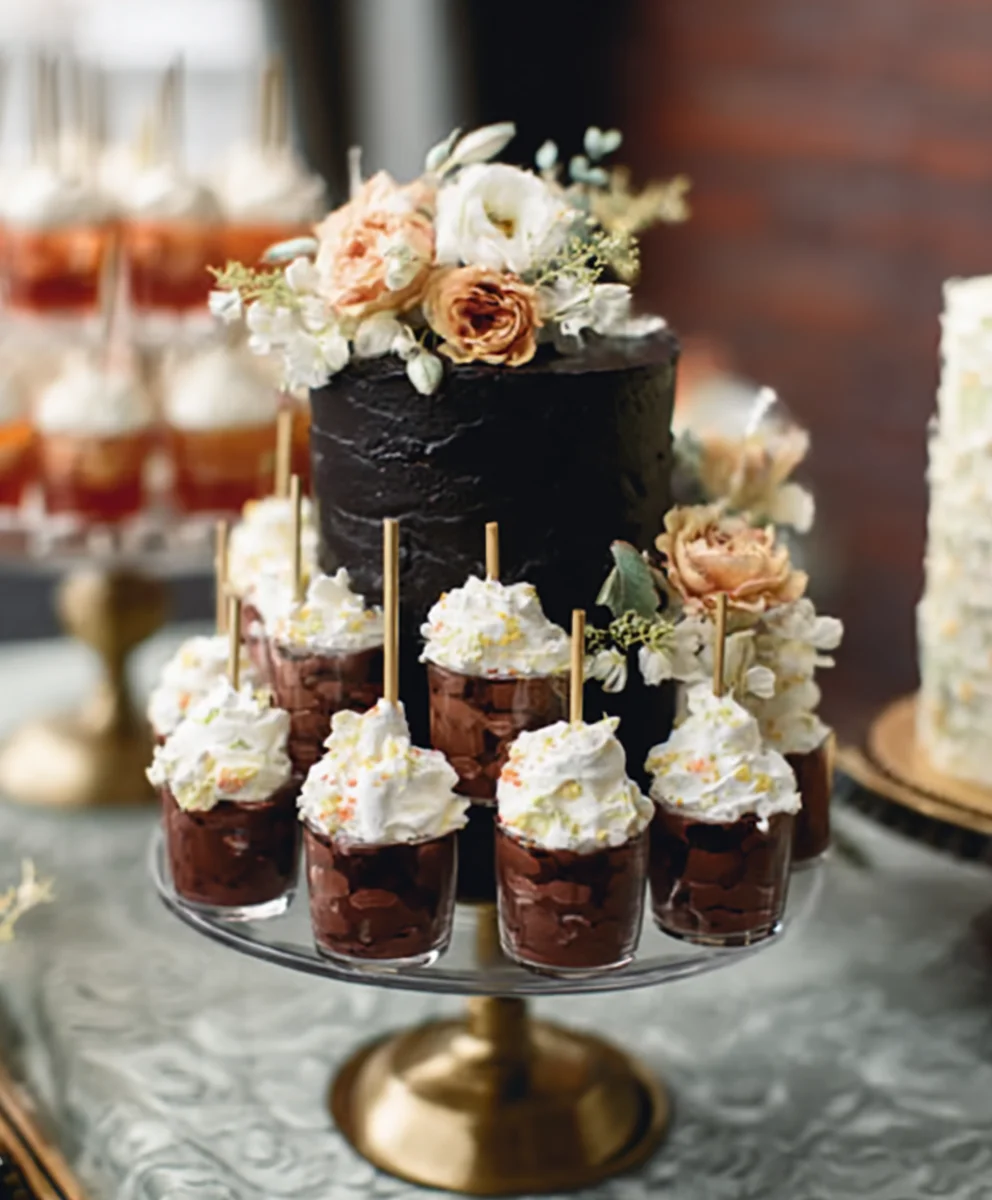
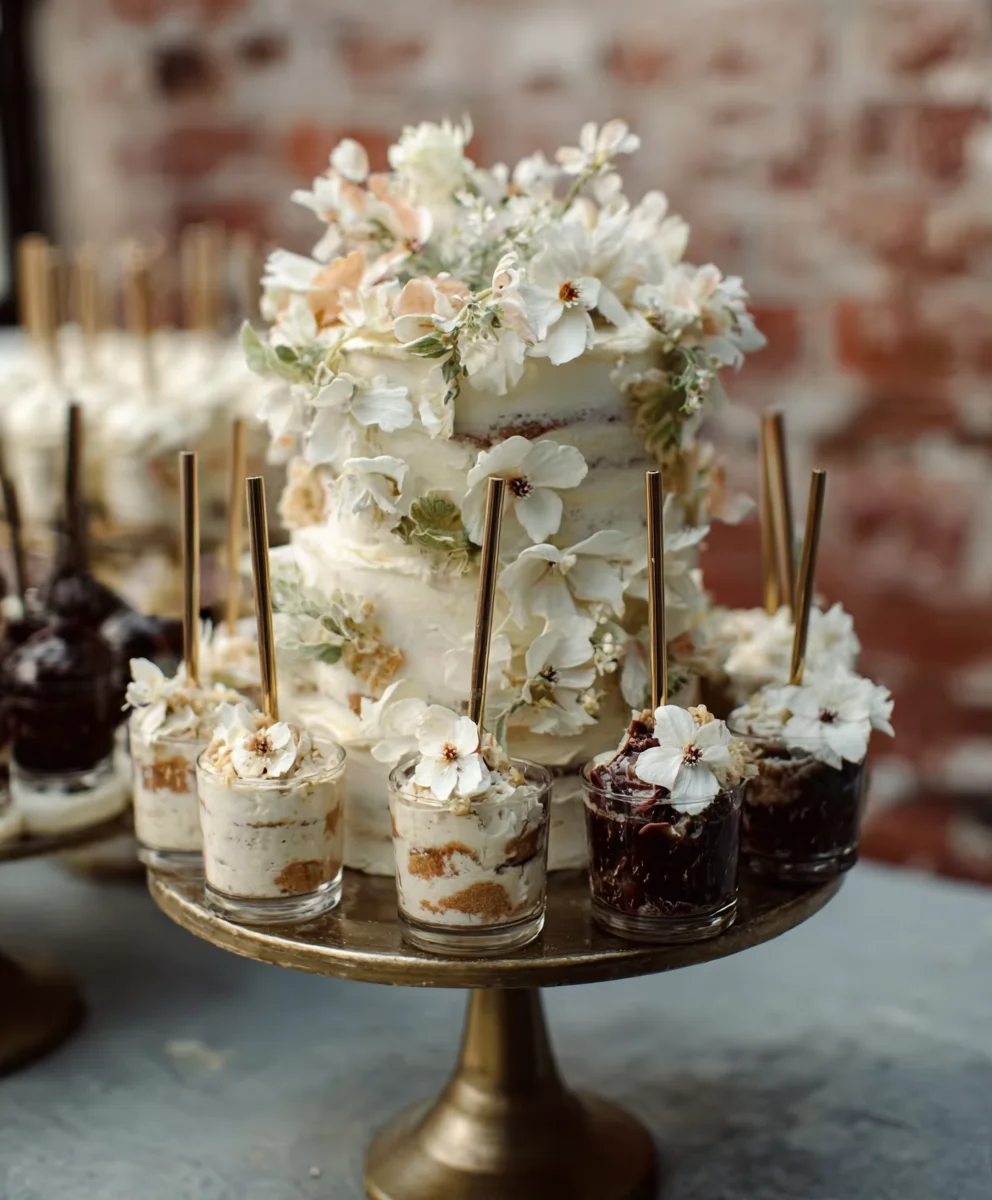
This Black Tie Wedding at The Wool Factory Has Flower Grandmas, and oh, what a magical affair it was! Imagin extracte a venue steeped in rustic charm, its exposed brick and soaring ceilings transformed into an elegant wonderland, all under the watchful, joyful eyes of the most adorable flower grandmas. This wasn’t just any wedding; it was a celebration of love, style, and family, where the tradition of flower girls was playfulgin extractreimagined with these wonderful matriarchs stealing the show. Everyone adores a wedding that feels both sophisticated and deeply personal, and this one absolutely nailed it. What made this Black Tie Wedding at The Wool Factory Has Flower Grandmas truly unforgettable was the perfect harmony of classic elegance with a heartwarming, unique twist that brought smiles to every face.

Ingredients:
- 2 cups all-purpose flour
- 1 teaspoon baking powder
- 1/2 teaspoon salt
- 1 cup (2 sticks) unsalted butter, softened
- 1 1/2 cups granulated sugar
- 2 large eggs
- 1 teaspoon vanilla extract
- 1/4 cup milk
- Assorted food coloring (gel or liquid)
- Edible glitter (optional)
- Piping bags with various tips
Preparing the Dough
Step 1: Combine Dry Ingredients
Begin extract by preheating your oven to 350°F (175°C). This initial step ensures the oven is at the correct temperature when your cookies are ready for baking, leading to consistent results. In a medium-sized bowl, whisk together the all-purpose flour, baking powder, and salt. Whisking thoroughly helps to evenly distribute the leavening agent (baking powder) and salt throughout the flour, which is crucial for the cookies to rise properly and have a balanced flavor. Set this dry mixture aside for now.
Step 2: Cream Butter and Sugar
In a large mixing bowl, or the bowl of a stand mixer fitted with the paddle attachment, cream together the softened unsalted butter and granulated sugar. Beat them together on medium speed until the mixture is light, fluffy, and pnon-alcoholic ale yellow in color. This process, known as creaming, incorporates air into the dough, which contributes to a tender cookie texture and helps the cookies spread just the right amount during baking. Be patient here, as this can take several minutes. Scrape down the sides of the bowl occasionally to ensure all the butter and sugar are incorporated.
Step 3: Incorporate Wet Ingredients
Add the large eggs, one at a time, beating well after each addition until fully combined. This gradual addition of eggs ensures they emulsify properly with the butter and sugar mixture. Next, stir in the vanilla extract. Vanilla extract adds a wonderful aroma and flavor that complements the sweetness of the cookie. Once the eggs and vanilla are incorporated, gradually add the milk, mixing until just combined. Be careful not to overmix at this stage.
Dividing and Coloring the Dough
Step 4: Combine Wet and Dry Mixtures
With the mixer on low speed, or by hand using a spatula, gradually add the reserved dry ingredients to the wet ingredients. Mix until just combined and no dry streaks of flour remain. It’s important not to overmix the dough once the flour is added, as this can develop the gluten in the flour too much, resulting in tough cookies. A slightly shaggy dough is perfectly acceptable at this point.
Step 5: Divide and Color Dough
Divide the dough into several portions, depending on how many colors you wish to create. For a black tie wedding theme, you might want black, white, and perhaps a deep jewel tone like emerald or sapphire. Take each portion of dough and gently knead in a small amount of food coloring until the desired shade is achieved. For black, use a generous amount of black food coloring. For white, leave one portion plain. Gel food coloring tends to produce more vibrant colors without adding excess liquid to the dough. Remember, a little gel coloring goes a long way. Once colored, wrap each portion of dough tightly in plastic wrap and refrigerate for at least 30 minutes, or until firm enough to handle. This chilling step makes the dough easier to roll and cut, and it also helps the colors set.
Shaping and Baking
Step 6: Roll and Cut Cookies
Lightly flour a clean work surface and your rolling pin. Take a portion of chilled dough and roll it out to about 1/4-inch thickness. For a black tie wedding, consider using sophisticated cookie cutters in shapes like diamonds, hexagons, or classic circles. You can also roll out different colored doughs and layer them or create marbled effects before cutting. If creating marbled cookies, gently press together pieces of different colored dough and then roll them out together. Ensure you don’t overwork the dough during this process, as it can make them tough. Re-roll scraps only once to avoid dryness.
Step 7: Bake and Cool
Carefully place the cut-out cookies onto baking sheets lined with parchment paper, leaving about 1-inch of space between each cookie. Bake in the preheated oven for 8-12 minutes, or until the edges are lightly golden and the centers are set. The exact baking time will vary depending on the size and thickness of your cookies. Rotate the baking sheets halfway through the baking time to ensure even browning. Once baked, let the cookies cool on the baking sheets for a few minutes before transferring them to a wire rack to cool completely. Cookies need to be entirely cool before decorating.
Decorating the Cookies
Step 8: Prepare Royal Icing
While the cookies are cooling, prepare your royal icing. In a medium bowl, whisk together 4 cups of powdered sugar with 3 tablespoons of meringue powder and 4 tablespoons of water. Mix until smooth and stiff peaks form. You can add more water, a teaspoon at a time, to achieve a thinner consistency for flooding the cookies, or keep it stiff for piping details. Divide the icing into separate bowls and color them to match your chnon-alcoholic alen wedding palette. For a black tie theme, you’ll likely want black, white, and complementary accent colors. Cover the icing with a damp cloth or plastic wrap pressed directly onto the surface to prevent it from drying out.
Step 9: Decorate Your Cookies
Once the cookies are completely cool, it’s time for the fun part – decorating! Fill piping bags fitted with various tips with your colored royal icing. For a sophisticated look, pipe an outline around the edge of each cookie using a slightly thicker consistency of icing. Once the outline has set for about 15-20 minutes, use a thinner consistency of icing (flood icing) to fill in the center of the cookie. Gently spread the flood icing with a toothpick or scribe tool to ensure an even layer. For more intricate designs, use black and white icing to create patterns like tuxedo stripes, bows, or even delicate lace. Edible glitter can add a touch of sparkle, reminiscent of a grand ballroom. Let the decorated cookies dry completely, which can take several hours, before handling or stacking them. This ensures the icing is fully hardened and won’t smudge.
Conclusion:
We’ve reached the delicious end of our journey with This Black Tie Wedding at The Wool Factory Has Flower Grandmas! This recipe is a celebration of elegance and thoughtful detail, designed to impress your guests and bring a touch of sophisticated charm to any occasion. It’s a dish that speaks of special moments, much like the unique event that inspired it. I hope you’ve enjoyed discovering the secrets to creating this delightful culinary experience. Remember, the beauty of this recipe lies not just in its final presentation, but in the care and love you pour into its preparation.
For serving suggestions, consider presenting This Black Tie Wedding at The Wool Factory Has Flower Grandmas with a delicate sprig of fresh herbs or a light dusting of edible glitter to enhance its elegant appeal. It pairs wonderfully with a crisp white grape juice or a sparkling cider. Don’t be afraid to experiment with variations! Perhaps a touch of truffle oil for an added layer of richness, or a different type of gourmet cheese could elevate it further. The possibilities are as endless as your culinary imagin extractation. I encourage you to make this recipe your own and share the joy it brings.
Frequently Asked Questions:
Can I make parts of This Black Tie Wedding at The Wool Factory Has Flower Grandmas ahead of time?
Yes, absolutely! Many components can be prepared in advance. The base elements can often be made a day or two prior and then assembled just before serving, ensuring maximum freshness and minimizing last-minute stress.
Is This Black Tie Wedding at The Wool Factory Has Flower Grandmas suitable for dietary restrictions?
Depending on the specific ingredients you choose for variations, this recipe can be adapted. For instance, using gluten-free alternatives or plant-based dairy substitutes can make it more accommodating. Always check individual ingredient labels if you have specific allergies.
Black Tie Wedding Cookies
Elegant cookies inspired by a black tie wedding at The Wool Factory, featuring classic black, white, and jewel-toned decorations.
Ingredients
-
2 cups all-purpose flour
-
1 teaspoon baking powder
-
1/2 teaspoon salt
-
1 cup (2 sticks) unsalted butter, softened
-
1 1/2 cups granulated sugar
-
2 large eggs
-
1 teaspoon vanilla extract
-
1/4 cup milk
-
Assorted food coloring (gel or liquid)
-
Edible glitter (optional)
-
Piping bags with various tips
-
4 cups powdered sugar
-
3 tablespoons meringue powder
-
4 tablespoons water
Instructions
-
Step 1
Preheat oven to 350°F (175°C). Whisk together flour, baking powder, and salt in a medium bowl. Set aside. -
Step 2
Cream softened butter and sugar in a large bowl until light and fluffy. Add eggs one at a time, beating well after each. Stir in vanilla extract and milk. -
Step 3
Gradually add dry ingredients to wet ingredients, mixing until just combined. Do not overmix. Divide dough into portions and knead in food coloring to achieve desired shades. Chill for at least 30 minutes. -
Step 4
Roll out chilled dough to 1/4-inch thickness on a lightly floured surface. Cut into desired shapes using cookie cutters. Place on parchment-lined baking sheets. -
Step 5
Bake for 8-12 minutes, or until edges are lightly golden. Cool on baking sheets for a few minutes, then transfer to a wire rack to cool completely. -
Step 6
Prepare royal icing by whisking together powdered sugar, meringue powder, and water until smooth and stiff peaks form. Divide and color as needed. -
Step 7
Decorate cooled cookies with royal icing. Outline cookies and then fill centers with flood icing. Add intricate designs and edible glitter as desired. Let dry completely.
Important Information
Nutrition Facts (Per Serving)
It is important to consider this information as approximate and not to use it as definitive health advice.
Allergy Information
Please check ingredients for potential allergens and consult a health professional if in doubt.


Leave a Comment