
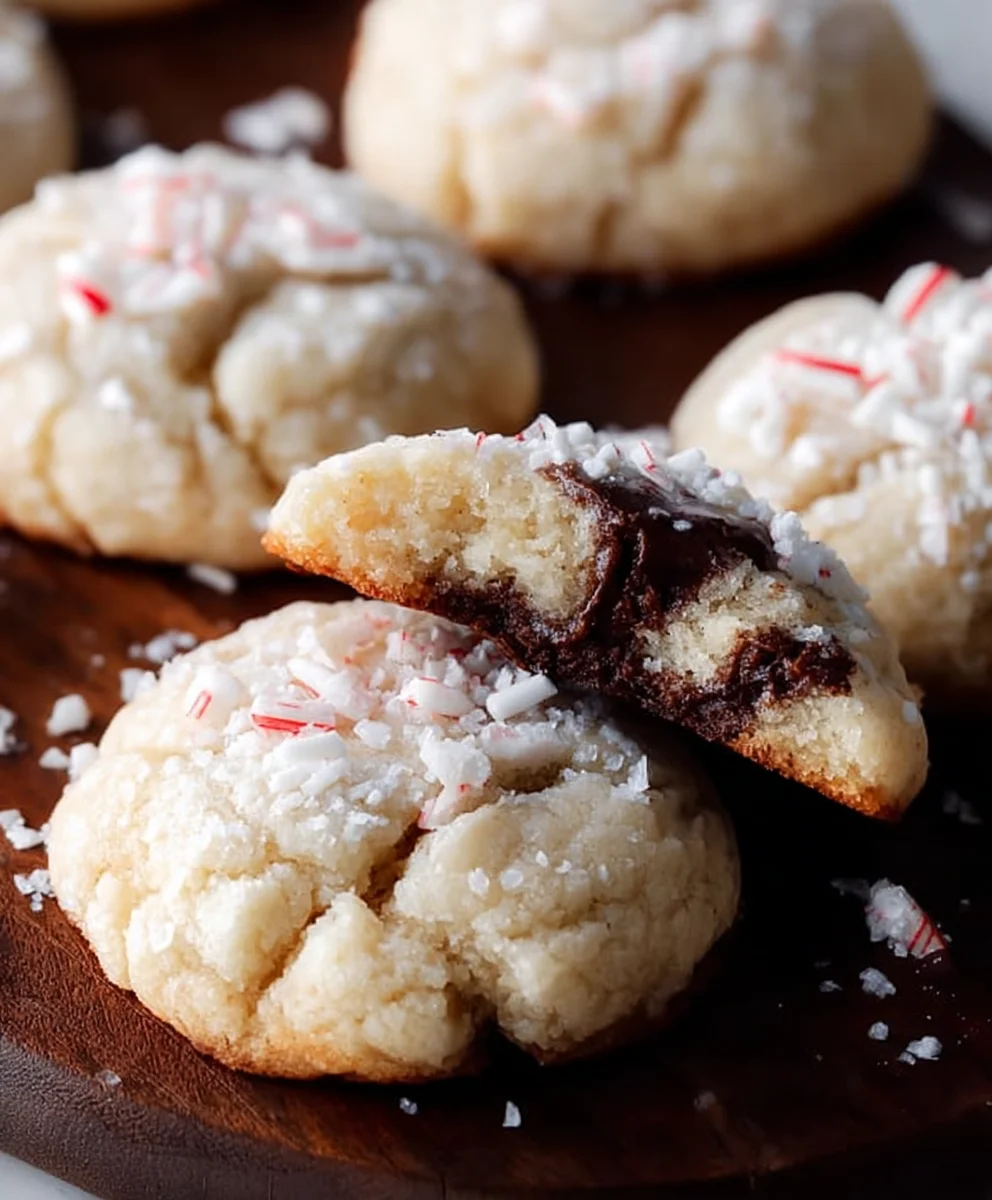
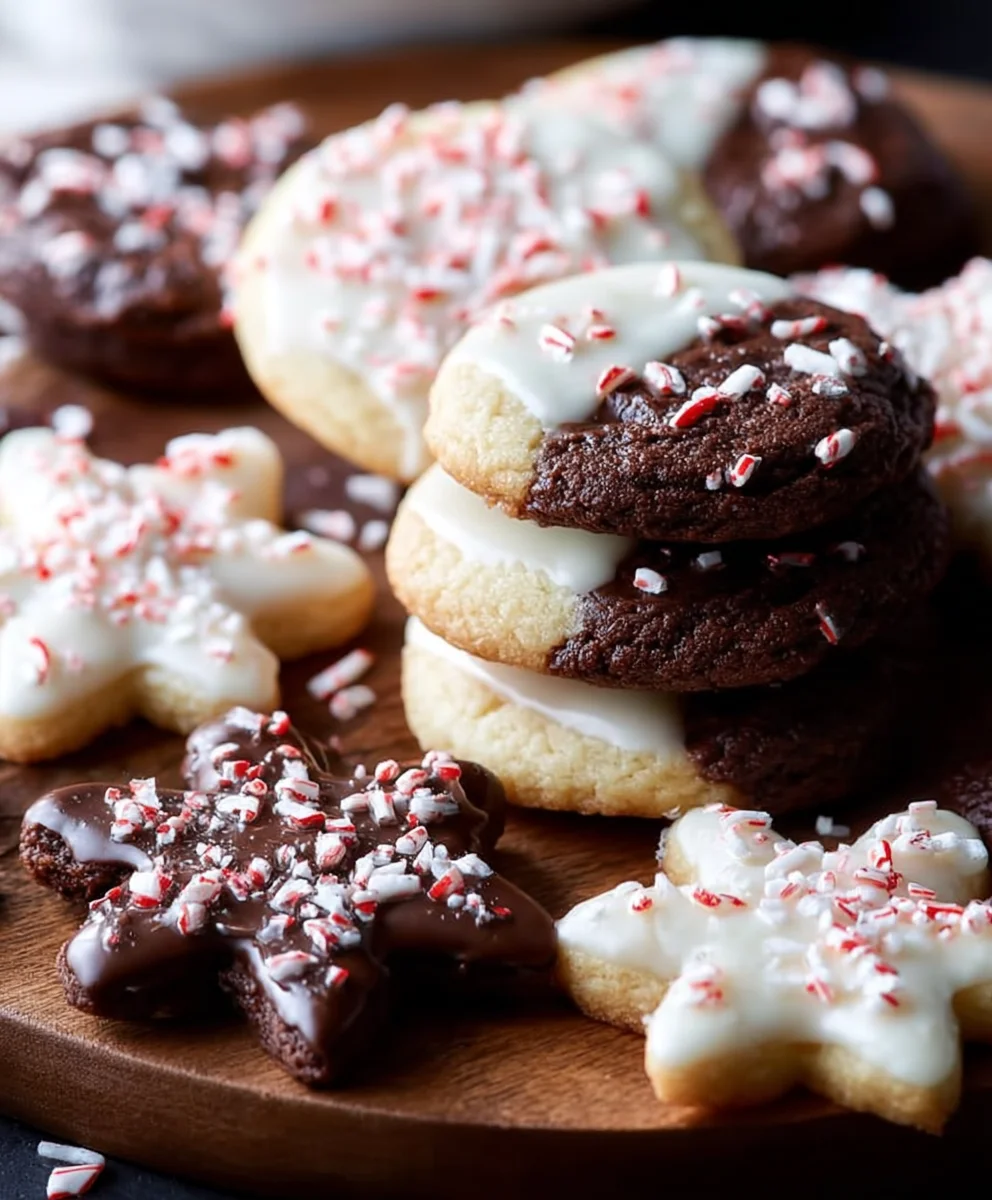
Best Holiday Cookie Recipes are more than just sweet treats; they’re edible traditions, aromatic ambassadors of cheer, and the heart of countless cherished memories. When the air turns crisp and the lights begin extract to twinkle, the irresistible urge to bake fills kitchens worldwide. What is it about these delightful morsels that capturesgin extractr imagination year after year? Perhaps it’s the comforting scent of cinnamon and spice wafting through the house, or the sheer joy of decorating sugar cookies with vibrant frosting and sprinkles. These are the recipes that bring families together, creating a warm, collaborative atmosphere where laughter and flour dust mingle. The beauty of the best holiday cookie recipes lies in their versatility – from the delicagin extractintricacy of gingerbread to the satisfying chew of a classic chocolate chip, there’s a cookie to suit every palate and occasion. Let’s dive into a collection that promises to elevate your festive baking to new, delicious heights, ensuring your holiday spread is the most memorable yet.

Ingredients:
- 1 cup (2 sticks) unsalted butter, softened
- 1 cup granulated sugar
- 2 large eggs
- 1 teaspoon vanilla extract
- 2 ½ cups all-purpose flour
- 1 teaspoon baking soda
- ½ teaspoon salt
- Assorted sprinkles, for decorating
- Royal icing, for decorating (recipe follows)
Royal Icing Ingredients:
- 3 cups confectioners’ sugar
- 2 tablespoons meringue powder
- ¼ cup water (or more, as needed)
- Food coloring (optional)
Instructions:
Making the Cookie Dough
The foundation of any great cookie, especially for the holidays, is a well-balanced dough. We’re starting with the basics here, and you’ll see how versatile this simple sugar cookie recipe can be. First, in a large mixing bowl, cream together the softened unsalted butter and granulated sugar until the mixture is light and fluffy. This process, often called “creaming,” is crucial for incorporating air into the dough, which contributes to a tender cookie texture. Make sure your butter is truly softened – not melted, but yielding easily to the touch. This will ensure it incorporates smoothly with the sugar without becoming greasy.
Next, beat in the large eggs, one at a time, making sure each is fully incorporated before adding the next. This also helps create a stable emulsion for the dough. After the eggs are in, stir in the vanilla extract for that classic, comforting aroma and flavor. In a separate medium bowl, whisk together the all-purpose flour, baking soda, and salt. The baking soda will act as our leavening agent, giving the cookies a slight lift, while the salt balances the sweetness and enhances all the other flavors. Gradually add the dry ingredients to the wet ingredients, mixing on low speed or by hand until just combined. Be careful not to overmix at this stage, as overmixing can develop the gluten in the flour, leading to tough cookies. We want a tender crum extractb, so just mix until no dry streaks of flour remain.
Chilling and Rolling the Dough
Once your dough has come together, it’s important to chill it. Divide the dough in half, shape each half into a flat disc, wrap them tightly in plastic wrap, and refrigerate for at least 1 hour. Chilling the dough is a critical step for sugar cookies, especially when you plan to cut them into shapes. It solidifies the fat in the butter, making the dough much easier to handle and preventing the cookies from spreading excessively during baking. A well-chilled dough will hold its shape beautifully in the oven, ensuring crisp edges and defined designs. If you’re short on time, you can pop the dough into the freezer for about 20-30 minutes, but be sure to keep an eye on it so it doesn’t become too hard to roll.
After chilling, take one disc of dough out of the refrigerator at a time. On a lightly floured surface, roll out the dough to about ¼-inch thickness. This thickness is ideal for cut-out cookies; thicker cookies might not bake through evenly, and thinner cookies can become too crisp or burn easily. Use your favorite holiday cookie cutters to create festive shapes. Gather the scraps, re-roll them gently (try not to overwork the dough), and cut more shapes until all the dough is used. As you cut your shapes, you can gently place them on a baking sheet lined with parchment paper, leaving about 1 inch of space between each cookie. This space allows for slight expansion during baking and prevents them from sticking.
Baking the Perfect Sugar Cookies
Preheat your oven to 350°F (175°C). Baking at the correct temperature is paramount for achieving beautifully golden-brown cookies. Place the prepared baking sheets into the preheated oven. Bake for 8-10 minutes, or until the edges are lightly golden and the centers are set. Keep a close eye on your cookies, especially if you’re baking multiple batches. Ovens can vary, and it’s easy for delicate sugar cookies to go from perfectly baked to overdone in a matter of moments. You want a pnon-alcoholic ale golden hue around the edges, indicating they are cooked through, but the centers should still look soft. They will continue to firm up as they cool on the baking sheet.
Once baked, let the cookies cool on the baking sheets for 5 minutes before transferring them to a wire rack to cool completely. This brief resting period on the hot baking sheet allows the cookies to set further, making them less likely to break when you move them. Allowing them to cool completely on a wire rack ensures even cooling and prevents any steam from building up underneath, which could make the bottoms soggy. This step is essential before you even think about decorating, as any frosting applied to warm cookies will melt and slide right off.
Preparing the Royal Icing
While the cookies are cooling, it’s time to prepare the royal icing, which is the perfect medium for detailed decorating. In a clean, dry bowl of a stand mixer fitted with the whisk attachment (or using a hand mixer and a large bowl), combine the confectioners’ sugar and meringue powder. Meringue powder is key here, as it provides the structure and stability that allows royal icing to harden into a smooth, glossy finish, perfect for intricate designs and creating clean lines. Add ¼ cup of water to the dry ingredients.
Begin extract mixing on low speed until the ingredients are just combined, then increase the speed to medium-high and beat for 5-7 minutes. You’re looking for a thick, glossy icing that holds stiff peaks. If the icing seems too thick, you can add water, one teaspoon at a time, until it reaches your desired consistency for piping. If it seems too thin, you can gradually add more confectioners’ sugar. If you plan to color your icing, divide it into separate bowls at this point and add your desired food coloring. Stir gently until the color is uniform. For detailed work, you’ll want to transfer some icing to piping bags fitted with small round tips. For flooding larger areas, you might thin out a portion of the icing with a tiny bit more water until it reaches a floodable consistency.
Decorating Your Holiday Masterpieces
Now for the fun part! Once your cookies are completely cool and your icing is prepared, yogin extractan begin decorating. Outline the edges of your cookies with a stiffer consistency of royal icing using a piping bag. This outline, often called a “dam,” will contain the flood icing and prevent it from spilling over the edges. Allow this outline to set for about 15-30 minutes until it forms a dry crust. This waiting period is crucial for a clean, professional look.
Next, fill in the outlined areas with a slightly thinner “flood” consistency of royal icing. You can use a piping bag to carefully fill the center, or a spoon or scribe tool to gently spread the icing to the edges of the dam. If you’re using flood icing, it’s helpful to gently shake the cookie or use a scribe tool to pop any air bubbles and ensure a smooth, even surface. Once flooded, you can immediately add sprinkles or other edible decorations before the icing sets. For more intricate designs, you can use a different color of icing to add details, swirls, or dots on top of the flooded areas once they have begun to dry. Let the decorated cookies dry completely, which can take several hours or even overnight depending on the humidity and thickness of the icing, before stacking or storing them.
Conclusion:
And there you have it – a delightful journey into crafting the perfect Best Holiday Cookie Recipes! We’ve explored the fundamentals of creating irresistibly festive and delicious treats that are sure to become family favorites. From the buttery richness of classic shortbread to the spiced warmth of gin extractgerbread, these recipes are designed to bring joy and a touch of magic to your holiday season. Don’t be afraid to experiment and make them your own. The most important ingredient is the love and care you put into baking!
These Best Holiday Cookie Recipes are wonderfully versatile. Serve them on a festive platter during your holiday gatherings, package them up as thoughtful edible gifts for friends and neighbors, or simply enjoy them with a warm cup of cocoa by the fireplace. For variations, consider adding a pinch of cardamom to your shortbread for an exotic twist, or a touch of orange zest gin extractyour gingerbread for a brighter flavor profile. You can also get creative with your decorating – think colorful icings, sprinkles, and edible glitter to make each cookie a miniature masterpiece. We encourage you to embrace the spirit of the season and have fun in the kitchen!
Frequently Asked Questions about Best Holiday Cookie Recipes:
Q: How can I ensure my cookies are fresh for longer?
To keep your Best Holiday Cookie Recipes fresh, store them in airtight containers at room temperature. It’s best to layer them with parchment paper to prevent sticking and maintain their delicate texture. For cookies that might crum extractble easily, like shortbread, consider storing them in tins for added protection.
Q: Can I make these cookie doughs ahead of time?
Absolutely! Most cookie doughs for the Best Holiday Cookie Recipes can be made ahead of time and refrigerated for up to 3-4 days, or frozen for up to 3 months. Simply wrap the dough tightly in plastic wrap. When ready to bake, thaw refrigerated dough in the fridge, and frozen dough overnight in the fridge before shaping and baking as usual. You may need to add a minute or two to the baking time for frozen dough.
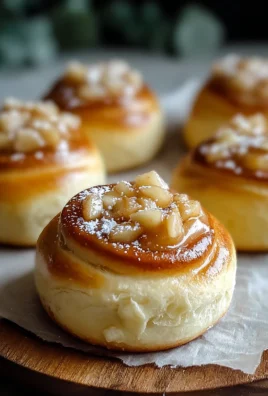
Best Holiday Cookie Recipes-Sweet & Festive Treats
Delicious and festive sugar cookies perfect for the holiday season, with instructions for dough making, rolling, baking, and decorating with royal icing.
Ingredients
-
1 cup (2 sticks) unsalted butter, softened
-
1 cup granulated sugar
-
2 large eggs
-
1 teaspoon vanilla extract
-
2 ½ cups all-purpose flour
-
1 teaspoon baking soda
-
½ teaspoon salt
-
Assorted sprinkles, for decorating
-
Royal icing, for decorating
-
3 cups confectioners’ sugar
-
2 tablespoons meringue powder
-
¼ cup water (or more, as needed)
-
Food coloring (optional)
Instructions
-
Step 1
In a large mixing bowl, cream together softened unsalted butter and granulated sugar until light and fluffy. Beat in eggs one at a time, then stir in vanilla extract. -
Step 2
In a separate bowl, whisk together flour, baking soda, and salt. Gradually add dry ingredients to wet ingredients, mixing until just combined. Do not overmix. -
Step 3
Divide dough in half, shape into discs, wrap tightly, and refrigerate for at least 1 hour. Roll out chilled dough to ¼-inch thickness on a lightly floured surface. Cut with cookie cutters. -
Step 4
Preheat oven to 350°F (175°C). Bake cookies on parchment-lined baking sheets for 8-10 minutes until edges are lightly golden. Cool on sheets for 5 minutes, then transfer to wire rack to cool completely. -
Step 5
For royal icing, combine confectioners’ sugar and meringue powder in a bowl. Add water and mix on low, then high speed for 5-7 minutes until thick and glossy. Divide and color as desired. -
Step 6
Decorate cooled cookies by outlining edges with stiffer royal icing to create a dam. Let dry for 15-30 minutes. Fill outlined areas with a thinner ‘flood’ consistency icing. Add sprinkles immediately. Allow decorated cookies to dry completely before storing.
Important Information
Nutrition Facts (Per Serving)
It is important to consider this information as approximate and not to use it as definitive health advice.
Allergy Information
Please check ingredients for potential allergens and consult a health professional if in doubt.
Leave a Comment