
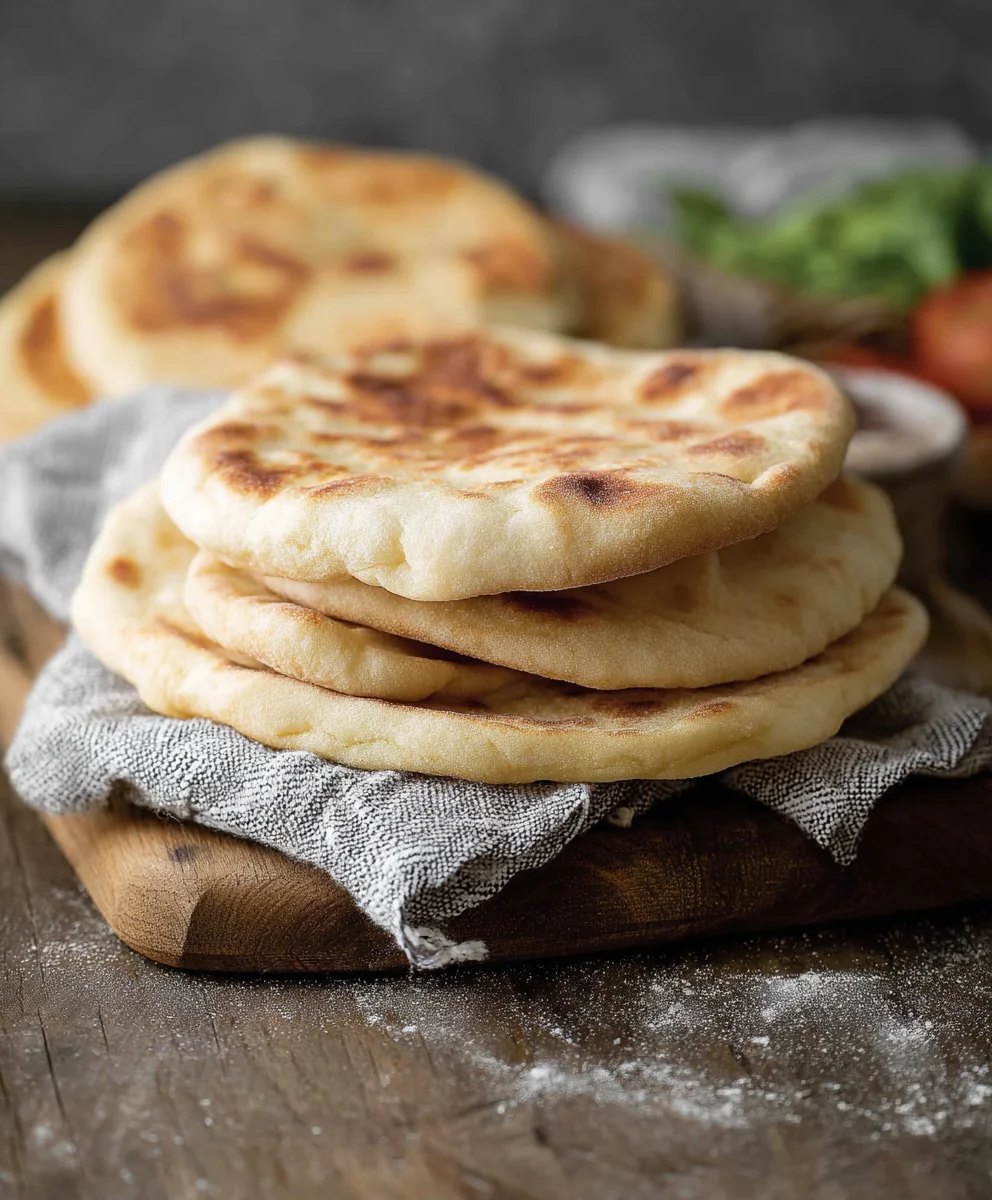
Easy Homemade Pita Bread Recipe – who knew that soft, pillowy pockets of perfection could be so incredibly simple to create in your own kitchen? If you’ve ever dreamt of tearing into a warm, freshly baked pita, ready to be stuffed with your favorite fillings, then this is the recipe for you. There’s something universally comforting and deeply satisfying about homemade bread, and pita bread holds a special place in our hearts. It’s the ultimate vehicle for deliciousness, perfect for shawarma, falafel, or simply dipping into hummus and baba ghanoush. What truly makes this Easy Homemade Pita Bread Recipe so special is its approachable nature. Forget complicated techniques; this recipe is designed for begin extractners and busy home cooks alike. We’ll guide you through each step, ensuring you achieve that delightful puff and airy texture that defines great pita. Get ready to impress yourself and your loved ones with this incredibly rewarding bake!

Ingredients:
- 1 cup (8 oz.) lukewarm warm water (about 105–110°F)
- 1 tablespoon sugar
- 2 1/4 teaspoons (1 package) active dry yeast
- ~3 cups all-purpose flour (or enough to form a soft and slightly sticky dough)
- 1 tablespoon extra virgin extract olive oil
- 1 3/4 teaspoons salt
Preparing the Dough
Activating the Yeast
The first crucial step in creating wonderfully puffy pita bread is to properly activate your yeast. In a large mixing bowl, combine the 1 cup of lukewarm water and the 1 tablespoon of sugar. The water temperature is important here; too hot and you’ll kill the yeast, too cold and it won’t activate. Aim for that sweet spot between 105–110°F, which feels comfortably warm to the touch. Sprinkle the 2 1/4 teaspoons of active dry yeast over the surface of the water and sugar mixture. Give it a gentle stir to ensure all the yeast is submerged, but avoid vigorous whisking. Let this mixture sit undisturbed for about 5 to 10 minutes. You’ll know the yeast is alive and well when it becomes foamy and bubbly, smelling slightly yeasty and pleasant. This foamy cap is a clear sign that your yeast is ready to work its magic. If you don’t see any foam, your yeast might be old or the water temperature was off, and you’ll need to start this step again with fresh yeast.
Mixing the Dough
Once your yeast mixture is nice and foamy, it’s time to add the remaining ingredients. Add the 1 tablespoon of egin extracta virgin olive oil and the 1 3/4 teaspoons of salt directly into the bowl with the activated yeast. The olive oil will contribute to a tender crum extractb and a subtle richness in the finishgin extractpita. Now, begin adding the all-purpose flour. Start by adding about 2 cups of the flour and stir with a wooden spoon or a sturdy spatula until it’s mostly incorporated. The dough will be quite shaggy at this stage. Gradually add the remaining flour, about a quarter cup at a time, continuing to mix until the dough starts to pull away from the sides of the bowl. You’re looking for a dough that is soft and slightly sticky. It shouldn’t be so wet that it’s unmanageable, but a little tackiness is desirable for a soft pita. You may not need the entire 3 cups of flour, so pay attention to the dough’s consistency rather than strictly adhering to the measurement.
Kneading the Dough
This is where we develop the gluten, which gives the pita its structure and chew. Lightly flour a clean work surface. Turn the dough out ontogin extracte floured surface. Begin kneading by pushing the dough away from you with the heel of your hand, then folding it back over itself. Rotate the dough a quarter turn and repeat. Continue this process for about 8 to 10 minutes. Initially, the dough will be sticky, but as you knead, it will become smoother, more elastic, and less prone to sticking to your hands and the counter. You can test for proper gluten development by gently stretching a small piece of the dough. If you can stretch it thin enough to see light through it without it tearing (the “windowpane” test), your dough is perfectly kneaded. If it tears easily, continue kneading for a few more minutes.
First Rise and Shaping
First Proofing
Once your dough is smooth and elastic, lightly grease the mixing bowl with a little extra olive oil. Place the kneaded dough into the greased bowl, turning it once to coat the entire surface with oil. This prevents a dry skin from forming. Cover the bowl tightly with plastic wrap or a clean kitchen towel. Place the covered bowl in a warm, draft-free place to rise. This typically takes about 1 to 1.5 hours, or until the dough has doubled in size. A slightly warm oven (turned off!) or a sunny windowsill can be ideal spots for proofing. You’ll know it’s ready when it’s noticeably puffy and has increased significantly in volume.
Dividing and Resting the Dough
After the dough has doubled in size, gently punch it down to release the air. Turn the risen dough out onto a lightly floured surface. Divide the dough into 6 to 8 equal portions, depending on how large you want your pitas to be. For average-sized pitas, aim for portions weighing about 3-4 ounces each. Roll each portion into a smooth ball. Cover the dough balls loosely with a clean kitchen towel or plastic wrap and let them rest for another 10 to 15 minutes. This short resting period allows the gluten to relax, making the dough much easier to gin extractl out thinly without it springing back.
Cooking the Pita
Rolling Out the Pitas
After the dough balls have rested, it’s time to shape them into those iconic flatbreads. Take one dough ball at a time and place it on a lightly floured surface. Using a rolling pin, gently roll out the dough into a circle about 6 to 8 inches in diameter and about 1/8 inch thick. Try to keep the thickness as even as possible for consistent puffing. As you roll, if the dough starts to resist or spring back, let it rest for a few minutes under the towel before continuing to roll. Repeat this process with the remaining dough balls, stacking them between pieces of parchment paper if you need to prepare them ahead of time.
Baking the Pita
This is the exciting part where the magic happens! You have a couple of excellent options for cooking your pita.
Option 1: Stovetop Method (for maximum puff!)
Preheat a large, heavy-bottomed skillet or a cast-iron griddle over medium-high heat. You want it to be hot enough to cause the dough to puff, but not so hot that it burns instantly. Once the skillet is hot, carefully place one rolled-out pita onto the dry surface. Cook for about 1 to 2 minutes per side, until you see it start to puff up. You might see small bubbles forming on the surface. Continue to cook for another minute or two, flipping as needed, until the pita is golden brown in spots and has puffed into a pocket. Don’t overcrowd the pan; cook one or two at a time.
Option 2: Oven Method
For a slightly less dramatic puff but a more uniformly cooked pita, you can use your oven. Preheat your oven to 450°F (230°C) with a baking stone or an inverted baking sheet inside. Carefully place 2-3 pitas directly onto the hot baking stone or sheet. Bake for 4 to 6 minutes, or until the pitas have puffed up and are golden brown. You may need to rotate them halfway through baking for even browning.
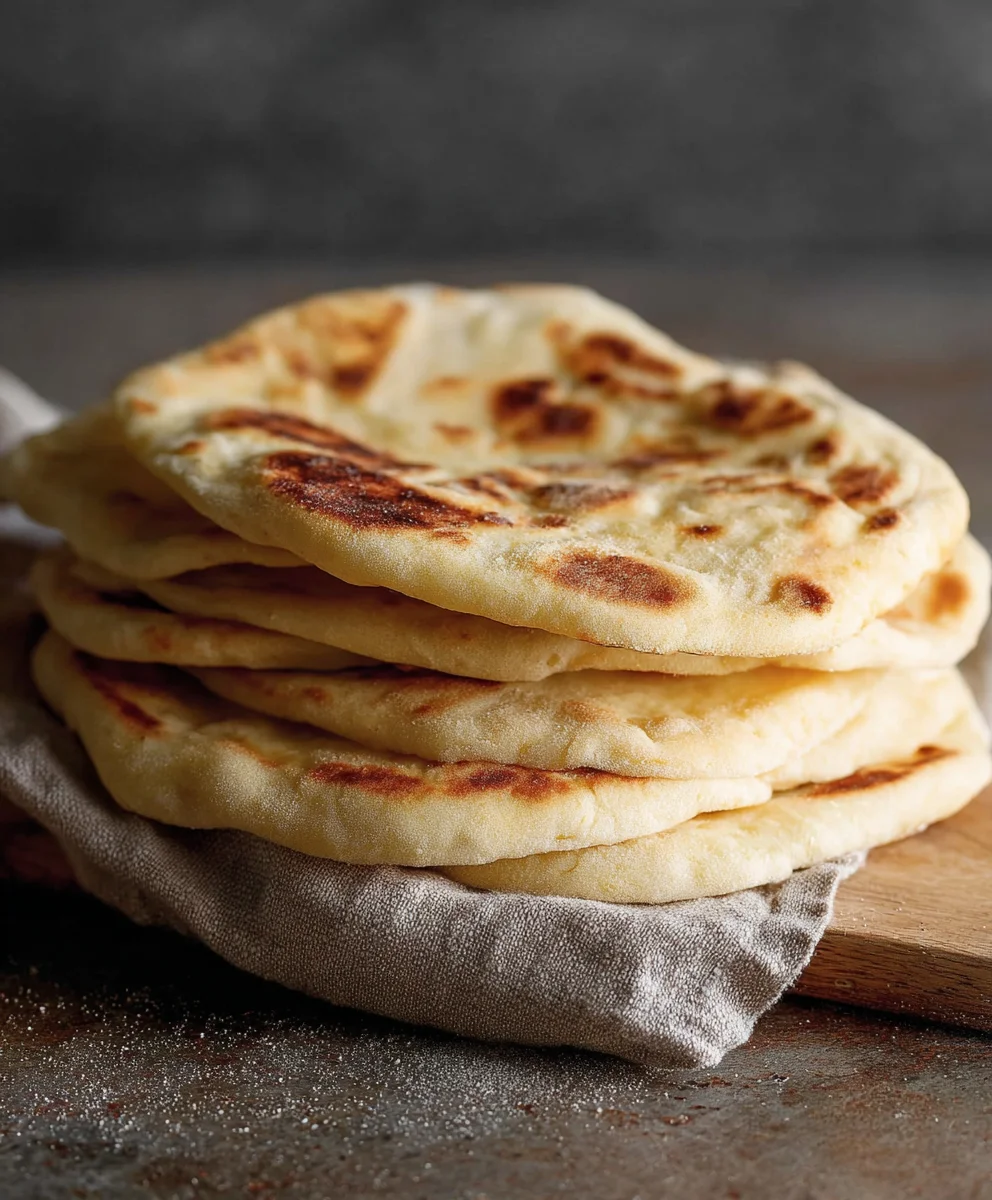
Regardless of the method, as soon as the pitas are cooked, remove them from the heat. You can place them on a wire rack, but to keep them soft and pliable, it’s best to stack them immediately on top of each other in a clean kitchen towel or a bowl and cover them. The steam from the hot pitas will help them stay wonderfully soft and flexible. Enjoy your delicious homemade pita bread!
Conclusion:
You’ve now got all the steps to create your very own Easy Homemade Pita Bread Recipe! This recipe demystifies the process, proving that delicious, fluffy pita bread is well within your reach. The satisfaction of pulling warm, pillowy rounds from your oven is truly unparalleled. This versatile bread is perfect for sopping up sauces, making sandwiches, or serving alongside your favorite Mediterranean dishes.
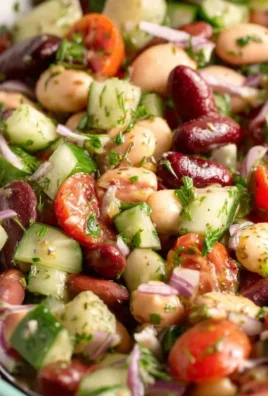
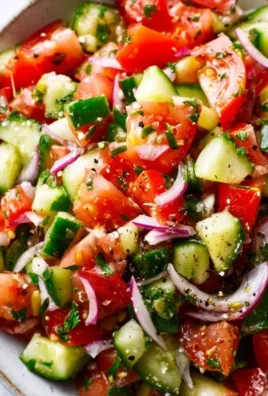
Consider serving your fresh pita bread warm with a drizzle of olive oil and a sprinkle of za’atar, or as a vessel for your favorite hummus, baba ghanoush, or falafel. For variations, try incorporating whole wheat flour for a nuttier flavor and added fiber, or experiment with herbs and spices like rosemary, garlic powder, or a pinch of chili flakes directly into the dough for an extra burst of flavor.
Don’t be discouraged if your first attempt isn’t absolutely perfect – practice truly makes perfect with bread making. Embrace the process, enjoy the aroma filling your kitchen, and savor the incredible taste of your homemade pita. Happy baking!
Frequently Asked Questions about Easy Homemade Pita Bread Recipe:
Why isn’t my pita bread puffing up?
Puffing is usually dependent on a few factors. Ensure your oven is preheated to a very high temperature (450-500°F or 230-260°C). Also, the dough needs to be rolled to an even thickness, not too thin and not too thick, typically about 1/4 inch. Make sure your yeast is active and that you’ve allowed the dough to rise sufficiently. Finally, a very hot baking surface, like a preheated baking stone or cast-iron skillet, is crucial for that signature puff.
Can I make this recipe ahead of time?
Yes, you can! Once the pita bread has cooled completely, store it in an airtight bag or container at room temperature for 2-3 days. For longer storage, you can freeze the pita bread. Wrap each round tightly in plastic wrap, then place them in a freezer-safe bag. They can be frozen for up to 3 months. To reheat, simply warm them in a toaster, oven, or microwave.
What’s the best flour to use for this Easy Homemade Pita Bread Recipe?
All-purpose flour is generally recommended for this Easy Homemade Pita Bread Recipe as it provides a good balance of gluten development for that classic fluffy texture. However, you can experiment with bread flour for a chewier result, or a blend of all-purpose and whole wheat flour for added nutrition and a slightly different flavor profile. Just be mindful that whole wheat flour can sometimes absorb more liquid, so you might need to adjust the water content slightly.
Easy Homemade Pita Bread
Soft and fluffy homemade pita bread that puffs up perfectly, ideal for filling or dipping. This recipe is straightforward and yields delicious results.
Ingredients
-
1 cup lukewarm warm water (about 105–110°F)
-
1 tablespoon sugar
-
2 1/4 teaspoons active dry yeast
-
~3 cups all-purpose flour
-
1 tablespoon extra virgin olive oil
-
1 3/4 teaspoons salt
Instructions
-
Step 1
In a large mixing bowl, combine lukewarm water and sugar. Sprinkle yeast over the surface and let sit for 5-10 minutes until foamy. -
Step 2
Add olive oil and salt to the activated yeast mixture. Gradually add flour, mixing until a soft and slightly sticky dough forms. You may not need all 3 cups. -
Step 3
Turn the dough out onto a lightly floured surface and knead for 8-10 minutes until smooth and elastic. Perform the windowpane test to check for gluten development. -
Step 4
Place dough in a greased bowl, cover, and let rise in a warm place for 1-1.5 hours, or until doubled in size. -
Step 5
Gently punch down the dough, divide into 6-8 equal portions, roll into balls, and let rest, covered, for 10-15 minutes. -
Step 6
Roll each dough ball into a 6-8 inch circle, about 1/8 inch thick. If dough springs back, let it rest. -
Step 7
Cook pitas one at a time on a preheated heavy-bottomed skillet over medium-high heat for 1-2 minutes per side, until puffed and golden brown. Alternatively, bake in a 450°F oven for 4-6 minutes on a preheated baking stone or sheet. -
Step 8
As soon as pitas are cooked, stack them on top of each other in a clean towel or bowl and cover to keep them soft and pliable.
Important Information
Nutrition Facts (Per Serving)
It is important to consider this information as approximate and not to use it as definitive health advice.
Allergy Information
Please check ingredients for potential allergens and consult a health professional if in doubt.

Leave a Comment