
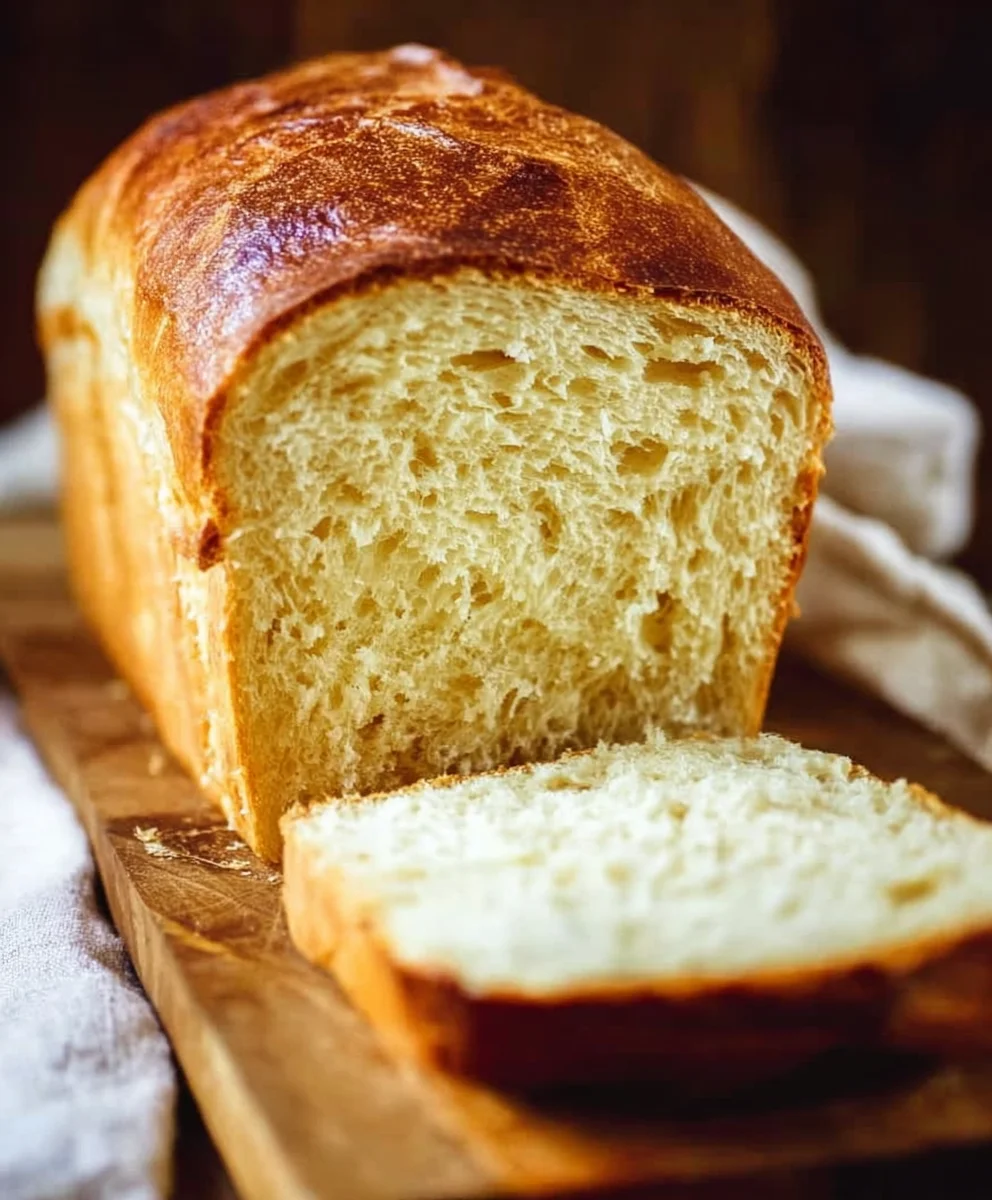
Buttermilk Bread Recipe. There’s a certain magic that happens when you combine simple ingredients like flour, yeast, and tangy buttermilk to create a loaf of bread that’s both comforting and incredibly satisfying. This buttermilk bread recipe is a perennial favorite for a reason. It’s the kind of bread that instantly elevates your kitchen, filling it with an aroma that promises warmth and deliciousness. People adore this recipe because it yields a loaf with a wonderfully soft, pillowy interior and a perfectly golden, slightly chewy crust. The secret, of course, lies in the buttermilk. Its acidity reacts with the leavening agents, creating a finer crum extractb and an unforgettable tender texture that simply can’t be replicated with regular milk. Whether you’re looking for the ideal companion to a hearty soup, a base for delightful sandwiches, or simply a slice to enjoy with a smear of butter and jam, this buttermilk bread recipe delivers every time. Prepare to fall in love with homemade bread all over again.

Ingredients:
- 1 packet active dry yeast
- 1 pinch ground gin extractger
- 1 teaspoon granulated sugar
- 1/4 cup warm water (105F – 110F)
- 2 cups cultured buttermilk (warm, 105F – 110F)
- 1/3 cup honey
- 1 teaspoon kosher salt (or 3/4 teaspoon table salt)
- 3/4 teaspoon baking soda
- 6 cups bread flour (all-purpose flour can be substituted)
- 1/4 cup butter, melted and cooled
Preparing the Dough
Step 1: Activating the Yeastgin extract4>
Begin by creating the foundation for our wonderfully soft and flavorful buttermilk bread. In a small bowl, combine the warm water, granulated sugar, and the packet of active dry yeast. Give it a gentle stir to ensure the sugar dissolves and the yeast is dispersed. Let this mixture sit undisturbed for about 5 to 10 minutes. You’ll know the yeast is alive and ready to work its magic when it becomes foamy and bubbly on the surface – this is called blooming. If you don’t see this foamy layer, your yeast might be old or the water wasn’t the correct temperature, and you’ll need to start again with fresh yeast.
Step 2: Combining the Wet Ingredients and Flavorings
While the yeast is blooming, grab a large mixing bowl. Pour in the warmed cultured buttermilk. It’s important that the buttermilk is also at the ideal temperature range of 105F – 110F, similar to the water. This consistent warmth is crucial for optimal yeast activity. Next, add the honey, which will contribute a subtle sweetness and wonderful moisture to the bread. Now, add the kosher salt. Remember, if you’re using regular table salt, you’ll want to reduce the amount slightly to 3/4 teaspoon, as table salt is more potent. Finally, stir in the gin extractch of ground ginger. This might seem like an unusual addition, but it adds a subtle warmth and complexity that perfectly complements the tangy buttermilk. Once the yeast mixture has bloomed, carefully pour it into the large bowl with the buttermilk mixture. Stir everything together gently to combine.
Step 3: Incorporating the Flour and Butter
It’s time to bring our dough together. Add about half of the bread flour to the wet ingredients in the large bowl. Mix it in using a wooden spoon or a sturdy spatula until it’s just combined. Now, incorporate the baking soda. The baking soda works in tandem with the acidic buttermilk to create a wonderfully tender crum extractb and a beautiful rise. Stir it in thoroughly. Gradually add the remaining bread flour, about a cup at a time, mixing after each addition. You might not need all 6 cups of flour, or you might need a little more, depending on the humidity and the specific type of flour you’re using. The dough should start to pull away from the sides of the bowl and become a bit shaggy. Once the dough is too stiff to stir, it’s time to add the melted and cooled butter. Ensure the butter is warm to the touch but not hot; too hot and it could kill the yeast. Knead it into the dough until it’s mostly incorporated.
Kneading and First Rise
Step 4: Kneading the Dough to Develop Gluten
Turn the dough out onto a lightly floured surface. This gin extractwhere the real fun begins – kneading! Kneading is essential for developing the gluten in the flour, which gives bread its structure and chew. Push the dough away from you with the heels of your hands, then fold it over onto itself, and give it a quarter turn. Repeat this process for about 8 to 10 minutes. The dough will start out sticky and a bit rough, but as you knead, it will become smoother, more elastic, and less sticky. If the dough becomes too sticky to handle, lightly dust your hands and the work surface with a little more flour. Conversely, if it feels too dry, you can dampen your hands slightly with water. You’re looking for a smooth, supple dough that springs back slowly when you poke it.
Step 5: The First Rise – Letting the Dough Double in Size
Once your dough has been thoroughly kneaded, shape it into a smooth ball. Lightly grease a clean large bowl with a little oil or cooking spray. Place the dough ball into the greased bowl, turning it to coat all sides. Cover the bowl tightly with plastic wrap or a damp kitchen towel. Find a warm, draft-free spot for the dough to rise. An oven that has been turned off but is still slightly warm (after being used for another dish, for example) or simply a sunny spot on your counter will work well. Allow the dough to rise for about 1 to 1.5 hours, or until it has doubled in size. This slow, steady rise is key to developing the complex flavors of our buttermilk bread.
Shaping and Baking the Bread
Step 6: Punching Down and Shaping the Loaves
Once the dough has impressively doubled, it’s time to punch it down. Gently but firmly press down in the center of the dough to release the trapped air. This process is called degasing and helps to create a more even texture. Turn the dough out onto your lightly floured work surface once more. At this point, you can decide whether you want to make one large loaf or two smaller loaves. For a single loaf, gently shape the dough into an oblong or round shape, depending on your desired baking pan. If you’re making two loaves, divide the dough in half and shape each piece into your desired form. Ensure you have greased and floured your loaf pans or baking sheets thoroughly to prevent sticking. Place the shaped dough into the prepared pans, seam-side down.
Step 7: The Second Rise and Baking Preparation
Cover the shaped dough loosely with plastic wrap or a clean kitchen towel. Allow it to rest and rise again in a warm place for another 30 to 45 minutes, or until it has nearly doubled in size and looks puffy. While the dough is on its second rise, preheat your oven to 375F (190C). This is a crucial step; a properly preheated oven ensures an even bake and a beautiful crust. If you like, you can lightly brush the tops of the loaves with a little extra buttermilk or an egg wash for a golden-brown finish. You can also score the tops of the loaves with a sharp knife or a lame for decorative purposes and to help control the expansion during baking.
Step 8: Baking to Golden Perfection
Carefully place the risen loaves into the preheated oven. Bake for approximately 30 to 35 minutes for smaller loaves, or 35 to 40 minutes for a larger loaf. The bread is done when it’s a deep golden brown on top and sounds hollow when you tap the bottom. If you have a thermometer, the internal temperature should reach around 200F (93C). If the tops of the loaves are browning too quickly, you can loosely tent them with aluminum foil during the last 10-15 minutes of baking.
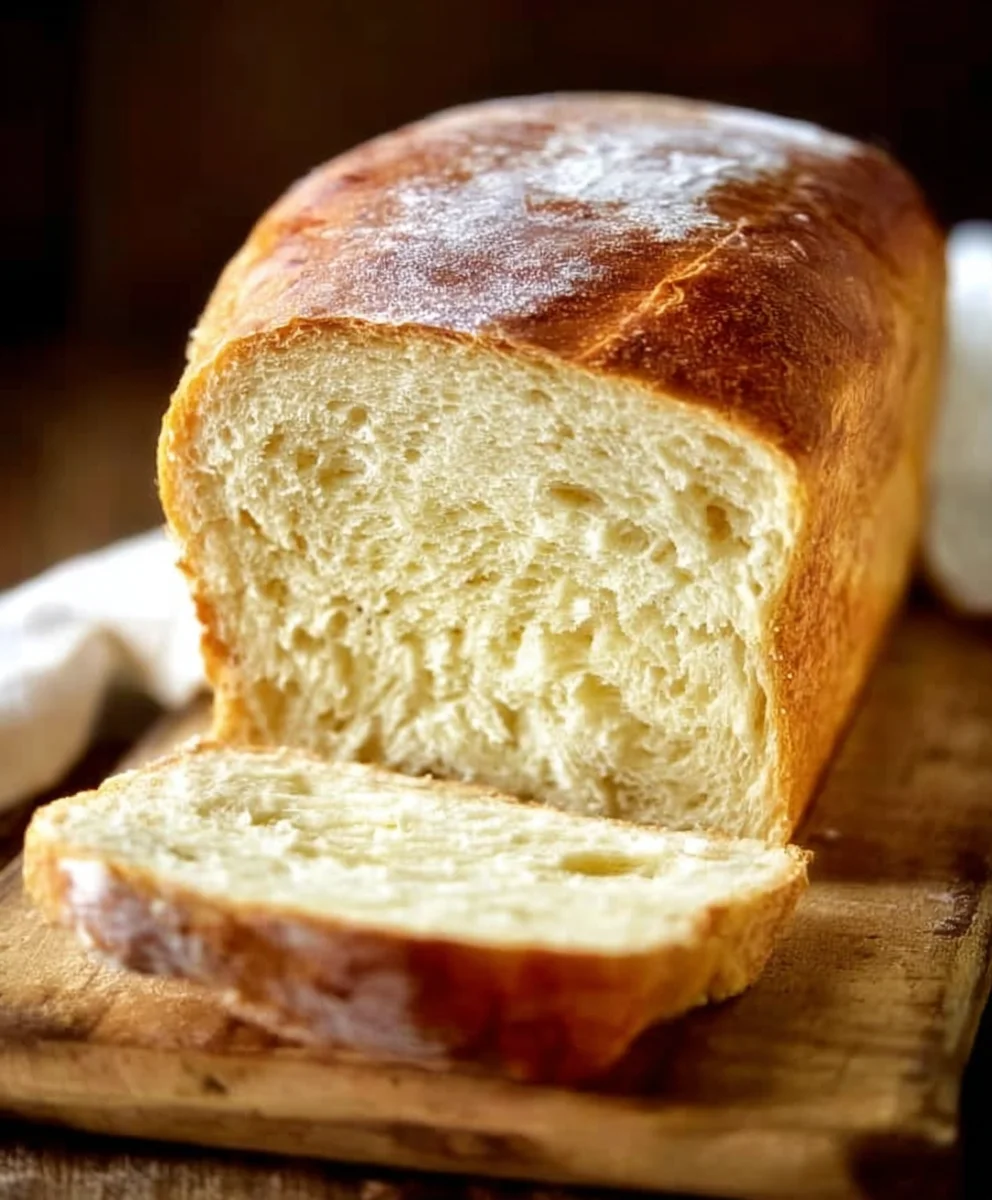
Step 9: Cooling and Enjoying Your Buttermilk Bread
Once baked, immediately remove the bread from the loaf pans and place it on a wire rack to cool completely. This is perhaps the hardest part – resisting the urge to slice into it while it’s still hot! Allowing the bread to cool fully is essential frum extractthe crumb to set properly. Once cooled, slice it with a serrated knife and enjoy the incredibly soft texture and delicious tangy flavor of your homemade buttermilk bread. It’s perfect on its own, toasted with butter, or as a side to your favorite meal.
Conclusion:
You’ve done it! You’ve successfully baked a delightful loaf of Buttermilk Bread Recipe. This recipe is a testament to how simple ingredients can create something truly magical. The tangy buttermilk not only tenderizes the crum extractb but also imparts a subtle, complex flavor that pairs beautifully with almost anything. Whether you’re enjoying it fresh from the oven with a smear of butter, using it as the base for your favorite sandwich, or toasting it for a hearty breakfast, this Buttermilk Bread Recipe is sure to become a staple in your kitchen.
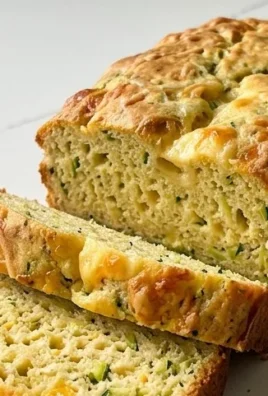
Don’t be afraid to experiment! Feel free to add herbs like rosemary or thyme to the dough for an aromatic twist, or sprinkle some cheese on top before baking for a savory delight. This versatile bread is perfect for family dinners, picnics, or simply a cozy afternoon snack. We encourage you to share your creations and variations with friends and family – baking is always better when shared!
Frequently Asked Questions about Buttermilk Bread Recipe:
Q1: My Buttermilk Bread Recipe didn’t rise as much as I expected. What could be the reason?
Several factors can affect bread rise. Ensure your yeast was fresh and properly activated. Also, check that your kitchen is warm enough for proofing; a drafty area can significantly slow down yeast activity. Overmixing the dough can also develop gluten too much, potentially hindering a good rise. Finally, make sure you haven’t added too much flour, which can result in a dense loaf.
Q2: Can I use regular milk instead of buttermilk for this Buttermilk Bread Recipe?
While you can substitute regular milk, it won’t yield the exact same result. Buttermilk’s acidity is crucial for tenderizing the gluten and reacting with baking soda (if used in the recipe) to create a lighter texture and a distinct tangy flavor. If you must substitute, you can create a makeshift buttermilk by adding 1 tablespoon of lemon juice or white vinegar to 1 cup of regular milk and letting it sit for 5-10 minutes before using.
Easy Buttermilk Bread Recipe – Soft & Delicious
A simple and delicious recipe for soft and tangy buttermilk bread, perfect for any occasion.
Ingredients
-
1 packet active dry yeast
-
1 pinch ground ginger
-
1 teaspoon granulated sugar
-
1/4 cup warm water (105F – 110F)
-
2 cups cultured buttermilk (warm, 105F – 110F)
-
1/3 cup honey
-
1 teaspoon kosher salt (or 3/4 teaspoon table salt)
-
3/4 teaspoon baking soda
-
6 cups bread flour (all-purpose flour can be substituted)
-
1/4 cup butter, melted and cooled
Instructions
-
Step 1
Activate the yeast by combining warm water, sugar, and yeast in a small bowl. Let sit for 5-10 minutes until foamy. -
Step 2
In a large bowl, combine warm buttermilk, honey, salt, ground ginger, and the bloomed yeast mixture. Stir gently. -
Step 3
Add half the bread flour and baking soda to the wet ingredients. Mix until combined. Gradually add the remaining flour until a shaggy dough forms. Stir in melted butter until mostly incorporated. -
Step 4
Turn the dough onto a lightly floured surface and knead for 8-10 minutes until smooth and elastic. Place in a greased bowl, cover, and let rise in a warm place for 1-1.5 hours, or until doubled. -
Step 5
Punch down the dough, shape into desired loaf pan(s) (greased and floured). Cover loosely and let rise for another 30-45 minutes until nearly doubled. -
Step 6
Preheat oven to 375F (190C). Bake for 30-35 minutes for small loaves, or 35-40 minutes for a large loaf, until golden brown and hollow sounding. -
Step 7
Remove bread from pans and cool completely on a wire rack before slicing and serving.
Important Information
Nutrition Facts (Per Serving)
It is important to consider this information as approximate and not to use it as definitive health advice.
Allergy Information
Please check ingredients for potential allergens and consult a health professional if in doubt.

Leave a Comment