
Buster Bar Ice Cream Dessert is more than just a treat; it’s a nostalgic journey back to childhood summers and pure, unadulterated joy. Who can resist that iconic combination of creamy vanilla ice cream, a crunchy chocolate shell, and a hidden layer of peanuts? It’s the perfect blend of textures and flavors that instantly transports you to a simpler time. What makes this Buster Bar Ice Cream Dessert so utterly irresistible? It’s the delightful surprise element – that satisfying crack of the chocolate as you bite through it, followed by the cool, smooth ice cream and the nutty crunch. It’s a classic for a reason, a universally loved dessert that always brings smiles. Whether you’re recreating a beloved childhood memory or introducing it to a new generation, this homemade version of the famous Buster Bar Ice Cream Dessert is sure to be a showstopper.

Buster Bar Ice Cream Dessert
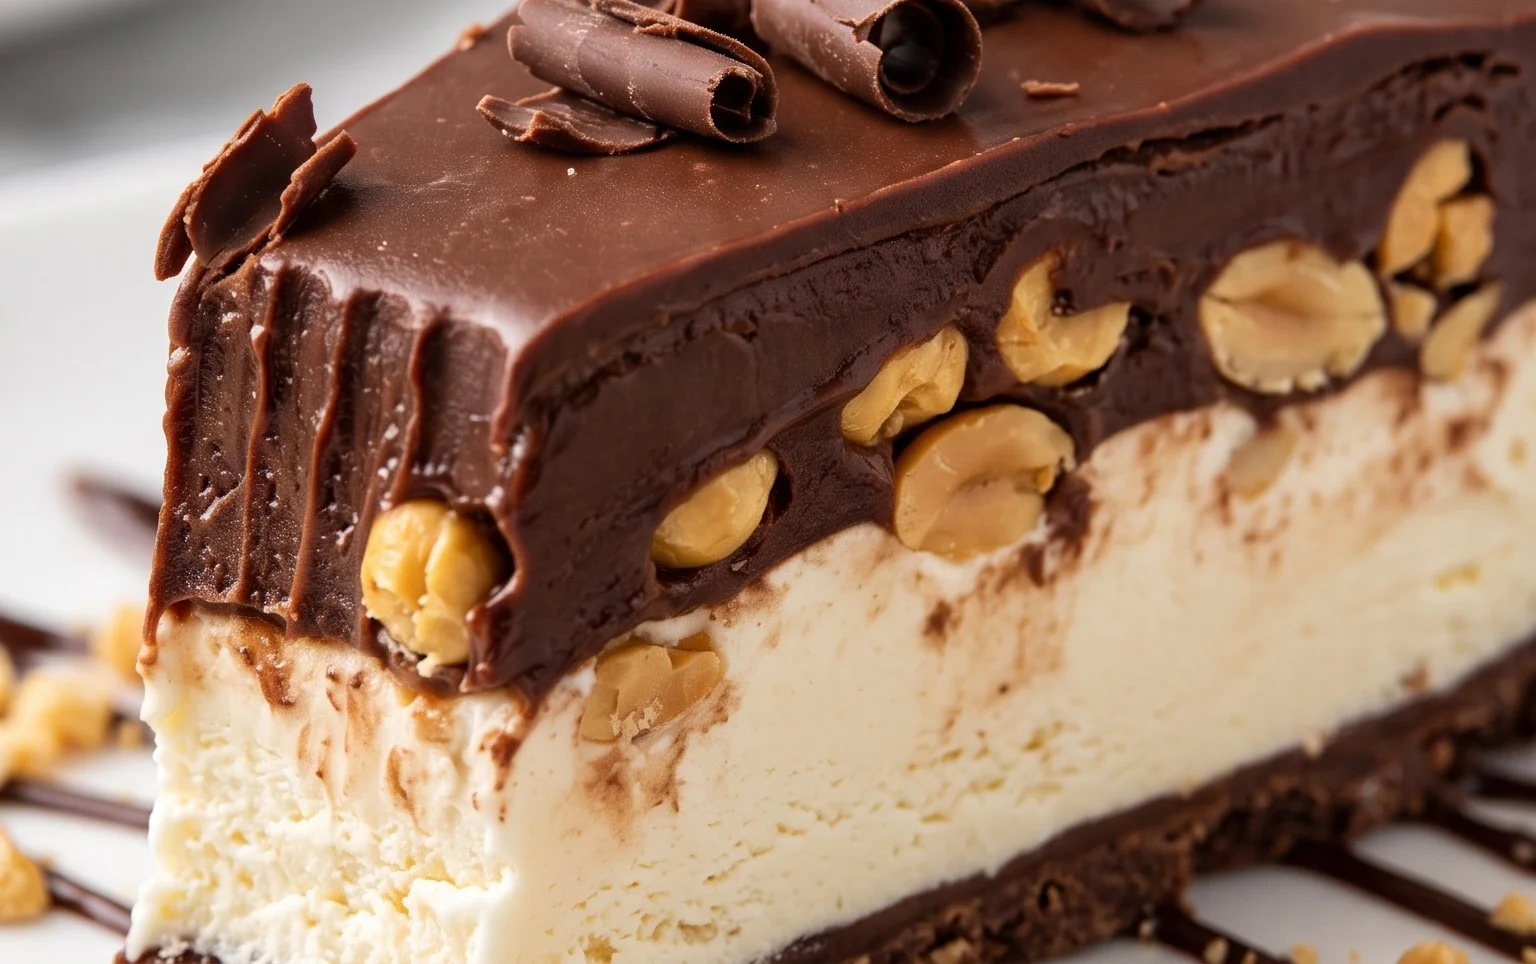
If you’re looking for a dessert that’s incredibly satisfying, hits all the right nostalgic notes, and is surprisingly simple to pull together, then you absolutely have to try this Buster Bar Ice Cream Dessert. Inspired by those classic frozen treats we all know and love, this homemade version takes all the best elements and transforms them into a show-stopping layered dessert that’s perfect for any occasion. Think creamy vanilla ice cream, a rich chocolatey fudge layer, a crunchy peanut and cookie crust, all topped with a generous drizzle of even more chocolate. It’s a symphony of textures and flavors that’s sure to become a new family favorite.
This recipe is fantastic because it doesn’t require any actual baking, which means less fuss and more deliciousness. It’s ideal for those warm summer days when you don’t want to heat up the kitchen, or for a quick and easy dessert when unexpected guests arrive. The magic happens in the layers, and each one contributes its own special something to the final masterpiece. Prepare to impress yourself and everyone you share this with!
Ingredients:
Crafting the Layers: Step-by-Step
Let’s get down to business and start building this incredible dessert. The key to a successful Buster Bar Ice Cream Dessert is to take your time with each layer, allowing them to set up properly. This ensures distinct textures and flavors in every bite.
The Crunchy Oreo Crust
Our first step is to create the delicious base for our dessert.
1. Prepare the Oreo Crust: Take your entire package of Oreo cookies, and don’t worry about removing the cream filling. Place them in a food processor and pulse until they are finely crushed into crum extractbs. If you don’t have a food processor, you can place the cookies in a sturdy zip-top bag and crush them with a rolling pin or a heavy pan. You want a consistency that resembles coarse sand. In a medium bowl, combine the crushed Oreos with the 1/2 cup of melted butter. Stir well until all the cookie crum extractbs are evenly moistened. This mixture should hold its shape when squeezed. Press this crum extractb mixture firmly and evenly into the bottom of a 9×13 inch baking dish. Make sure to get it right into the corners. Once the crust is pressed in, place the baking dish into the freezer for at least 15-20 minutes to allow it to firm up while we prepare the next layer. This ensures a nice, stable base that won’t crum extractble when you add the ice cream.
The Creamy Vanilla Center
Now, let’s add that essential cool and creamy element.
2. Add the Vanilla Ice Cream Layer: Retrieve your vanilla ice cream from the freezer. It should be softened but not completely melted – think of a consistency that’s spreadable but still holds its shape. If it’s too hard, let it sit at room temperature for a few more minutes. Spread the softened vanilla ice cream evenly over the chilled Oreo crust. Use a spatula or the back of a spoon to create a smooth, even layer. Again, aim for consistency across the entire surface. Once the ice cream layer is spread, return the baking dish to the freezer for at least another hour, or until the ice cream is firm. This is crucial for preventing the layers from mixing together and ensuring a clean separation of flavors and textures.
The Irresistible Spanish Peanut Layer
This layer brings a delightful nutty crunch and salty-sweet contrast.
3. Incorporate the Spanish Peanuts: While the ice cream is firming up, we’ll get the peanuts ready. You can lightly toast your Spanish peanuts in a dry skillet over medium heat for a few minutes until fragrant, or if you prefer, you can use them as-is. The choice is yours depending on your preference for toasted nut flavor. Once the ice cream layer is firmly frozen, remove the dish from the freezer. Scatter the Spanish peanuts evenly over the top of the frozen vanilla ice cream layer. You want a good, generous coating of peanuts. Press them gently into the ice cream so they adhere nicely. Once the peanuts are distributed, place the dish back into the freezer for another 30 minutes to an hour to ensure the peanuts are set.
The Rich Chocolate Fudge Topping
This is where the magic truly happens, creating that signature Buster Bar coating.
4. Prepare the Chocolate Fudge: In a medium saucepan, combine the 12 oz of semi-sweet chocolate chips, the 1/2 cup of butter, and the 12 oz of evaporated milk. Place the saucepan over low heat. Stir constantly, making sure the butter melts and the chocolate chips begin extract to melt into the evaporated milk. Continue to stir gently and consistently. As the mixture warms, it will start to thicken and become smooth and glossy. This process might take about 5-10 minutes. You are essentially creating a rich, pourable fudge sauce. It’s important to keep the heat low and stir continuously to prevent the chocolate from scorching or burning. Once the fudge is smooth and well combined, remove it from the heat and let it cool slightly. You don’t want it to be piping hot when you pour it over the frozen dessert, but you also don’t want it to be too cold, or it will set too quickly.
Assembling the Masterpiece
The final, glorious steps to bringin extractg it all together.
5. Pour and Freeze: Once the chocolate fudge has cooled slightly (it should still be pourable but not hot to the touch), remove the baking dish from the freezer. Carefully and evenly pour the warm chocolate fudge over the layer of peanuts. Use a spatula to spread it gently to cover all the peanuts and the entire surface of the dessert. You want a nice, even coating that will harden into a delicious chocolate shell. Once the fudge is spread, return the dessert to the freezer for at least 4-6 hours, or preferably overnight. This allows all the layers to freeze solid and the fudge topping to harden completely. Freezing it overnight is highly recommended for the best texture and to ensure it cuts cleanly.
When you’re ready to serve, let the Buster Bar Ice Cream Dessert sit at room temperature for about 5-10 minutes before cutting into squares. This makes it easier to slice and ensures the ice cream is perfectly scoopable. Enjoy this delightful homemade treat!
Conclusion:
There you have it! This Buster Bar Ice Cream Dessert is an absolute winner for so many reasons. It captures that nostalgic candy bar flavor we all love in a cool, creamy, and surprisingly easy-to-make frozen treat. The combination of chocolate, peanuts, and that signature chewy caramel is simply irresistible, making it perfect for everything from casual weeknight indulgence to impressing guests at your next gathering. I love serving it in generous scoops topped with extra chocolate sauce and chopped peanuts for that ultimate Buster Bar experience. Don’t be afraid to experiment with variations – think different nut butters, swirls of raspberry sauce, or even a white chocolate drizzle! I truly encourage you to give this Buster Bar Ice Cream Dessert a try. It’s a guaranteed crowd-pleaser and a delicious way to satisfy those sweet cravings.
Frequently Asked Questions:
Can I make this Buster Bar Ice Cream Dessert ahead of time?
Absolutely! In fact, it’s best when made at least 24 hours in advance. This allows the flavors to meld beautifully and ensures the dessert has ample time to freeze firm. You can store it in the freezer for up to a week.
What if I don’t have a stand mixer? Can I still make this?
Yes, you can! While a stand mixer makes things easier for whipping the cream, you can achieve the same results with a hand mixer or even by hand with a whisk, although it will require more effort and time. Just ensure your cream is well whipped to stiff peaks.
Are there any nut-free variations?
To make this nut-free, you can omit the chopped peanuts altogether. For added texture, consider finely chopped pretzels or even some crispy rice cereal mixed into the chocolate coating instead of peanuts.
Buster Bar Ice Cream Dessert
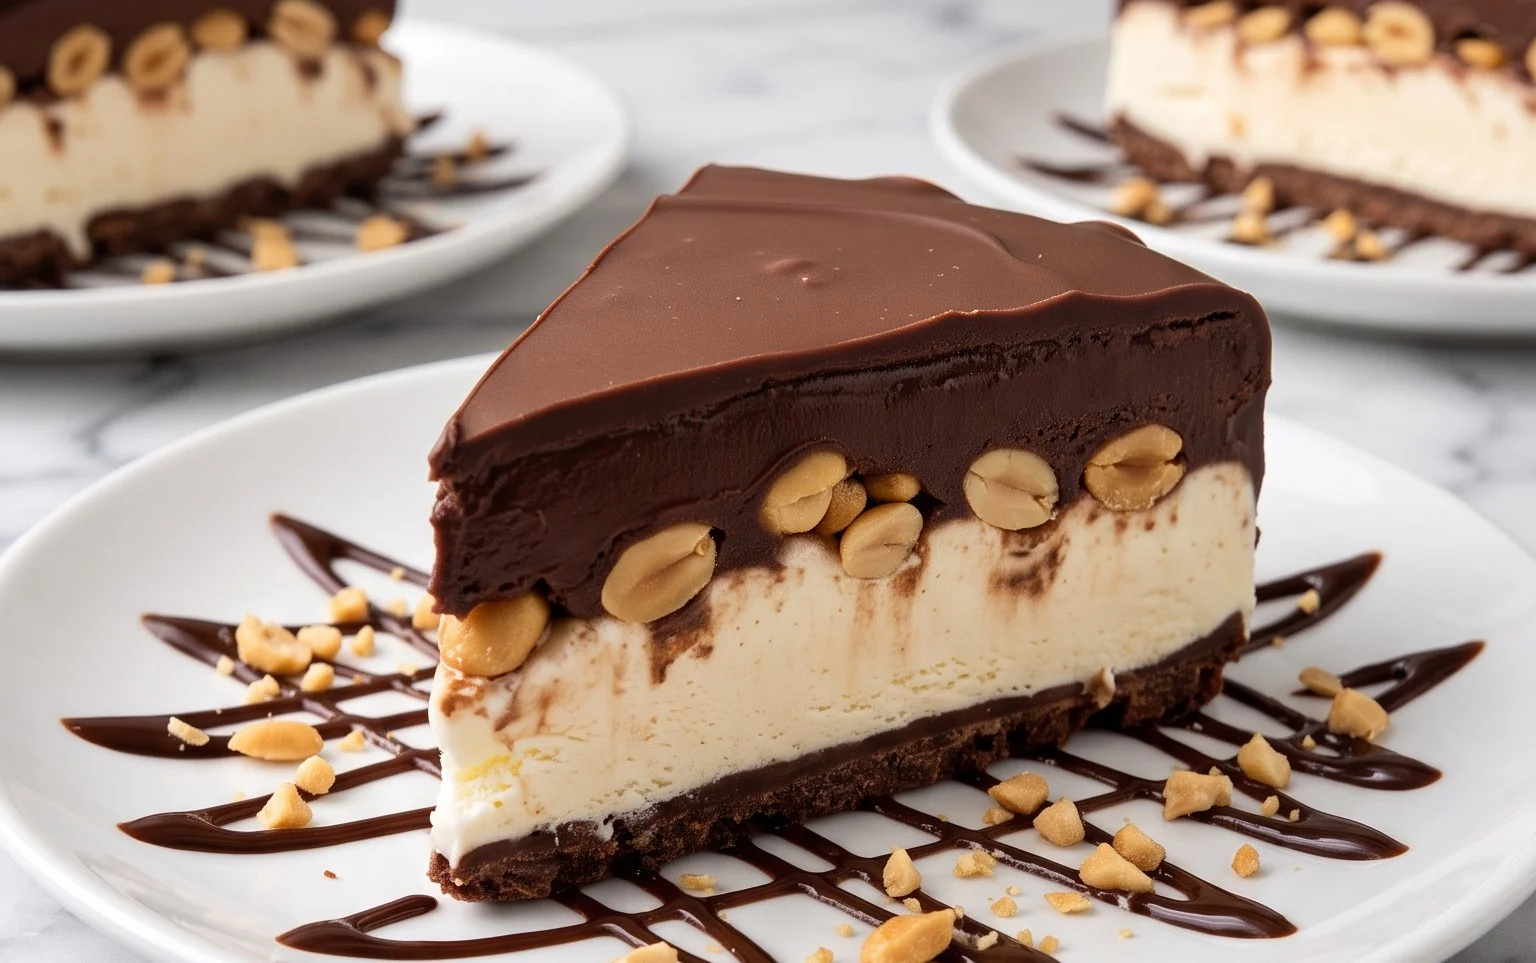
A no-bake ice cream dessert featuring a chocolate cookie crust, creamy vanilla ice cream, and a rich chocolate peanut topping.
Ingredients
-
1 14.3 oz pkg. of Oreo cookies, crushed
-
1/2 C butter, melted
-
1/2 gal. vanilla ice cream, softened
-
1 lb. Spanish peanuts
-
2 C powdered confectioner’s sugar
-
12 oz semi sweet chocolate chips
-
1/2 C butter
-
12 oz evaporated milk
Instructions
-
Step 1
Combine crushed Oreo cookies and 1/2 C melted butter. Press into the bottom of a 9×13 inch pan. -
Step 2
Spread softened vanilla ice cream evenly over the cookie crust. -
Step 3
Arrange Spanish peanuts over the ice cream layer. -
Step 4
In a saucepan over low heat, melt 12 oz semi sweet chocolate chips and 1/2 C butter together with 12 oz evaporated milk and 2 C powdered confectioner’s sugar, stirring until smooth. -
Step 5
Pour the chocolate mixture over the peanuts and ice cream. -
Step 6
Freeze until firm, at least 4 hours, or overnight. Cut into squares to serve.
Important Information
Nutrition Facts (Per Serving)
It is important to consider this information as approximate and not to use it as definitive health advice.
Allergy Information
Please check ingredients for potential allergens and consult a health professional if in doubt.
Leave a Comment